Before every gardening season it’s a good idea to wash, rinse and disinfect your seed starting pots. There are many very good reasons for this, all boiling down to: “avoid giving your baby plants a dirt disease.”
Confession time: it’s been probably four years since I’ve given my pots a proper scrub-down. Do as I say, not as I do, and all that. But this weekend, refreshed from my year off and horrified by the state of my gardening gear, I decided to do some deep cleaning.
Disinfecting your pots is a pretty straightforward process.
Step 1: Soapy Soak
After you knock any dry soil out of the pots, fill up your sink or a large bucket with warm water. If you have one of those big utility sinks that was designed for hand washing clothes but only gets used for cleaning paint brushes, use it for this! Glug some liquid soap in there.
Submerge as many dirty pots as will fit. If they are all stacked up, try to separate them a bit so the soapy water can get to each pot. I do this thing I mentally call “the accordion” where I grab a stack of pots from each end and kinda pull the stack apart a bit, then plunge it back together 10 or 15 times. This plunger action squishes water up towards the middle of the stack and is dang fun! Let your kids help.
Let your pots soak as long as you can, up to overnight. If you’re using your kitchen sink, the practical realities of dinner may force you to hurry this step along.
Step 2: Manual Scrub
Soaking should get off most of the dirt, but take a look for any stubborn clods or mineral deposits. Scrub these off with an old cleaning toothbrush or scrub brush.
Step 3: Rinse
Give everything a good rinse. I drain the dirty water and just rinse everything out in the sink. Don’t half-ass this. You don’t want a bunch of soap residue on your pots. It’ll irritate your plant roots, and will undermine the next step.
Step 4: Bleach Disinfectant Soak
Once you’ve cleaning your pots, it’s time to disinfect. This is the step that ensures no soil microbes are clinging to your pots, just waiting to re-animate when fresh seed mix and moisture calls them forth. Disinfecting is pretty hard core. It’s a step past sanitizing, but not quite to sterilization.
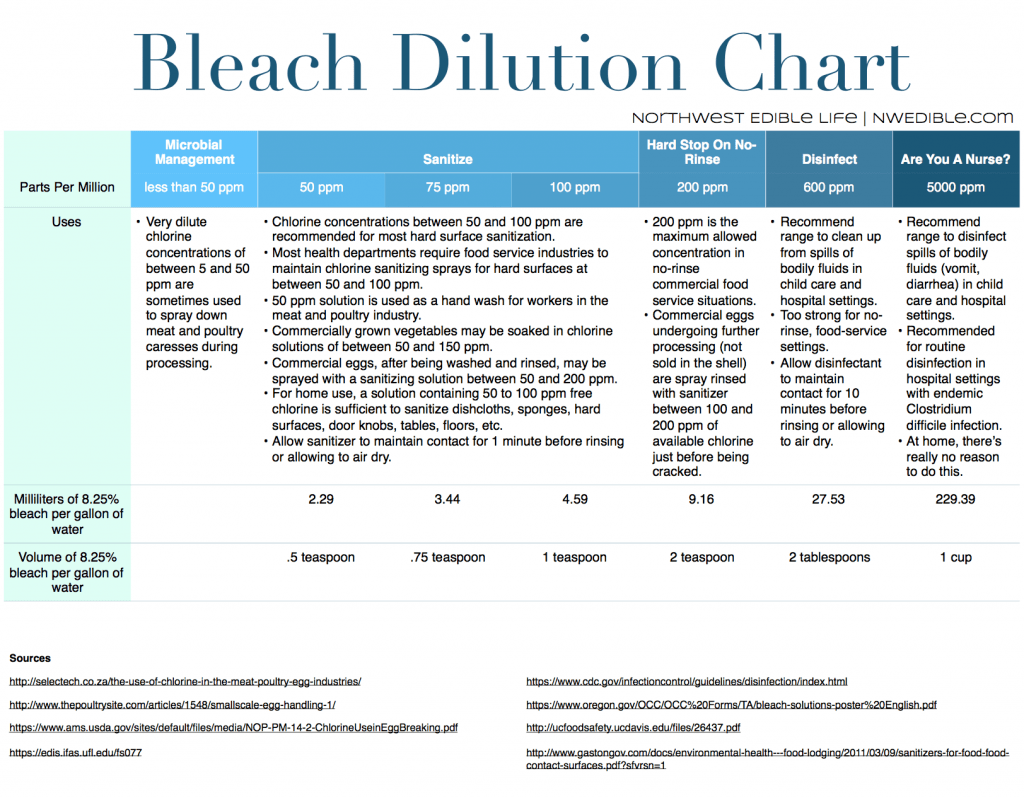
Disinfecting pots requires a solution of 600 PPM (parts per million) of free chlorine, obtained from sodium hypochlorite, the “bleach” ingredient in household bleach. Your household bleach should contain 8.25% sodium hypochlorite. If it contains less, you are likely using dollar store bleach or a very old bottle of name brand bleach. That’s ok for your laundry, but please buy a new bottle of Clorox or equivalent – and look for the 8.25% sodium hypochlorite label – for stuff like sanitizing and disinfecting.
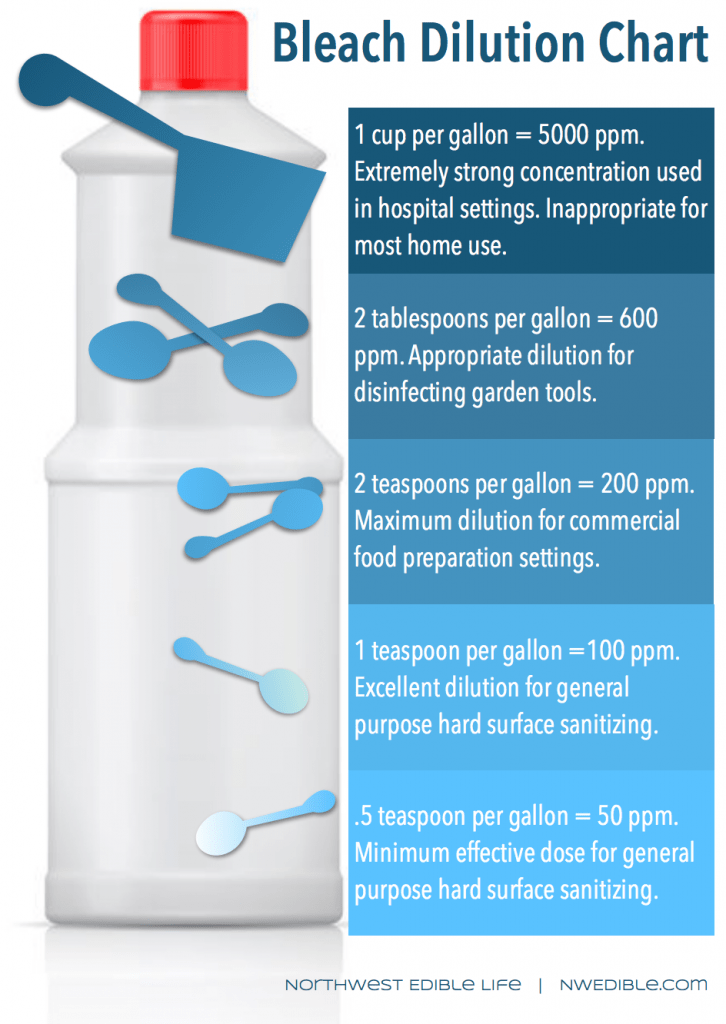
To make a disinfecting solution of 600 PPM, you add 2 tablespoons of 8.25% bleach to a gallon of cool water.
Put the stopper back in your sink, and measure out enough gallons of cool water to cover your pots. Add in as much bleach as needed, swirl everything around, make sure the disinfecting water can reach all the surfaces of the pots, and soak your pots for 30 minutes.
Drain the disinfectant water and allow your pots to drip dry.
Hot Tip!
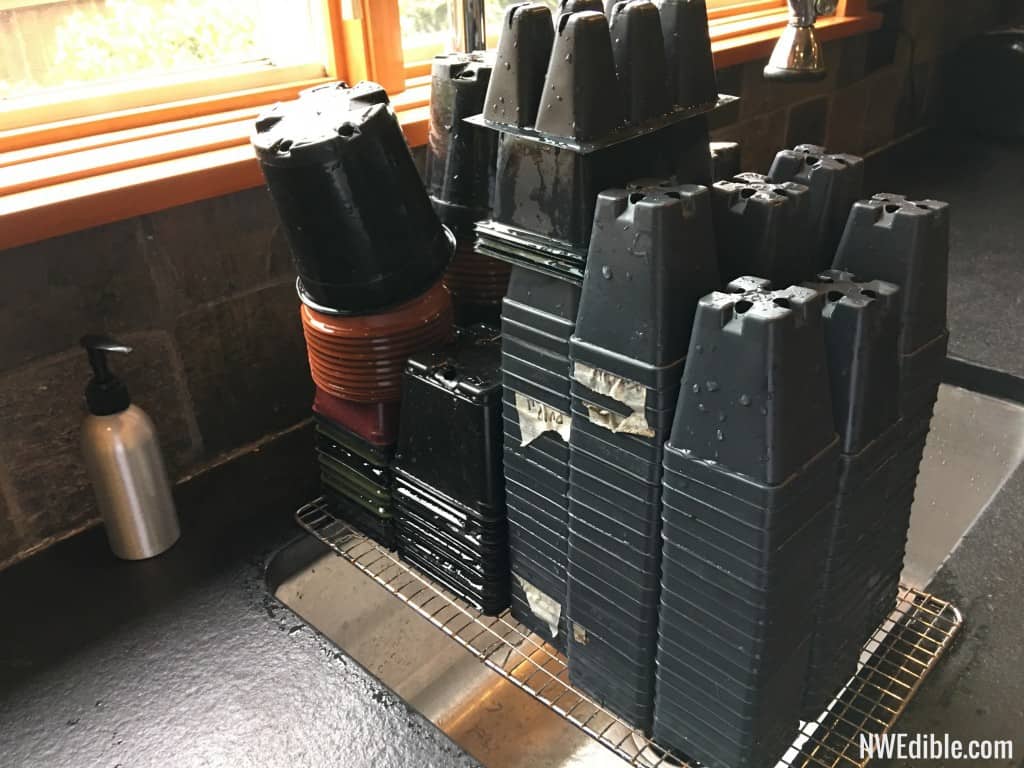
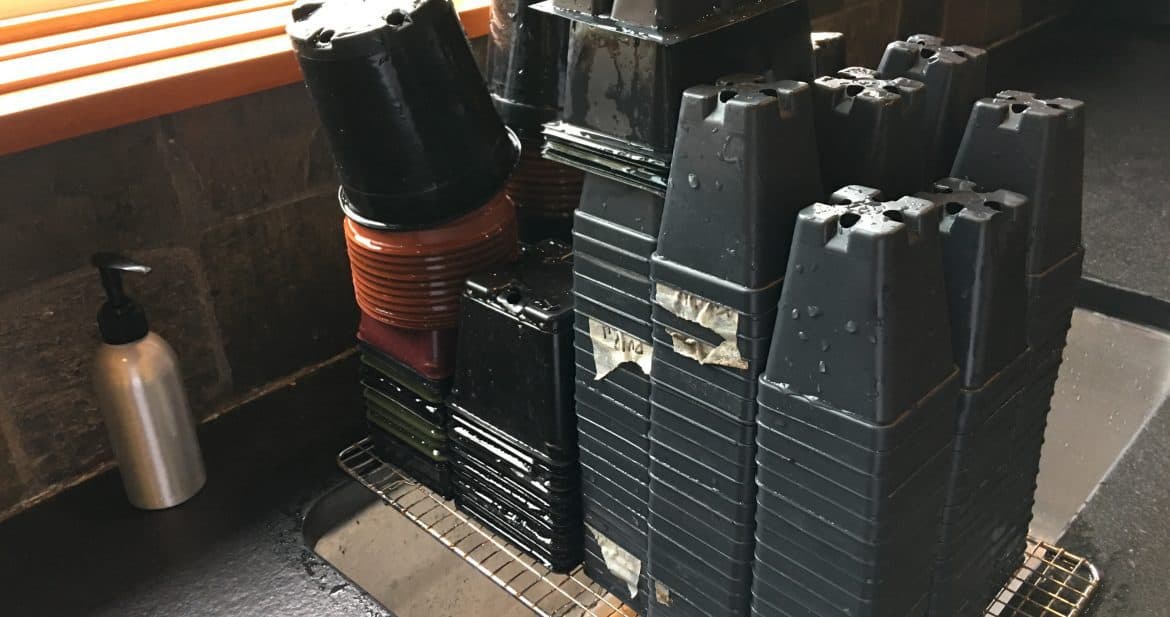
I set a cookie cooling rack across my sink and stack the disinfected pots up right on the rack. Excess water drips right down into my sink. This is also a good tip when you are handwashing big items like pots that don’t fit easily into standard drying racks.

Before You Ask
Question: Why can’t I just soak my pots in bleach water without the washing step?
Answer: Because the way bleach works, any actual dirt or organic matter that’s floating around in the disinfecting solution rapidly “deactivates” the microbial-killing power of the sodium hypochlorite.
People who advocate disinfecting pots without first cleaning them typically suggest an INSANE 10% bleach solution. That means adding almost 2 cups of bleach to each gallon of water. That much bleach works out to over 8000 PPM, or more than is even recommended for cleaning up human bodily fluids.
Talk about overkill. So just do the extra step and clean your pots first.
I Love Visual Learners Too…Here’s All You Need To Know About Diluting Bleach
Click on either image to download a printable high-resolution PDF.
145


That top chart is impressive geekiness. I don’t know if I’ll ever need to know all that, but now I know that there’s a lot I don’t know about bleach concentrations. I love it.
I also thought of you this year when i pulled out my old, dirt-encrusted pots and used them immediately. I thought, “No, no! This is not what Erica says to do!” I think I’ll get everything washed/disinfected before I store them, and I’ll have you to thank.
Geek is my true calling. 😀
Super helful. Thank you. I am one of those who put minimally-rinsed pots into the bleach solution….
You make the best info-graphics.
I’m glad you took time off for yourself. I’m even more glad you decided to return to writing 🙂
So glad to just find out today that you’re back in the blogging saddle (no pressure, only when you want to, please!). Love your thorough take on any issue and we have many in common. Reading this post I sure hope I haven’t killed my septic tank since I’ve gone through gallons of bleach Feb-April as I was trying to get mildew stains out of cloth couch covers on a new project. I tried all the ideas, including straight bleach when desperate. An interesting thing I learned about it is that it doesn’t penetrate. The water does, but the active ingredient only sits on the surface. Another good reason to scrub the pots first (of course I’m a lazy gardener and never bother with this step at all!) I’ve also been hanging out inside for most of the last year (especially done in by a whopper pear crop last year). I wasn’t even sure I wanted to have a veggie garden this year, but then the sun came out and the starts and seeds started calling. Even a friend called to ask if I’d participate in his “great pumpkin” contest among five others. How could I say no? Now I’d better go check our cherry tree. I’d forgotten all about that tree in the 3′-tall weeds out in the orchard. What a year it’s been – made better by spring returning and saying “no” to facebook, too!