You know those things you see on Pinterest that look awesome when someone else does them, but you’re pretty sure they’re going to be a total disaster when you try them? These Sunprint-style eggs dyed with red cabbage were firmly in that “Likely Pinterest Fail” category for me.
“This can’t possibly work,” I thought. But, my son was clamoring to dye eggs for Easter, and I happened to have a red cabbage languishing in the crisper, and they just looked so pretty. I had to try.
I’m shocked how well these eggs turned out. They took a while, but each step was really simple. And in the end – not a Pinterest Fail at all.
Here’s how you make ’em.
Step 1: Make Natural Dye With Red Cabbage
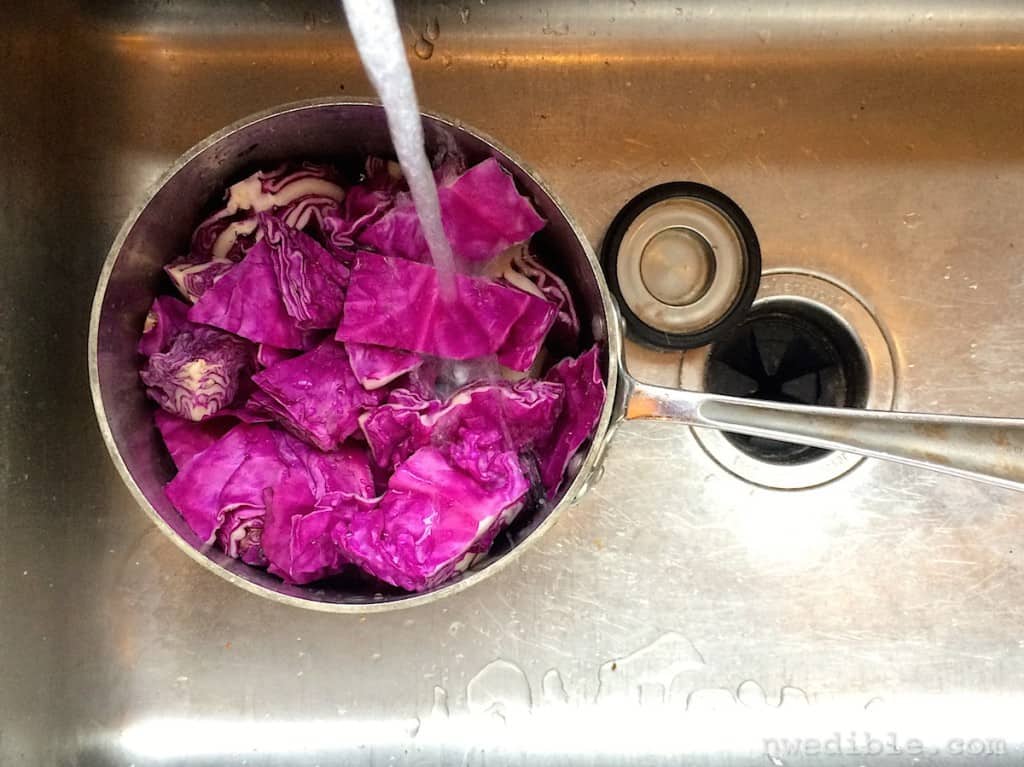
Just chop up a red cabbage, core and all, and put the pieces in a medium saucepan. A 4 or 6-quart pot works well. I have something close to this.
Cover the cabbage with water and bring the water to a simmer. Cover the pot so the cabbage water doesn’t evaporate away, and continue simmering for about an hour, until the water is deep purple.
Strain out the sad grey cabbage pieces and return the cabbage water to the pot. You’ll probably have 6 or 8 cups of natural dye, but the total amount doesn’t matter too much. Set the dye aside for Step 3.
Step 2: Prepare Your Eggs
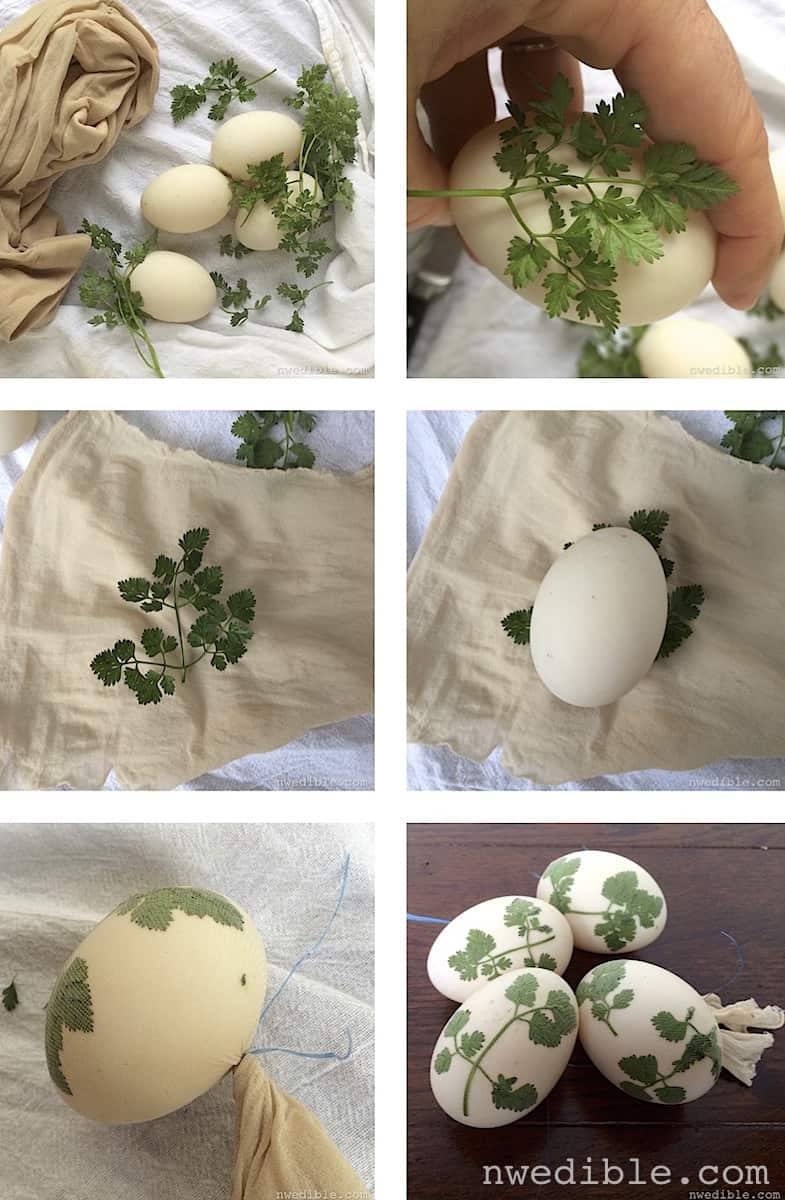
While the cabbage is simmering in the water, carefully prepare your eggs. Make sure the smoother (usually upper) portion of the leaf is facing the surface of the egg.
Set out strips of ripped up old pantyhose or cheesecloth. Set the leaf on the pantyhose, then the egg atop the leaf. Pull the pantyhose snuggly around the egg, so the leaf is held very firmly in place. Tie the pantyhose so it stays put around the egg. Try to get the knot on the opposite side of the egg as the leaf.
Holding the pantyhose securely and tying the knot was the only tricky part of this whole thing. I had my 11 year old tie the twine while I held the pantyhose and that really helped – so get the kids involved in this!
Step Three: Dye Your Eggs
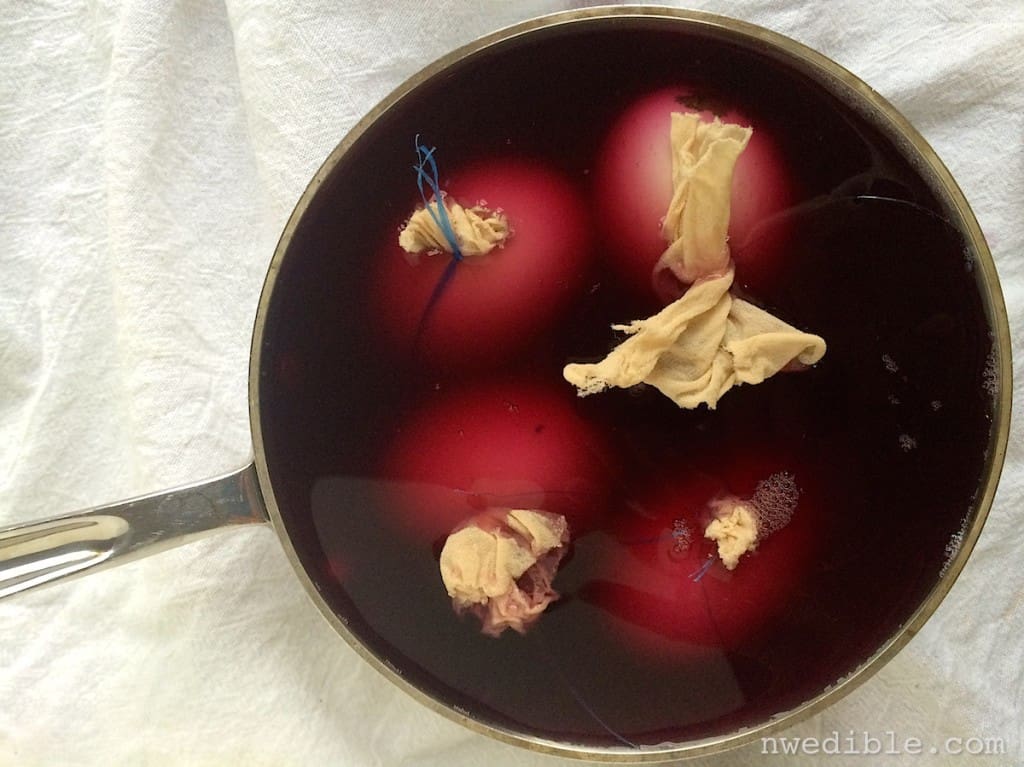
We’re just going to pretend that we are making hard boiled eggs, but as if we don’t care if they turn out pretty overcooked.
Add your prepared eggs and 3 tablespoons distilled vinegar to the saucepot with the dye. Put the eggs leaf-side down in the dye. The dye should fully cover the eggs. If it doesn’t, you might need to move your eggs and dye to a smaller pot.
Bring the eggs and dye to a bare simmer over medium heat. Let the eggs simmer for 15 minutes, then turn off the heat and put a lid on the pot. Let the eggs sit in the cooling dye bath for an hour.
Step 4: Color Check
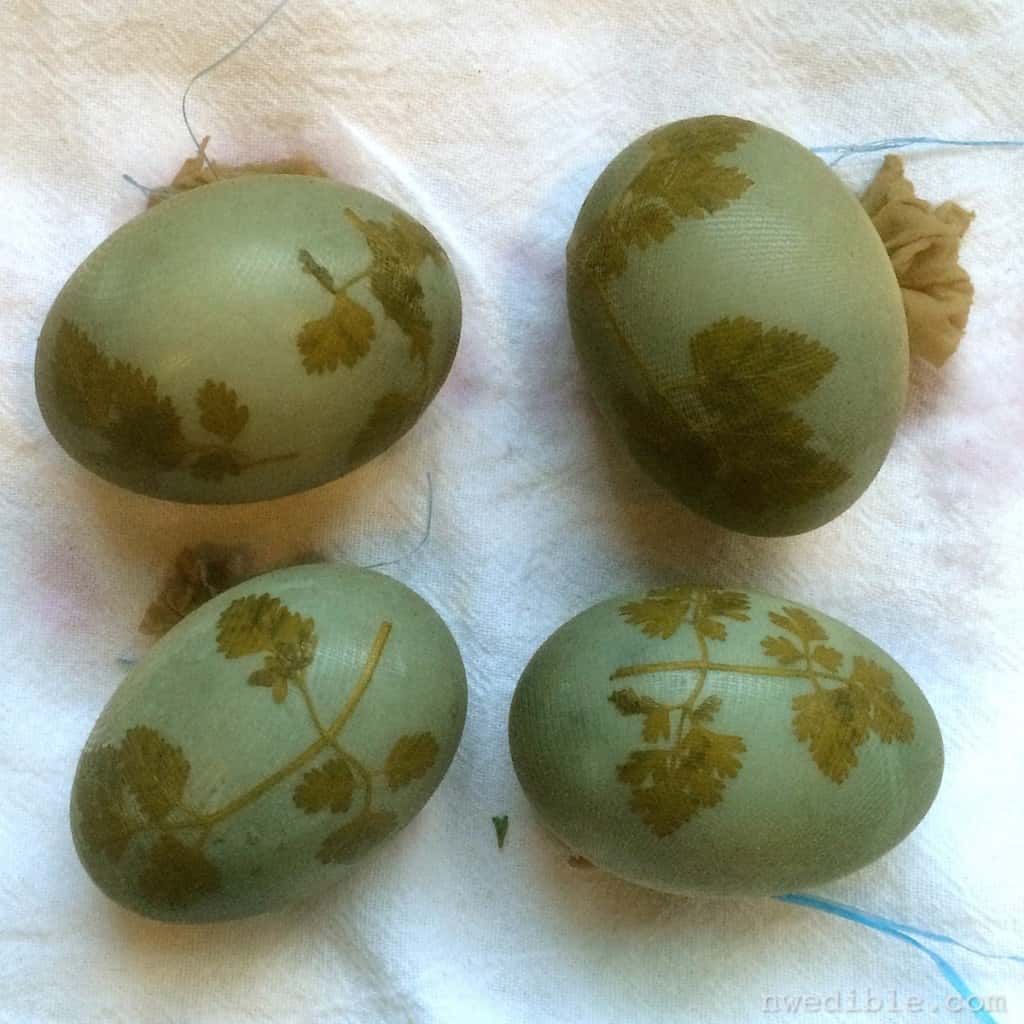
At this point, check your egg color. Carefully pull an egg out of the dye bath. Don’t unwrap the pantyhose yet, but look at the color. It should look distinctly blue to blue-grey, depending on the starting color of your eggs. If the eggs look great to you, set them on a towel to dry without unwrapping them.
If they look pale blue or just barely tinged, return the color-check egg to the pot, then move the whole pot of eggs and dye to the fridge. Refrigerate for several hours, or up to overnight. When the eggs have achieved a deep blue color you like, transfer them to a towel to dry for at least an hour before unwrapping.
Step 5: Unwrap (The Great Unveiling!)
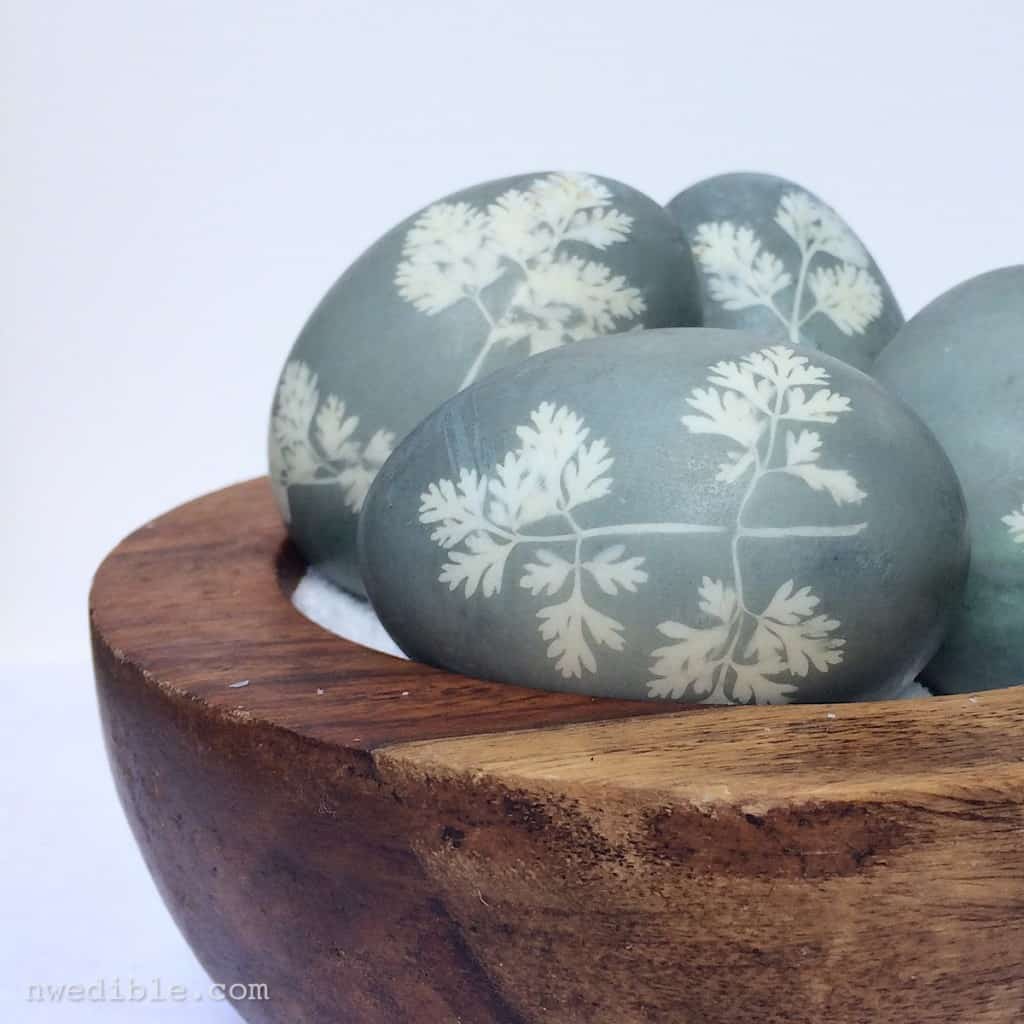
Just snip off the pantyhose and pull off any leaves clinging to your eggs. If the eggs aren’t completely dry, give them a bit longer before handling them.
And You’re Done!
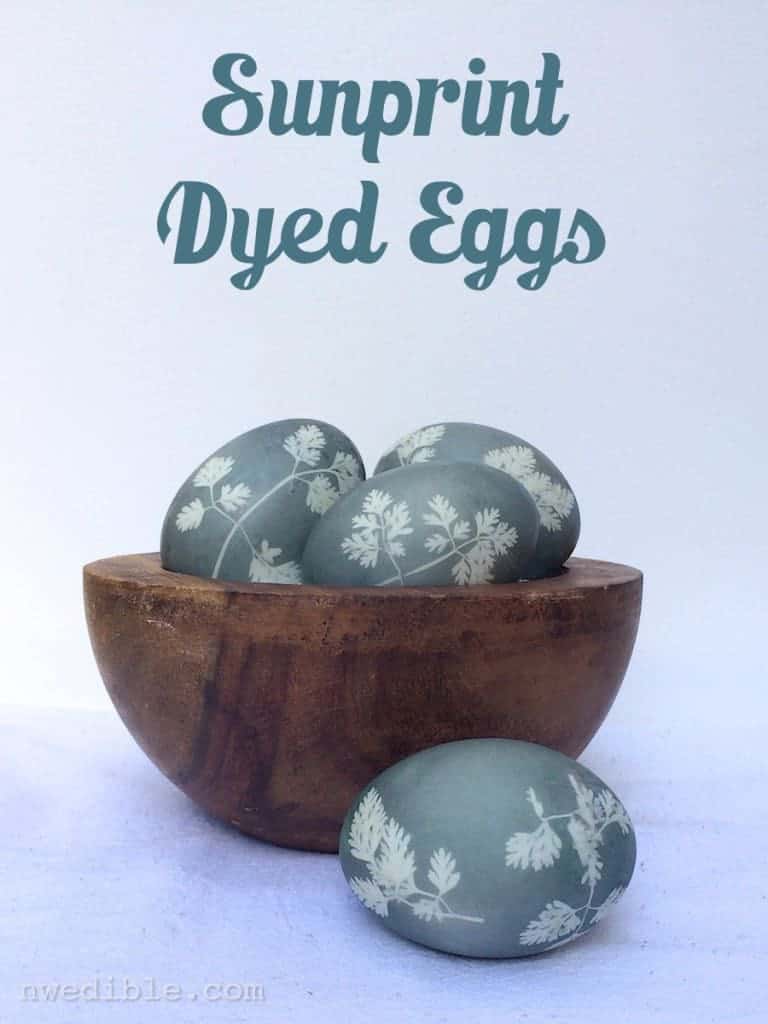
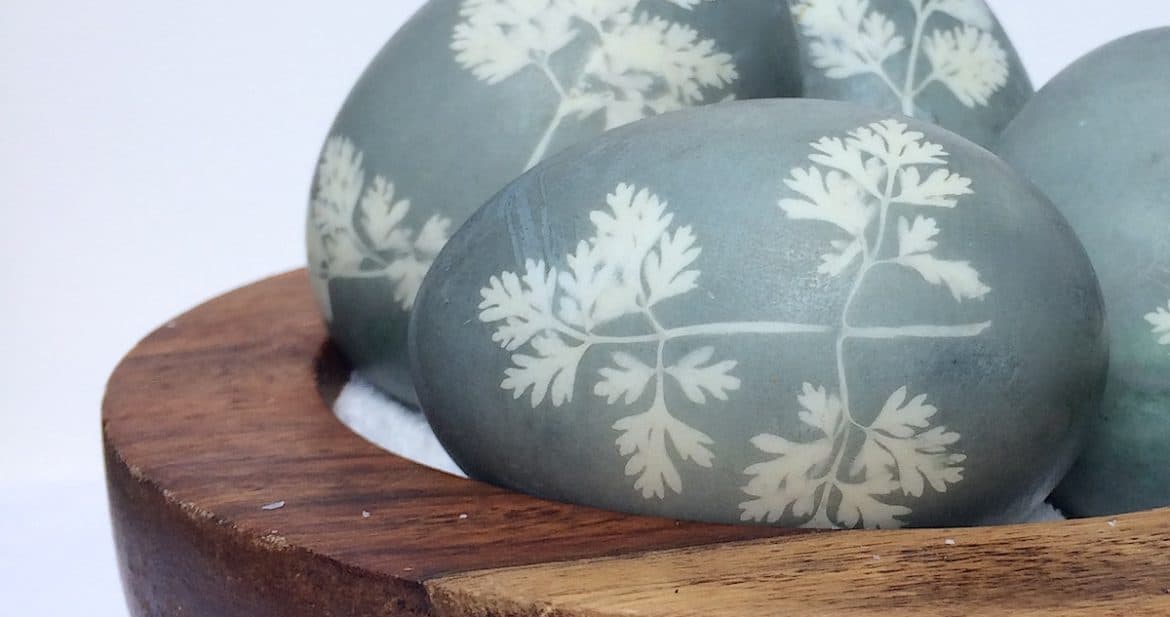
Mine turned out a gorgeous steely-blue color, not the brighter blue of my Pinterest inspiration, but I love them. I just wish we had made more than 4 eggs.
Go make some natural red cabbage dye, hunt around your yard for cool leaves and make these. Promise me you’ll use them in some kind of awesome Easter centerpiece or display? These things are way too pretty to hide.
Printable Instructions
Sunprint Naturally Dyed Easter Eggs in 5 Easy Steps
Prep
Cook
Total
Ingredients
- 1 head red cabbage
- Water
- 3 tablespoons white vinegar
- 4 to 8 raw, large white eggs
- Several intricate, soft leaves such as chervil, fern, or parsley.
- Portions of old pantihose or cheesecloth
- Twine
Instructions
- Chop cabbage and add to a 4 quart saucepan. Cover cabbage with water and bring to a simmer over medium heat. Lid cabbage and continue to simmer until the cabbage water is deeply purple, about 1 hour.
- Strain the dye bath of the cabbage pieces and return the cabbage water to the saucepan.
- While the cabbage water is simmering, press soft leaves against eggs and hold in place firmly with a section of nylon pantyhose, or cheesecloth. Tie the pantyhose snuggly around the egg so the leaf is held firmly against the eggshell.
- Carefully lower the eggs into the dye. Add the vinegar, then bring the eggs and dye to a simmer over medium heat. Bring the eggs and dye to a bare simmer over medium heat. Let the eggs simmer for 15 minutes, then turn off the heat and put a lid on the pot. Let the eggs sit in the cooling dye bath for an hour.
- If you like the color of the eggs at this point, remove the eggs but do not not unwrap. If you prefer a darker color, refrigerate the eggs in the dye bath for several hours and up to overnight.
- When the eggs have achieved your desired color, set them on a clean, lint free towel to dry for about an hour before unwrapping or handling.
- Remove the pantyhose or cheesecloth and the leaves carefully, and display.
Holy cow! Those are amazing. Thanks for the tutorial!
Thanks Claudette!
Those are gorgeous!
Thanks Amy – they were fun to make.
Did you start with uncooked eggs, or were they pre-boiled?
I started with uncooked eggs because I wanted to simmer them in the dye bath for a darker color. You could do hard cooked eggs and a cold dye bath for longer time if you wanted.
Those are beautiful, Erica! I might actually have to try this. Most of my Pinterest attempts are fails too, so its nice to see something turn out that was done by a “real” person (you know, someone I kind of know in a weird internet relationship sort of way).
Barb
Have you seen this? <3
Thanks for that. Coffee in my nose now. Thank God I don’t actually have time for baking and so will never be tempted to try and make any of these. Although I have to say that we made the balloon thing all the time back when I was a kid (WAAAAYYYYY before Pinterest). I’ll have to ask my mom if she remembers that. Ours turned out great!
Barb
I would think the same process would work to dye the eggs other colors too. For example gold/yellow tones using the dry papery skins of yellow onions, or pink tones using beets? Experiment some more and show us the results!
Great idea! Give it a try and let me know how they turn out!
Ha! My kids are young adults and don’t live at home any more. AND I don’t have grandchildren yet, so technically I’m not obligated to dye eggs right now. YOU, however, have both children and chickens at home PLUS you write a blog so…you’re legally bound to do the experimental egg dyes. Right? Right? 🙂
Also spinach, turmeric.
Hmmm, I wasn’t planning on dying eggs for easter but now I’m very, very intrigued. I’m wondering how the colors will turn out with my Ameracauna blue-green eggs and what happens with brown eggs… And what else can I stick to the eggs.
I have plenty of eggs right now, so perhaps I’ll give it a go on Saturday.
Oh pretty. I did something similar with red onion skin, and ribbed girls tights. The egg looked wooden(brown and grain pattern) with white leaf designs. Love the shade of blue you got.
I am soooo doing this next year! BTW, I just learned (by forgetting my red cabbage) that black currant jam (and presumably straight black currants) makes a lovely blue (see at: http://artofnaturalliving.com/2015/04/03/ad-libbing-all-natural-easter-eggs/ ). Happy Easter!
I tried these and they worked well. I blew the innards out of my eggs so I could use the egg, and after the eggs were in the dye for a while, they filled with liquid and sank, which was helpful for the dyeing process. I only had brown eggs, so they look a bit different, but the contrast of brown and slate blue/grey is pretty. It took an overnight bath to get the eggs to really colour; I’m glad I followed your instructions and was patient. Thanks!
Thanks for letting me know! Glad they turned out well for you too.
Beautiful job. I really like the colour that you did get. You can shift red cabbage natural dye colours by shifting the pH of the dye vat. Red cabbage, like blueberries and blackberries is one of those anthrocynide (sp?) dyes and it will go blue with acid and toward red with alkaline. You could do different colours by doing one egg at a time and adding a pinch or two of baking soda after each egg.
Great science experiment if you are home schooling. The blue potatoes and the black rice are also anthrocynide and will shift colours depending on the pH of the water they are cooked in. And anthrocynides are super antioxidant and help your body heal.
How do you know you don’t live in first world country? When a something that you have been doing since childhood turns up on Pinterest as a novelty item :). I still have fond memories of searching for interesting shaped herbs to create interesting shapes on eggs.
This also works with onions (red/yellow), berries (blue – indigo), red beets(pink) and the “green skins that cover walnuts” for a brown/earthy color.
Very cool! And great photos. Sharing and pinning this. New follower here too btw.
Lisa
Fresh Eggs Daily
My 9yo child and I tried it, with lesser success, but still lovely. Thanks for the tutorial, Erica! Just tried to copy a photo of ours in this comment box to no avail.
Coolest. Thing. Ever.