If you are new to growing seedlings, you might want the entire Seed Starting 101 series:
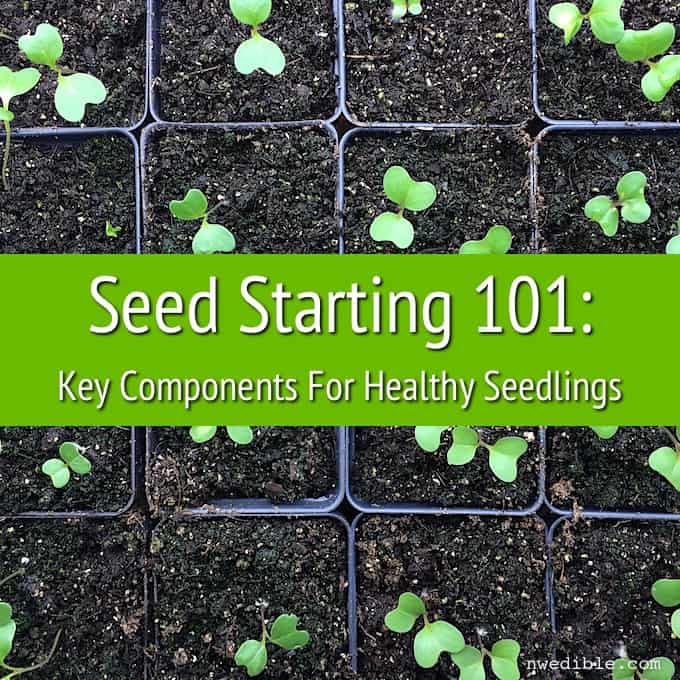
- Seed Starting 101: Key Components To Healthy Seedlings (this post)
- Seed Starting 101: A Step-By-Step Visual Guide To Growing Seedlings At Home
- Seed Starting 101: Up-Potting

Seeds don’t ask much: give them some moisture and the right temperature and if they are viable they will germinate. They don’t even need soil, as any kid who’s sprouted green beans between a few layers of paper towel can tell you.
It’s getting a germinated seed to grow into a strong, sturdy plant that takes a little care. To do that you need to start with a quality seed and give it the best possible start in life by providing strong light, loose soil, adequate moisture, adequate nutrition and good ventilation. Let’s take a look at each of these components in turn.
Quality Seed
According to Colorado State University’s Extension Program, “Seeds are one of the least expensive but most important factors influencing yield potential. Crop seeds contain all the genetic information to determine yield potential, adaptation to environmental conditions, and resistance to insect pests and disease.”
CSU is talking to farmers, but their advice is relevant to us gardeners too. Your plant will never be better or stronger than the seed from which it’s grown. Therefore, skimping on seeds is a false economy.
Strong Light
Most vegetable seeds don’t need light to germinate (there are a few flower seeds that I’m aware of which do) but as soon as the seed grows into a plant, bright light is critical to get them growing well.
For years I started my seeds under cheap, open-tube fluorescent shop lights hung from a rack. This worked just fine, but these days I have a slightly fancier and more energy efficient T5 grow light, and I’ve been very impressed with it.
Whatever lights you use, keep them on a good timer and run them from about 6 am until about 10 pm.
Starting your seeds indoors on a bright South-facing window can work if you live someplace with great solar energy in the winter and you don’t have one of them new-fangled fancy windows. But, because our Pacific Northwest winter sun is so weak and diffuse anyway, seedlings started in front of a window tend to grow really leggy as they reach for the light. (See: a comparison of seeds started under lights vs. in front of a window.)If you are going to start more than a few seedlings a year, it is worth it to get at least a small supplemental light set-up.
Loose Soil
You will read everywhere that you need to use a sterile seed starting mix or perhaps pure peat for vegetable starts. There will be implications that if you don’t, every seed you plant will succumb to damping off disease.
While I do think it’s important to use a sterile potting mix (and not, say, garden soil or garden-soil-in-a-bag, I think this obsession with seed-starting mixes specifically is a bit silly, and I don’t do it. Here’s why: seed starting mixes tend to be quite expensive, they are hard to moisten initially, they dry out too quickly and they contain no fertilizing agents to sustain the plant once it grows beyond the germinated-seed stage. All these things actually make it harder on the hobbiest gardener to grow great seedlings.
High quality, regular ol’ bagged potting soil (for years I used Miracle Grow potting soil with perfectly fine results), or a batch of my DIY Seed Starting Mix, is a fine alternative to expensive seed-starting mix
Adequate Moisture
Adequate moisture does not mean lots of water. (My daughter always describes taking care of plants as: “Lots of sun, lots of water!”) It means moisture in the potting mix sufficient to coax the seed into germination, allow nutrient uptake from the developing roots and provide the plants cells with sufficient water.
This is often much less water than people think. When adequately moist, potting mix should be uniformly dark brown, with no light dry spots. When you squeeze it in your hard, it should crumble in chunks and feel neither powdery nor really wet (soil with adequate moisture is often compared to crumbling like chocolate cake). Unless you are using a soil block maker, when you wet your soil mix and squeeze it, no water should ooze out between your fingers.
Too much water is typically worst that too little. Plant roots need both moisture and air to uptake nutrients, and in soggy soil they can literally drown. Wet soil also encourages all kinds of fungal diseases and attracts irritating fungus gnats.
Once your seedlings are up and have a few leaves and a developed root system, it’s a good idea to allow the top 1/2-inch of soil to dry out between waterings. Bottom watering as opposed to overhead watering is also smart. With most vegetables, when the roots stay lightly moist but the leaves stay dry, the plant will be healthier.
Uniformly moisten the potting mix before putting it in your seed-starting pots. It’s much easier and faster to get even soil moisture when you can stir everything up with your hands in a big container or bowl.
Adequate Nutrition
If you use a potting mix containing slow-release fertilizer and plant in slightly larger containers your seedlings will probably not need a bunch of supplemental fertilization while under lights. However, if you start with peat pellets (have I mentioned that I really hate peat pellets?) or a seed starting mix without background nutrition, you’re going to need to feed your seedlings once they get up and growing.
My favorite seedling fertilizer is Alaska Liquid Fish Emulsion. It sticks like rotting death, and I advise against getting it on you, but it’s like ambrosia to plants. I dilute it to 1/4th the recommended dilution and bottom water with the dilute fertilizer.
This product isn’t balanced enough to be an all-purpose garden fertilizer, but it works wonderfully as a seedling feed, transplant feed, or foliar feed for anything that needs a shot-a-love. It’s also my go-to foliar feed for things where you’ll be harvesting the leaves, like spinach and lettuce. One gallon lasts for a very long time.
Good Ventilation
The easiest way to provide ventilation when you are growing seedlings indoors is with a small fan. Set it up on low on the same timer that controls your florescent lights and you’ll be all set.
You want good air flow around your plants for two primary reasons. The first is to reduce the likelihood of fungal diseases, which take hold in moist, warm soil, close plantings and still air. The second is to grow stronger seedlings.
Like kids, seedlings grow up stronger if they are given consistent attention but aren’t coddled too much. A little fan helps simulate the air movement that encourages strong, stocky stems that will handle the real, outside environment of wind and rain that much better.
Next Up: A step-by-step visual guide to growing quality seedlings at home!
19
Hi Erica
Looks so professional!
Elaine Dahl
Thanks for answering the "sterile seed starter" question (do I really need that??)and the Miracle Gro w/MC tip! Got some at Costco today and am going to begin the up-potting adventure with my first tomato starts this evening. Sooooo much better than the little $5 bags at the local gardening & hardware shops.
Hi Saskia,
My pleasure! You gotta love a bag you can barely lift for $16 bucks, right! Let me know how the MG w/ MC works for you, I've been happy with it. Jealous you are up-potting already! It's only now beginning to be time to seed up here. Thanks for reading!
What do you think of compost as a seed starting medium? I’m not completely UNwilling to try Miracle Gro, but I’d prefer to use what we have (80 gallons finished, right now!). ???
Hey Anisa – OK, I just started a batch of seeds in 50% finished vermicompost 50% peat and I’m doing a side by side with MG. I am thinking the vermi/peat is going to kick MG’s ass, which would put me on a happy path to less inputs AND not more MG. Yay! Results aren’t in, but I’d say if your compost is super fine and fluffy (or if you screen it to make it so) I’d go for it…maybe not at 100%, though you could definitely try a few and see…have any coir or peat kicking around you could blend with?
Sweet – I might have some peat in the back of the garage somewhere. Thanks!!
Hmm, you answered my question of why my lettuce starts are leggy–like you, I’m in Seattle; unlike you, I’m starting them in egg cartons on a windowsill. The snap peas–both last year and this year–seem to do fine with that (and I’ve just been using soil from our beds mixed with compost) but not the lettuce. Is there any salvaging a leggy start? Anything I can do apart from getting lights, for the next batch? I only have a few raised beds so it doesn’t seem worth it to me, I was just trying to get an earlier start as well as give my son a closer view of how food grows.
Your lettuce will probably be ok. It’s not ideal for a plant to get leggy, and lettuce is hard because unlike, say, broccoli, you can’t bury it deeper to compensate for a leggy stem. But don’t worry too much – life wants to live and your lettuce can still give you a good yield. What I’d try for windowstart seed-starting: put something reflective behind the seedlings (a mirror or even a white piece of paper), to maximize the light hitting the seedlings from all angles. Keep them as close to the window as possible without the leaves touching the glass. Periodically turn the container front-to-back. Also think about starting another batch in a few week outside under a cloche. For a small number of seeds, a big clear gallon milk jug with the bottom cut out would work well. That might get you what you are looking for with the least amount of fiddling. Hope this helps.
Thanks so much for the grounded and useful advice! Love this blog – living in Seattle, it has been so helpful!
Hi there,
Just stumbled across you from I really don’t know the hell where- but glad I did. Good advice on the seedling mix… I find it annoying. My issue this spring was over moisture and rotting pea seeds due to the plastic dome and seriously sunny days followed by a re-planting without domes and half being eaten by a mouse (ok- probably a rat). I live in the boonies on Orcas Island. I’ve replanted a third time with domes half covering:/
Look forward to staying up too late one night soon to dig in a little deeper (no pun intended) into your blog.
cheers… wendy
Should I get a smaller light to begin or should I invest on a larger 2ft size lamp? Like the one you linked on your post? I want to get the correct materials with out overspending if it’s not crucial.
Is it OK for seedlings to have 24 hours under the grow light? If not, when should they transition to the 8 – 10 hour day and night simulation?
Thanks so much.
Mindy