Hugelkultur is all the rage right now. This permaculture method of raised bed building is supposed to reduce irrigation needs and provide long term fertility to plants while giving the gardener a kind of hipster garden cred that only comes from funny foreign-sounding growing techniques.
A hugelkultur bed is built with hunks of wood as it’s base – branches, logs, tree trunks, brush, etc. can all be used, and I’ve seen variants made with wood chips, though the experts seem to favor large format wood pieces.
Now, I’m not an expert (I’m not even a novice) in permaculture techniques, but I took one look at the leading instructions for building a hugelkultur bed and thought, “It’s a lasagna bed with logs at the bottom. Got it!”
And thus was born my half-ass hugelkultur bed. It’s possible I might have stumbled into permaculture perfection, but it’s more likely I have no idea what I’m doing here. Copy my garden madness at your own risk.
Laying Out New Beds
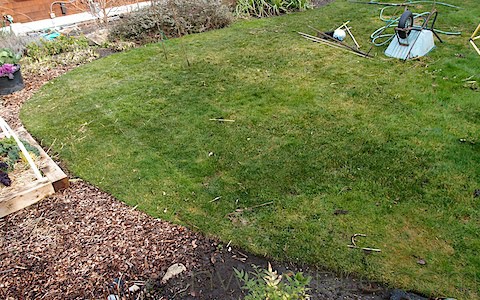
This is the patch of grass slated for conversion to hugelkultur beds.
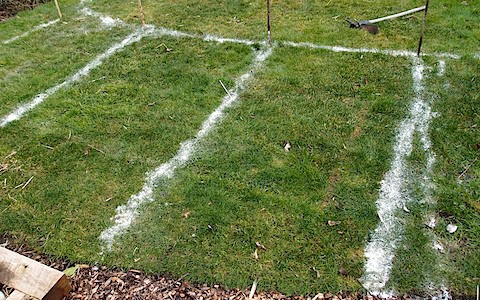
I used white flour sprinkled on the grass to define the new borders to the beds and the paths. This is a great way to “try out” new garden layouts. The flour is cheap, shows up well for a few days on grass or soil and is easy to smudge out like chalk if you want to try a different layout.
Create the New Borders
I know I made the case that you should stop ripping up your grass to grow vegetables (and I stand by it!) but I do remove a small border strip of grass when I build beds right on top of sod. This prevents the grass that is left from climbing up the new bed. It doesn’t take long to define a sod edge this way and saves loads of maintenance time later on.
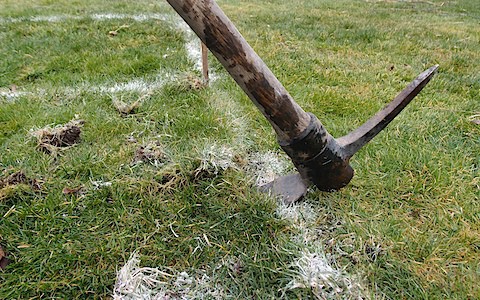
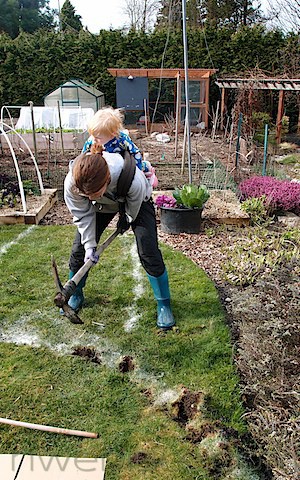
Work a mattock under the edge of the new bed.
This is yet another reason why I argue for ripping up as little grass as possible! Busting sod for two just isn’t that fun.
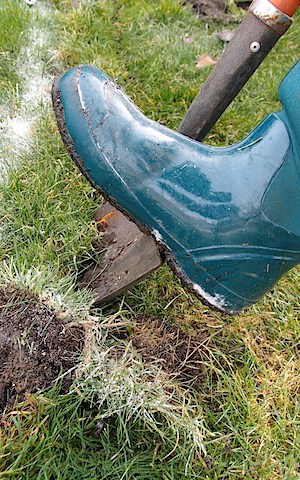
Once the edge is loosened, take a flat-bladed spade and angle in to cut away the border strip of grass. As the strips come loose, set them aside.
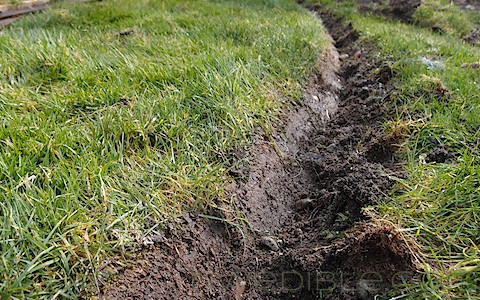
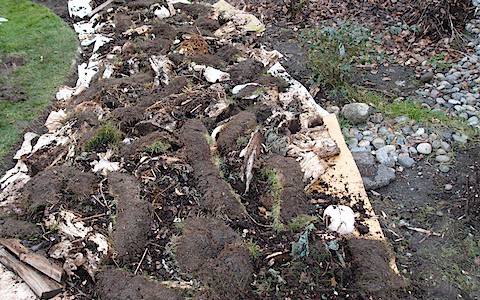
Once the sod strips (“beaver pelts” to those of you into golf lingo) are pulled up, go back and clean up the new edge of your lawn into a tidy “v” shape. The side that will become the base of the raised bed can be left ragged because it will just rot after being covered by all kinds of organic matter.
The new edge of the sod.
Assemble Hugelkultur Ingredients
I didn’t import anything except a few bags of finished compost to create these beds. Instead, I looked at them as an opportunity to utilize scrap and spare decomposables already laying around my property.
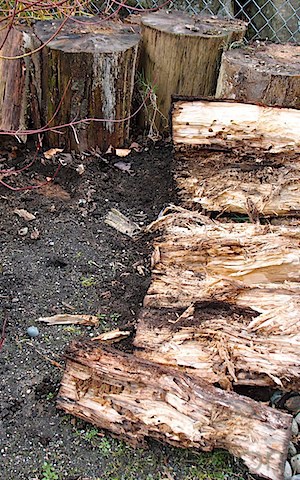
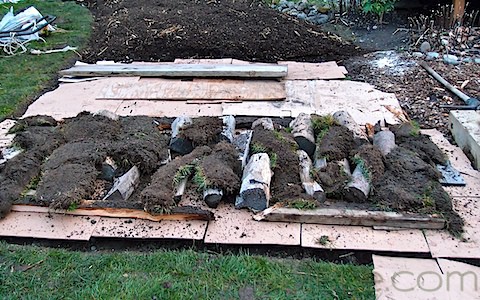
I found these old rotten logs, the leftovers from a failed effort to build wooden “stepping stones” through the garden for my daughter, and used them as the base of one of the three beds I was building.
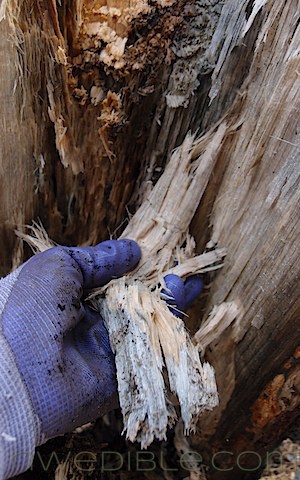
The well-rotted logs were, as the hugelkultur people promise, quite spongey in texture. I could easily peel strips of the interior of the wood away, like cellulose string cheese.
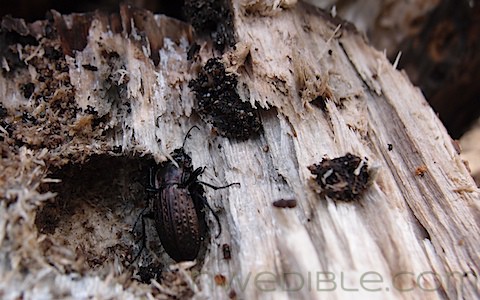
They were also home to an entire universe of critters.
I also gathered scrap wood, old but not yet rotten logs, some charcoal from the firepit, fresh kitchen scraps, half-finished compost and vermicompost, straw, litter from the chicken coop and branches and twigs that had fallen around my home.
Pile It On
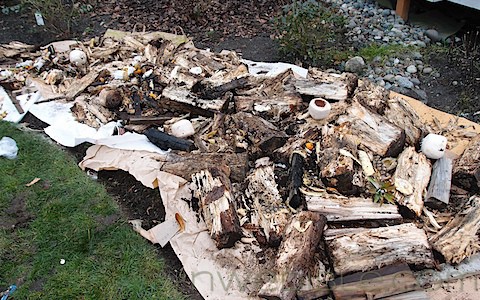
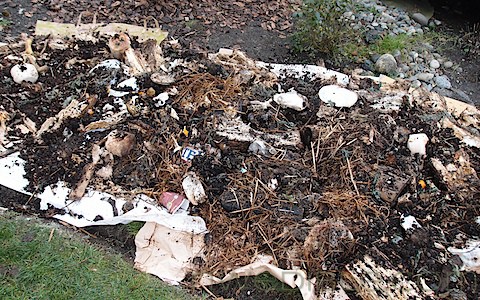
All my hugelkultur ingredients got layered over paper and cardboard. The logs and big chucks of stuff went down first, followed by kitchen scraps and compost in various stages.
Extra strips of sod were tossed on upside down.
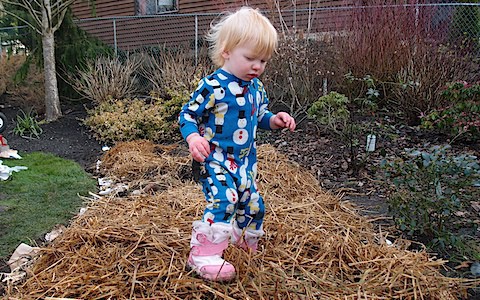
Fresh straw was piled on next and everything was tamped down thoroughly by Oliver.
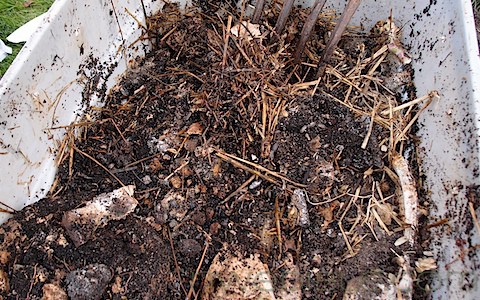
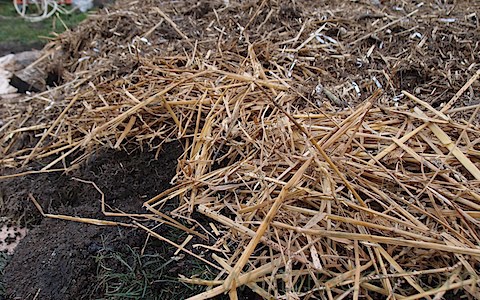
Then the more finished compost from the chicken coop went on. You can see the difference in texture between the fresh straw below and the chicken litter above.
At this point, not a bad half-ass hugelkultur/lasagna bed.
Each of the three beds was created with slightly different materials, as I scrounged up what I had available. The base of the center bed was aged but solid logs instead of the rotten wood, for example.
Making It Look Good
Fellow blogger The Crunchy Chicken once commented on the less-than aesthetic characteristics of potentially lumpy hugelkultur beds. With her observation playing in my mind, I was determined to have pretty hugelkultur beds.
I find there are very few appearance issues in the garden that nice top dressing of mulch can’t fix.
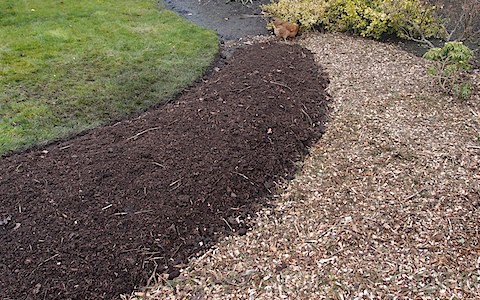
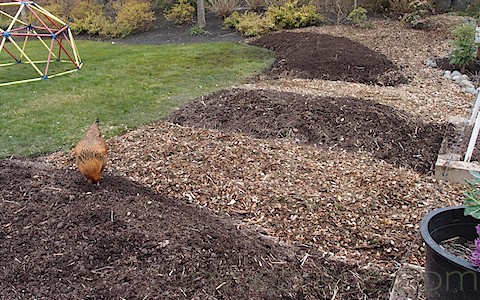
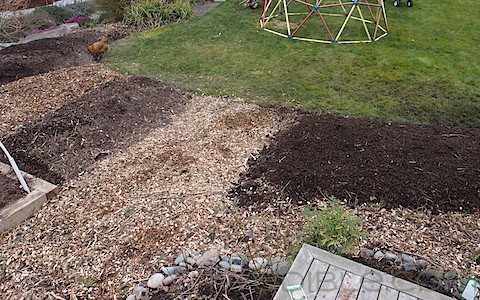
Once the mounded beds were top dressed with finished compost and the paths and surrounding areas were mulched with wood chips, the new beds looked downright respectable.
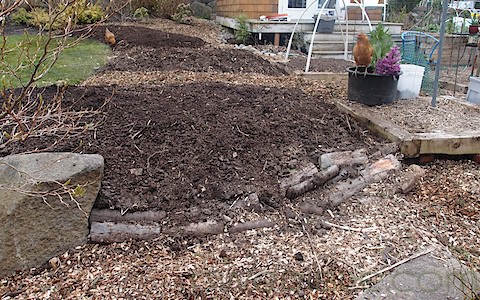
You can see the “bones” of this one, doing double-duty as a retaining wall of sorts.
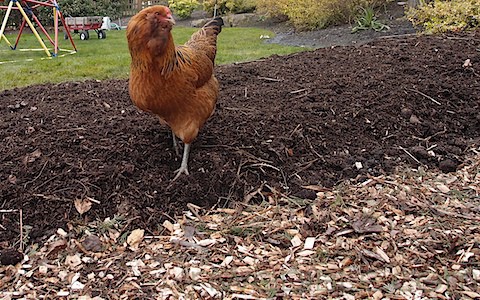
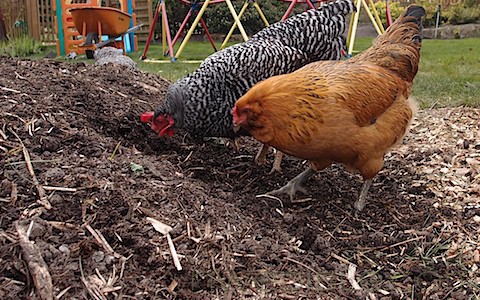
The chickens enjoy finding worms in the beds.
The little bastards are messing up my mulch! How do they always know I’ve just raked something smooth?
Before and After
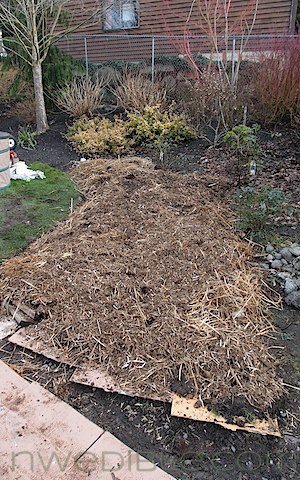
Before (grass):
The Verdict
It’ll take a few seasons of growing before I can render a conclusion about these new beds, but I was pleasantly surpirsed to find that they are holding a soil temperature notably higher than my traditional raised beds. When I temped my soil a few weeks ago my uncovered traditional beds were all right around 42 degrees. Those under winter-long low tunnel plastic cloching were between 43-44.
The hugelkulture bed I built that gets the most sun was 47 degrees! The ones in more shade were 46 and 45 degrees, respectively. 42 degrees versus 47 degrees is a staggering difference in soil temp for early spring. To put it in context, the deep litter in the chicken coop, which is actively decomposing and is warmed by the bodies and motion of 7 spritely chickens was 48 degrees, only a degree warmer than the sunny hugelkulur bed.
It remains to be seen if this hopeful beginning will translate into increased yields and longer seasons, but I will report back.
Hugelkultur Resources
Want to know more about building your own hugelkultur bed, half-assed or otherwise? Check out these links, by people who seem like they actually know what they’re talking about when it comes to permaculture and hugelkultur.
Paul Wheaton’s Permaculture Article on Hugelkultur (Start here!)
Use Woody Waste as the Base of A Vegetable Bed – OregonLive.com / The Oregonian
The Art and Science of Making a Hugelkultur Bed – Permaculture.org.au
103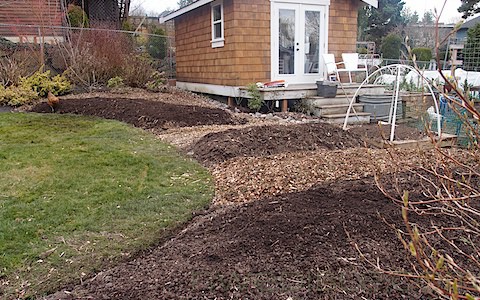

So – how’s it going? I’m wondering if the increased soil temp might have been your compost in action at work (chicken litter, straw etc.) are soil temps still high now that the beds are older?
I am a regular homeowner (small plot) maybe 1/4 acre if I am lucky
don’t know if this would work for me
but I might try to adapt it to a compost pile of sorts with all kinds of yard waste
like pine needles and stuff I got hanging around..
might work (I would like to grow some natural foods) with natural seeds
not gmo or modified (I need to get some)..
just an idea to have another food source besides the super market..
Well, here we are 2014, how did this turn out? I want to try it. What happened?
Half-ass… that would be a mule, right? ‘Mulegelkulture’! For gardeners who stubbornly refuse to be slaves to their gardens. Or to conform to the ‘by the sweat of thy, brow thou shalt earn thy bread’ dictate – while emptying their pockets for chemical fertilizers, pesticides, herbicides, fungicides… For where ever a full-scale (6′ high mound of earth over wood- logs, branches, etc) true hugelkulture bed would be frowned upon, or outright banned – go mulegelkulture! 🙂
Hi!
So impressed! Impressed with everything…the method, piggybacking your baby while working, man! you are awesome!
I am from northeast central Saskatchewan…Question: where is your garden located?
Melissa
Hi Erica!
I was so excited to find this post! I was getting ready to build a new garden bed and was inspired to do my own half-assed hugelkultur bed. It is, like yours, a cross between a lasagna bed and a hugelkultur bed. My neighbors were laughing at me and saying that it would never work. So I went online to be sure that I remembered the concepts correctly. THEN, I found you and this post! God, I love the internet. This way, nutters like us can find each other! I have subscribed to your newsletter and look forward to following you.
I plan to plant Jamaican Tea Hibiscus so that I will have loads of iced tea to share when the weather gets hot here in So. Cal by the beach. That doesn’t really happen until August and September. Now, I have loads of plans to lasagna-hugel the rest of my beds.
Thanks for sharing!
Nancy
Would love a follow-up on how this turned out.
Your hugel beds are lovely, but forgive me if I pity, and envy you that jewel-toned lovely shade of vivid green lawn you buried under it, too. It took me about 6 years to grow a decent bit of lawn at my very first home of my own, starting from a lot of sugar sand and a very few actually (bird-dropping) struggling weeds. Yes, I could have sodded it, but I wanted to grow “real grass” in my very first yard. If I’d known what all it was going to take to get me there…. well, the truth is, I probably WOULD have done it all over again, just because I learned a lot — and I’m stubborn as heck.
That said, and done though, I am now looking at moving on to other garden projects, and a modest hugel or two might just be the thing!