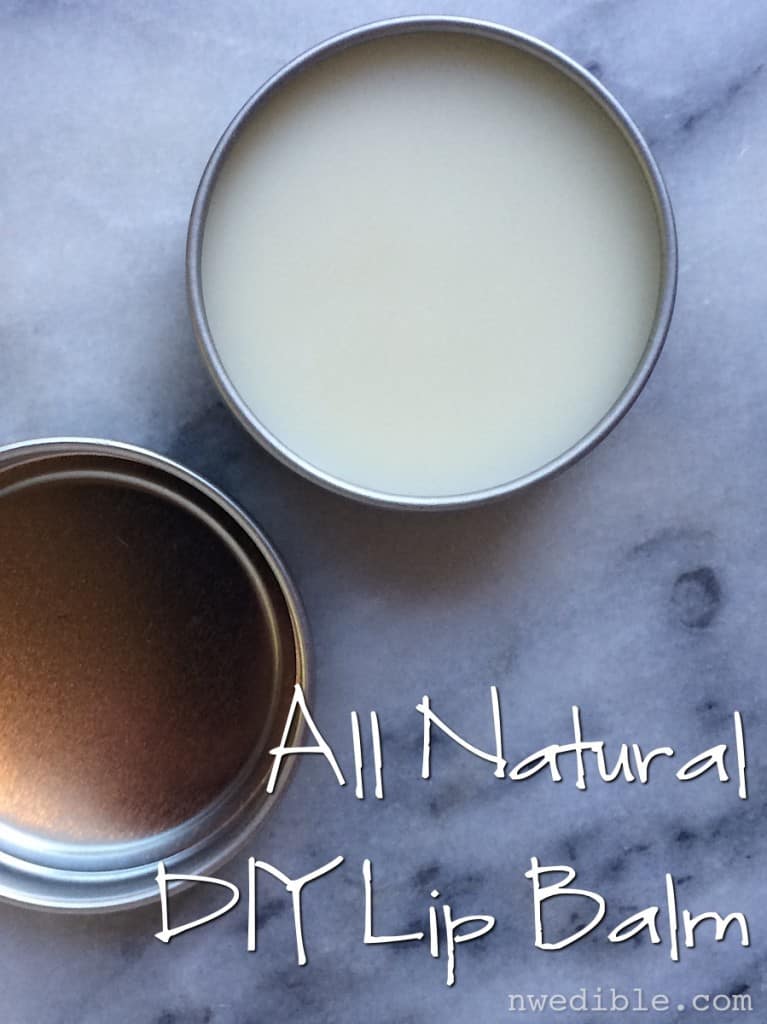
Give me 90 seconds and I’ll teach you how to make your own all-natural lip balm. This recipe comes from my new book, The Hands-On Home. and is great for chapped lips, holiday gifts and more.
If you need a cost-effective stocking stuffer or appreciation gift for the upcoming holiday season, I highly recommend getting a bunch of empty lip balm tubes and making this in bulk for all your friends.
Lip Balm Basics
A good lip balm will have a beeswax to oil ratio of between 1:3 to 1:5. So, for every gram of beeswax, you’ll want three to five grams of oil. If you prefer a firmer lip balm, are using purely liquid oils, or live in a hot environment, you’ll want to err of the side of less oil to beeswax.
If you like a softer texture, are using oils that are solid at room temperature (like coconut oil), or live someplace that never gets too hot, you can use a bit more oil to beeswax.
If you are planning on pouring your lip balm into a twist-up tubes, I recommend a firmer balm. If you let your lip balm set in wider tins, a slightly softer balm can be easier to scoop out.
Within the general 1:3 to 1:5 ratio, you can play around with the oils you use. I like a firm balm that isn’t sticky, so I make my lip balms at about 1:3 and blend several different oils and butters.
If you don’t keep a variety of body care oils on hand, you can make a perfectly respectable lip balm using one part beeswax to three parts olive oil and dropping in any skin-friendly essential oils you like.
While you can use measuring spoons to portion out the ingredients for this balm, your results will be more accurate if you measure by weight. I set my kitchen scale to grams for this purpose.
Lip Balm How To Video
See how to make lip balm from start to finish, in about 90 seconds.
Lip Balm Printable Recipe
This recipe makes about 45 grams, enough to fill two ¾- to 1-ounce lip balm tins or about 10 standard-size lip-balm tubes.
All Natural Beeswax Lip Balm
Ingredients
- 10 grams beeswax
- 5 grams shea butter
- 5 grams coconut oil
- 10 grams food-grade castor oil
- 10 grams sweet almond oil
- 10 drops vitamin e oil
- 7 drops peppermint essential oil
- 3 drops lemon essential oil
- 3 drops bergamot essential oil
Instructions
- In a small double boiler, or in the microwave set at medium-low power, melt the beeswax, shea butter, and coconut oil together.
- Add the castor and sweet almond oils, vitamin E, and essential oils to the melted beeswax mixture and stir to combine. Rewarm if needed to keep the balm warm and liquid.
- Pour the liquid balm into small, shallow tins or clean lip balm tubes. The balm will last for at least 6 months, though the essential oil scent may fade over time.
- To use, rub lightly over dry or chapped lips as often as needed.
Related Stuff!
I have used these lip balm tubes and they are very good.
For the absolute best selection of body care packaging, including the tins I use, I recommend Specialty Bottle. I’ve ordered from them several times and been very pleased. I like these screw top tins for my lip balm.
You can pre-order my book The Hands-on Home now via Amazon.
For you shop-local types, you can find a local, indie bookstore that will be carrying the book by searching IndieBound.
Here’s where I give myself permission to use my own recipe: (c)2015 by Erica Strauss. All rights reserved. Excerpted from The Hands-On Home: A Seasonal Guide to Cooking, Preserving, and Natural Homekeeping by permission of Sasquatch Books.
110


I love the video, although I was a little disappointed you didn’t speak in it. You show how easy it is to do! Lip balm is something my daughters constantly lose, and “good” lip balm (with good ingredients) is unreasonably expensive! I need to make some lip balm right now. . .
Let me just say I am DIY. I have found out, the hard way, I can’t do freakin everything though. I decided recently to support other DIY ers ( is that a word?). I’ve found several Local gals on Etsy who hand make my beauty products for me. Cheating? Maybe. I have time to specialize my own hand made junk and support my community at the same time. Happy to be organic, local, and a DIYer! Love your helpful Blog too!