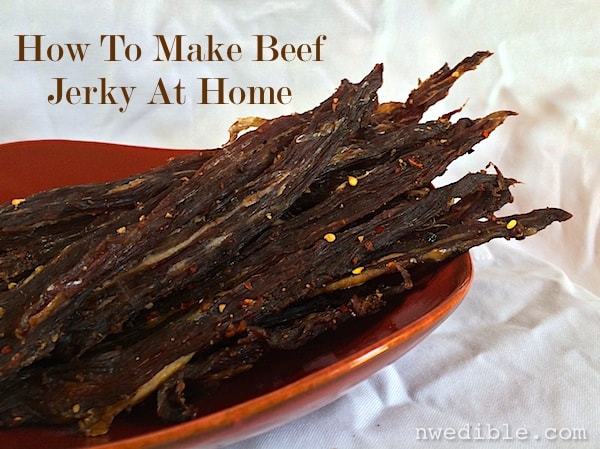
Jerky is a favorite snack around here. The kids will eat it as willingly as sweet stuff like muffins or cookies, and it’s easy and lightweight enough to carry around in a jacket pocket or mom purse.
The only issue we have with jerky is the price – have you costed out grass-fed beef jerky lately? Not cheap. So when I placed my latest wholesale order for beef, I purchased several flank steaks with a mind towards making my own DIY Beef Jerky.
Jerky is easy – it doesn’t require any special equipment or ingredients (though having a food dehydrator makes the process easier), and the homemade stuff tastes so much better than store-bought.
Step One: Select Your Cut of Beef
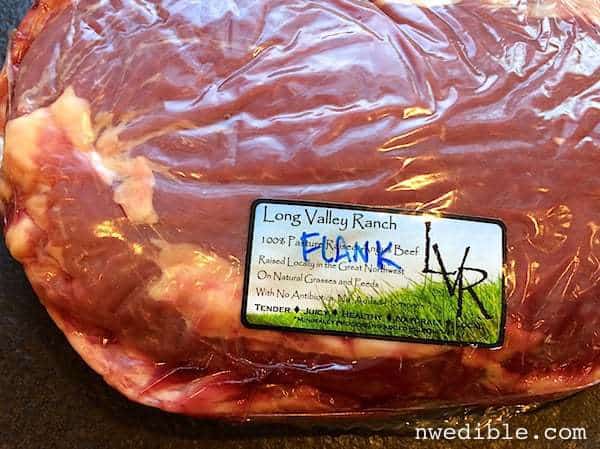
I used flank steak, so that’s what is shown in all the photos in this tutorial. Flank is a flavorful but fairly lean cut that holds up well to marinating and drying. It’s also small, so it’s easy to work with at home.
Other good cuts of beef for jerky come from the round. Eye of round is excellent, but top or bottom round are fine too. Flap meat is similar to flank, and if well trimmed of excess fat can be used for jerky as well.
If you opt for a different cut of beef for your jerky, here’s a couple things to keep in mind:
- Keep it lean! Fat in jerky makes it more prone to rancidity and spoiling. Your jerky meat doesn’t have to be completely devoid of fat, but the leaner the meat the longer the jerky will last. Avoid well-marbled cuts.
- Keep it fresh! A high-salt marinade and dehydration is what makes beef jerky shelf stable. The way I make jerky, the meat isn’t really cooked, so it is vitally important that you start with very fresh, well handled meat. Although it might be temping, this isn’t the place to use the markdown manager’s special meat that’s 2 hours from its sell-by date.
Step Two: Prepare and Trim Your Beef
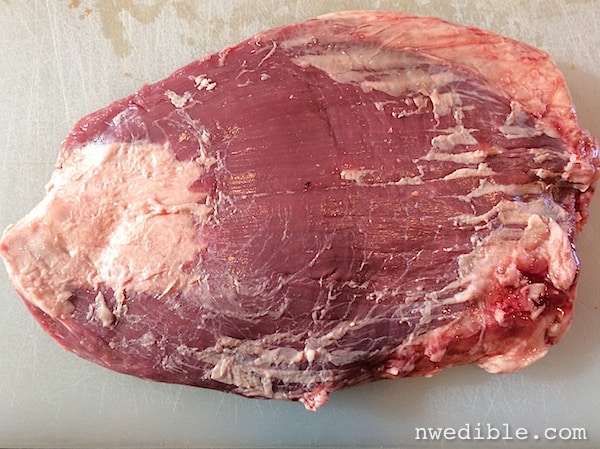
The goal is to trim the beef of any excess fat and silverskin. Use a sharp knife – I like a filet knife for this – and remove any pockets of fat or shiny, thick membranes on your flank steak.
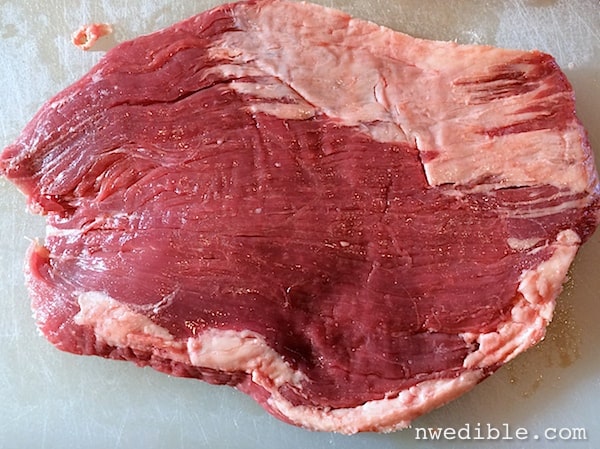
Here is one side of a flank steak before trimming:
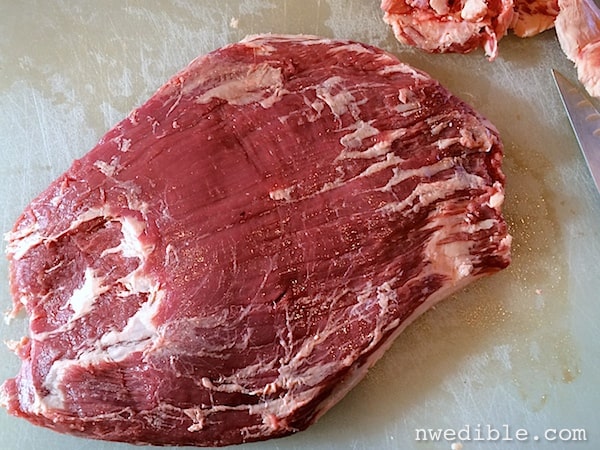
And after the excess fat has been trimmed away:
The other side, before trimming:
And after:
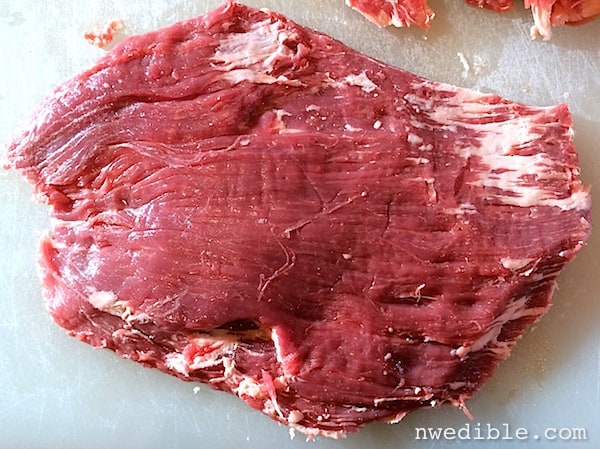
As you can see, some bits of fat do remain, but most of the exterior fat is gone.
Step Three: Slice With The Grain Or Across The Grain?
Your beef for jerky should be sliced about 1/4-inch thick. The thinner and more uniform you can make your slices, the better. It can help to slightly freeze the beef before slicing.
You have to make a decision about how you are going to slice your beef. The fibers of meat have a directionality. This is called the grain of the meat. If you slice your meat with the grain, you will get a chewy jerky. If you slice across the grain, your jerky will be easier chew but more prone to falling apart. I recommend slicing your meat with the grain.
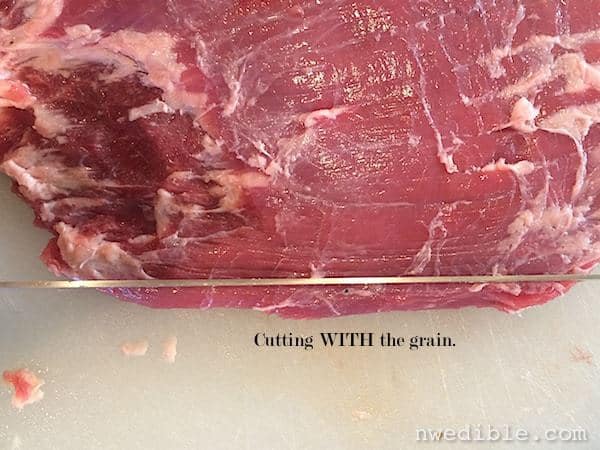
Flank steak has a very distinct, course grain. When you are looking down on a whole flank set widthwise in front of you, this grain is horizontal with a slight fanning out towards the wide end of the flank.
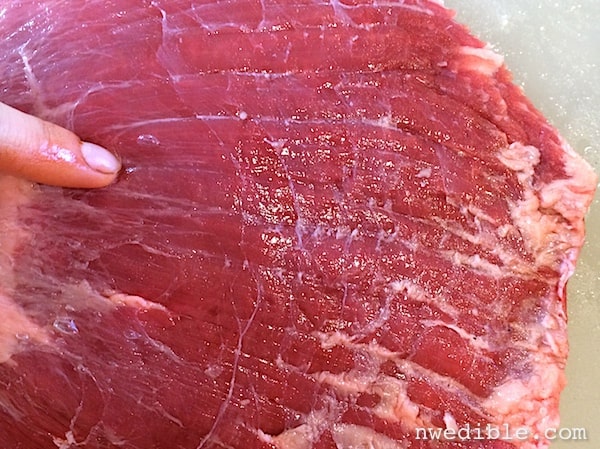
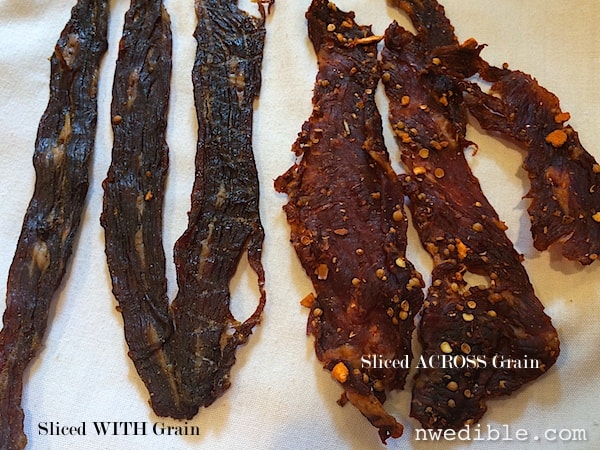
If you cut across the grain (like below), those fibers are all kept very, very short so there isn’t a lot of “chew” to the finished jerky – it comes out easier to chew, almost brittle – and there also isn’t a lot to hold the jerky together as it dries.
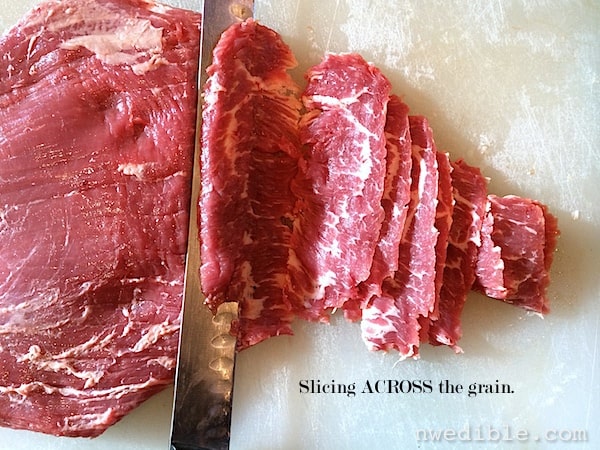
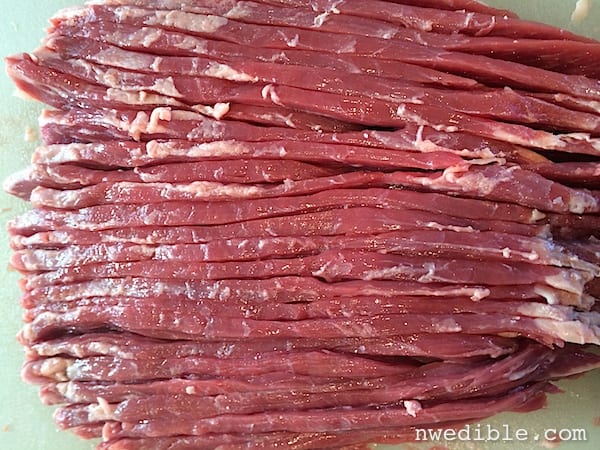
If you cut with the grain, the muscle fibers are kept much more intact, so the jerky dries very well, and is chewy – more work for your jaw!
Flank steak cut into slices with the grain:
The two batches of jerky below show the difference in slicing. The jerky on the right, which was sliced across the grain, was prone to breaking apart. There is no right or wrong way to cut your beef for jerky, but I prefer the results from cutting with the grain.
Step Four: Season Your Jerky
A dry-rub or marinade is your opportunity to flavor your jerky as you like and add some food-preserving salt and sugar to the mix. I tried four different seasonings – one dry rub, two wet marinades and one hybrid thick-paste-kinda-marinade. All recipes are below.
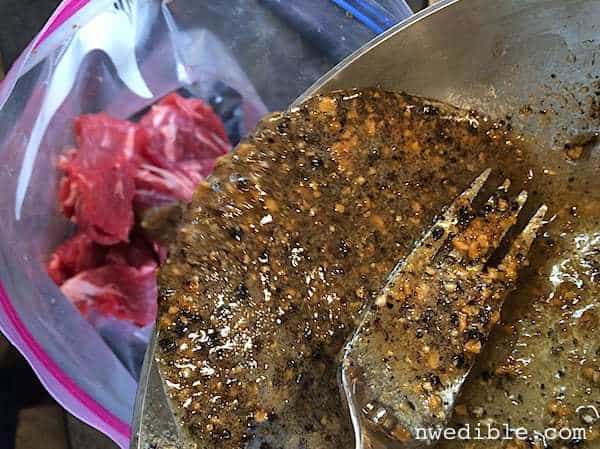
The basics of seasoning are simple: mix up your rub or marinade, add it to your sliced beef in a glass container or large zip-top plastic bag, and refrigerate.
I refrigerate my beef for jerky for 24 hours. That’s 24 hours-ish. An hour here or there isn’t going to make a difference – this isn’t rocket science. You can reduce the marinade time if 24 hours gives you a product that’s more salty than you like – Alton Brown calls for 3 to 6 hour marinade for his recipe. If you are getting the impression that jerky-making is pretty flexible, you’re right.
I keep it simple by getting my beef in a marinade around mid-day, refrigerating overnight, and getting the jerky into the dehydrator around mid-day the next day. This gives me enough time to complete the dehydration step before I go to bed.
Step Five: Dry Your Jerky
Traditionally, jerky was hung and dried in the cool smoke over a fire. If you have the inclination, by all means smoke-dry your jerky. I use a food dehydrator to dry mine, because it’s easy and consistent.
Remove your jerky from the marinade or dry rub and shake off any extra marinade or clumps of spices. I do not rinse my jerky.
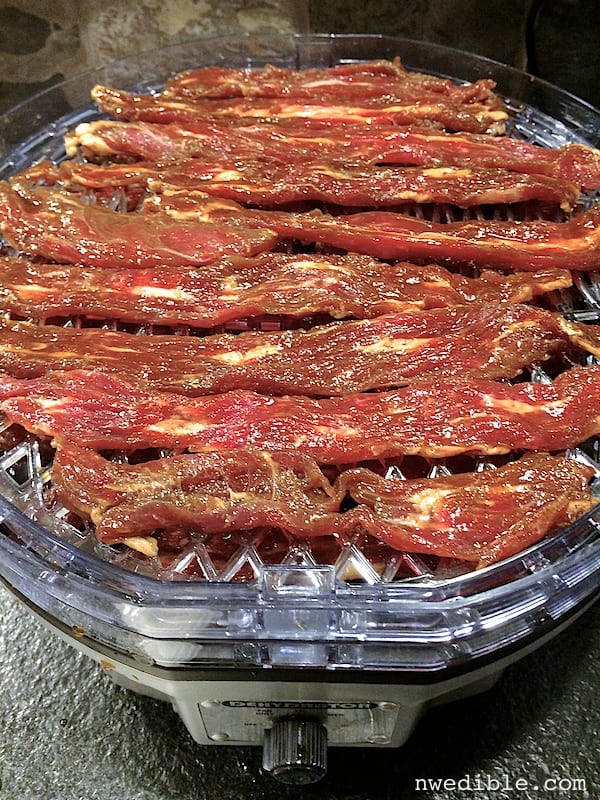
Lay your jerky slices out in a single layer with no overlap in your dehydrator. Set your dehydrator to 155 degrees. Dry at 155-degrees (this is typically the highest setting on a dehydrator with a heater unit) for 4-6 hours, until the jerky is fully dry and dark throughout and bends to a tear without beads of moisture.
If you don’t have a dehydrator, or if your dehydrator doesn’t have a fan or an adjustable heating unit, you can use a different method of drying. You can dry your jerky in the oven as described here or use the Alton Brown box-fan hack described here.
Official recommendations call for an heat-pasteurization step in the oven following drying. I don’t do this, but you should read about what’s involved here and decide for yourself if you are comfortable skipping this step.
Step Six: Store Your Jerky
Let your jerky cool completely to room temperature before storing it away. If you put warm jerky into a mason jar or plastic bag, moisture will form in the container. This can spoil your jerky, causing it to mold. Gross.
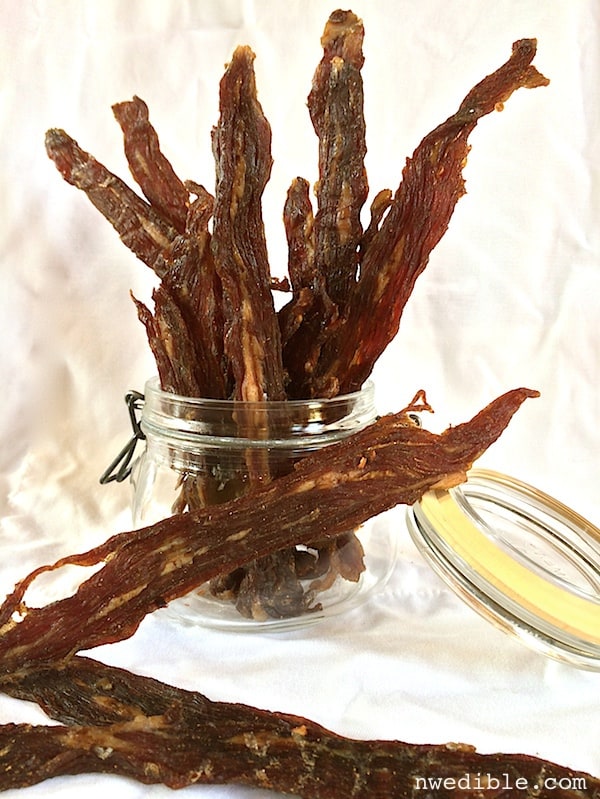
Store it in an air-tight container or well wrapped at cool room temperature for up to two months. For longer storage, or if you are a spooked about keeping slabs of home-dried meat at room temp in your pantry, keep your jerky in the freezer.
Beef Jerky Recipes: Four Variations
1. Alton Brown’s Classic Beef Jerky
Adapted from The Food Network
Of course Alton Brown has a beef jerky recipe. He’s the man’s man-chef! I tweaked his marinade list to accommodate what we had on hand (no liquid smoke or onion powder). This jerky is balanced and tangy, neither too sweet nor too spicy. Classic flavor.
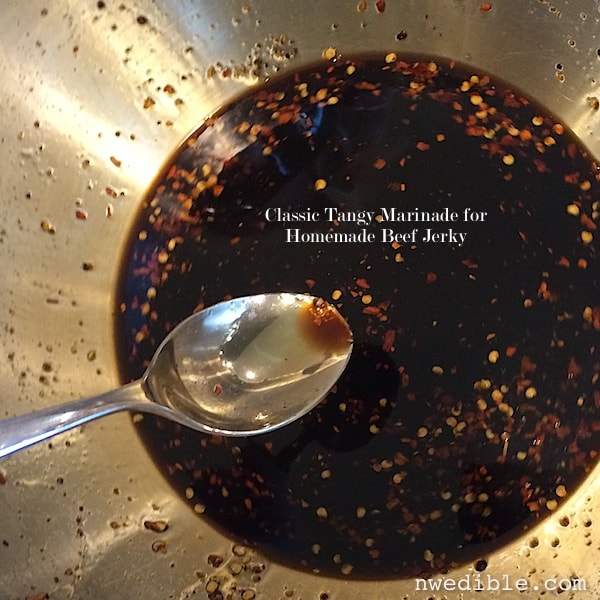
Ingredients
- 1 flank steak, 1 1/2 to 2 pounds
- 2/3 cup Worcestershire sauce
- 2/3 cup soy sauce
- 1 tablespoon honey
- 2 teaspoons freshly ground black pepper
- 2 teaspoons garlic powder or 2 cloves smashed, minced garlic
- 1 teaspoon red pepper flakes
Trim and slice flank steak. Combine remaining ingredients in a small bowl to make the jerky marinade. Add prepared flank steak to the marinade. Refrigerate marinating flank steak for 24 hours. Drain flank steak, lay out on trays of food dehydrator and dry thoroughly, 4-6 hours.
2. Honey Garlic Beef Jerky
I was trying to duplicate the flavors of the honey-garlic hot wings from I used to get from a hot wing dive back in college. I think I’ve nearly nailed it. The honey makes this jerky sticky and sweet and the garlic and black pepper add a lot of zip.
This is basically spicy beef candy – if you are a purist who doesn’t like a sweeter jerky, this is not the recipe for you, but if you like the combination of savory, sweet and spicy all together, you may enjoy it. I’m presenting the recipe just as I made it, but when I make this again I will add 1/4-cup apple cider vinegar to the marinade for a more balanced flavor.
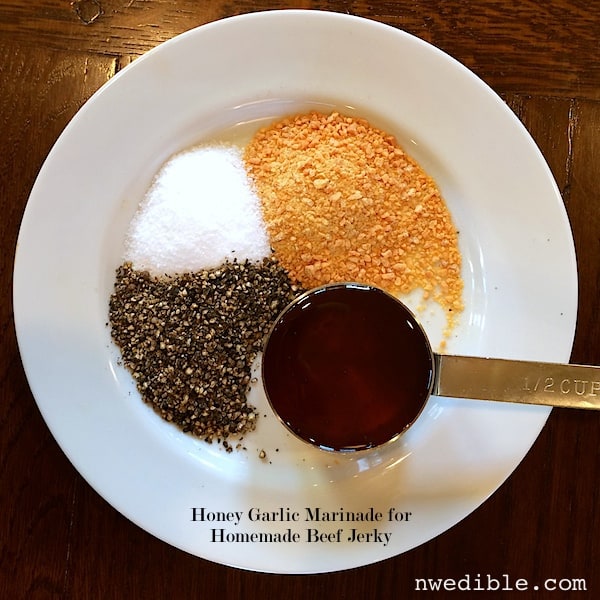
Ingredients
- 1 flank steak, 1 1/2 to 2 pound
- 1/2 cup honey
- 2 tbsp granulated garlic
- 2 tbsp kosher salt
- 2 tbsp cracked black pepper
Trim and slice flank steak. Warm the honey in a small saucepan, to make it more free-flowing. Add the remaining ingredients to the honey, stir together and let cool. Add prepared flank steak to the marinade. Refrigerate marinating flank steak for 24 hours. Drain flank steak, lay out on trays of food dehydrator and dry thoroughly, 4-6 hours.
3. Mandarin and Star Anise Dry Rubbed Beef Jerky
Adapted from America’s Test Kitchen DIY Cookbook
This is a dry-rubbed jerky. The spices and salt work on the meat without added liquid. I loved the outcome, which was very full-flavored.
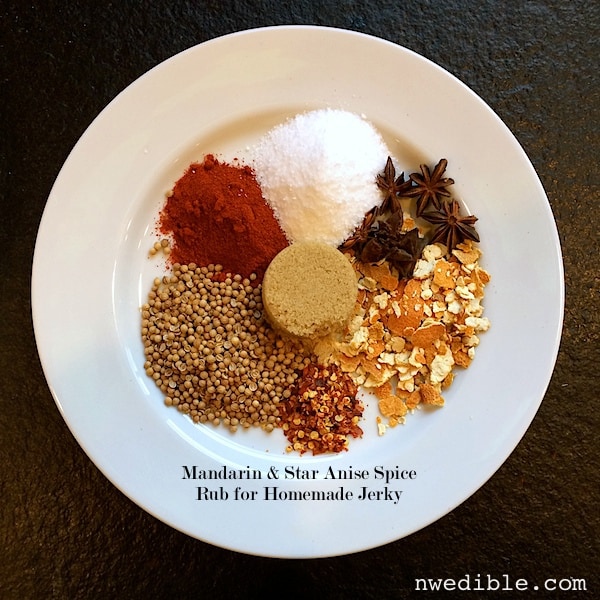
Ingredients
- 1 flank steak, 1 1/2 to 2 pounds
- 1/8 cup kosher salt
- 1/8 cup brown sugar
- 1/8 cup whole coriander
- 1/8 cup tangerine peel, dried or fresh minced
- 5 whole star anise pods
- 1 tablespoon paprika
- 1 teaspoon red chili flake
Trim and slice flank steak. Combine remaining ingredients in the bowl of a food processor fitted with a metal blade and process until the spices are fairly uniformly ground. Gently toss the slices of the prepared flank steak with the spice mixture and refrigerate the spice-rubbed flank steak for 24 hours. Brush excess spice rub from flank steak strips, lay strips out on trays of food dehydrator and dry thoroughly, 4-6 hours.
4. Five Spice Teriyaki Beef Jerky
The kids favorite, because – duh – it’s teriyaki. Sweet and salty without too much kick. This variation went fast. Feel free to play with the spices – I love five spice powder with meat, but you can adjust to your preference.
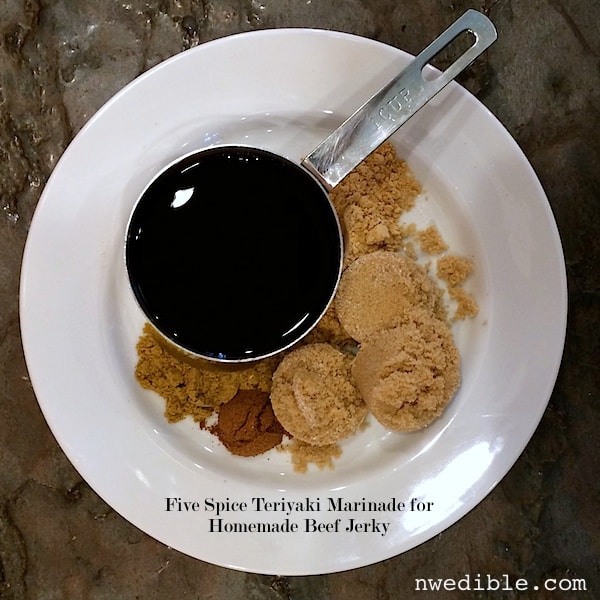
Ingredients
- 1 flank steak, 1 1/2 to 2 pounds
- 1 cup soy sauce
- 3/8 cup brown sugar
- 1 tsp five spice powder
- 1 tbsp ground ginger
- 1 tsp ground cumin
Trim and slice flank steak. Combine remaining ingredients in a small bowl to make the jerky marinade. Add prepared flank steak to the marinade. Refrigerate marinating flank steak for 24 hours. Drain flank steak, lay out on trays of food dehydrator and dry thoroughly, 4-6 hours.
Stuff I Use To Make Beef Jerky…
(These are affiliate links. Purchases made through these links cost you nothing extra but allow me to bring you more giant step-by-step tutorials. Full financial disclosure here. Thanks for your support, guys. If we were lost in the woods together I’d totally share my last piece of jerky with you.)
The best cookbook for DIY enthusiasts ever: The America’s Test Kitchen DIY Cookbook
The dehydrator I use: Waring Pro DHR30 Professional Dehydrator
My dream dehydrator: Excalibur Stainless Steel Dehydrator with Stainless Steel Trays
My favorite really sharp knife for slicing beef into thin strips (and nearly everything else): Shun Classic 8-Inch Chef’s Knife
Have you ever made jerky at home? How do you flavor your jerky?
154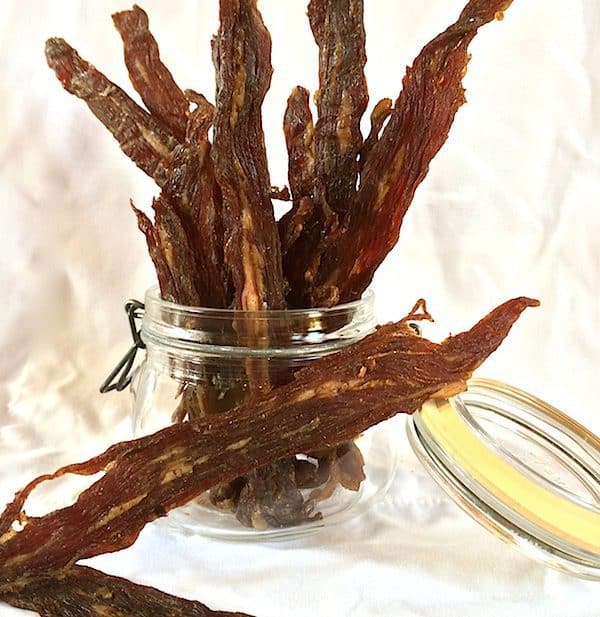
Really well written and thorough tutorial. Thank you!
Great page! Thanks for all your work and sharing with us. I recently started making jerky in the oven, 3 batches and I’m hooked. Today my shiny new dehydrator was delivered so jumpped online for some research and found your site. Very informative and well laid out! I now have a great place to start, can’t wait, just need to decide which to make first. With some experience I’ll do my own experimenting. I hope you will continue to share your own!
Thanks so much!