


Back Shelves:


Heavier stuff is kept towards the bottom as much as possible. Look how much room I still have for more canned peaches! Woo-hoo!

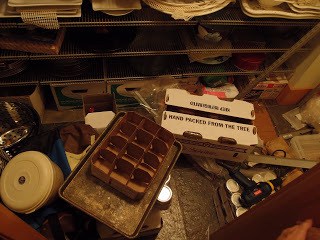
Right Shelves:


I’m not always 100% perfect about this, but I highly recommend labeling staple foods with the date you buy them. This makes it a lot easier to ensure you use the oldest item first. This concept is called FIFO (First In, First Out) and it is a fundamental principle for food storage and rotation.

FIFOing helps ensure I use up the last of the tuna purchased in March before we move on to eating the more recently purchased August tuna. (That makes it sound disturbingly like a wine vintage, doesn’t it?)

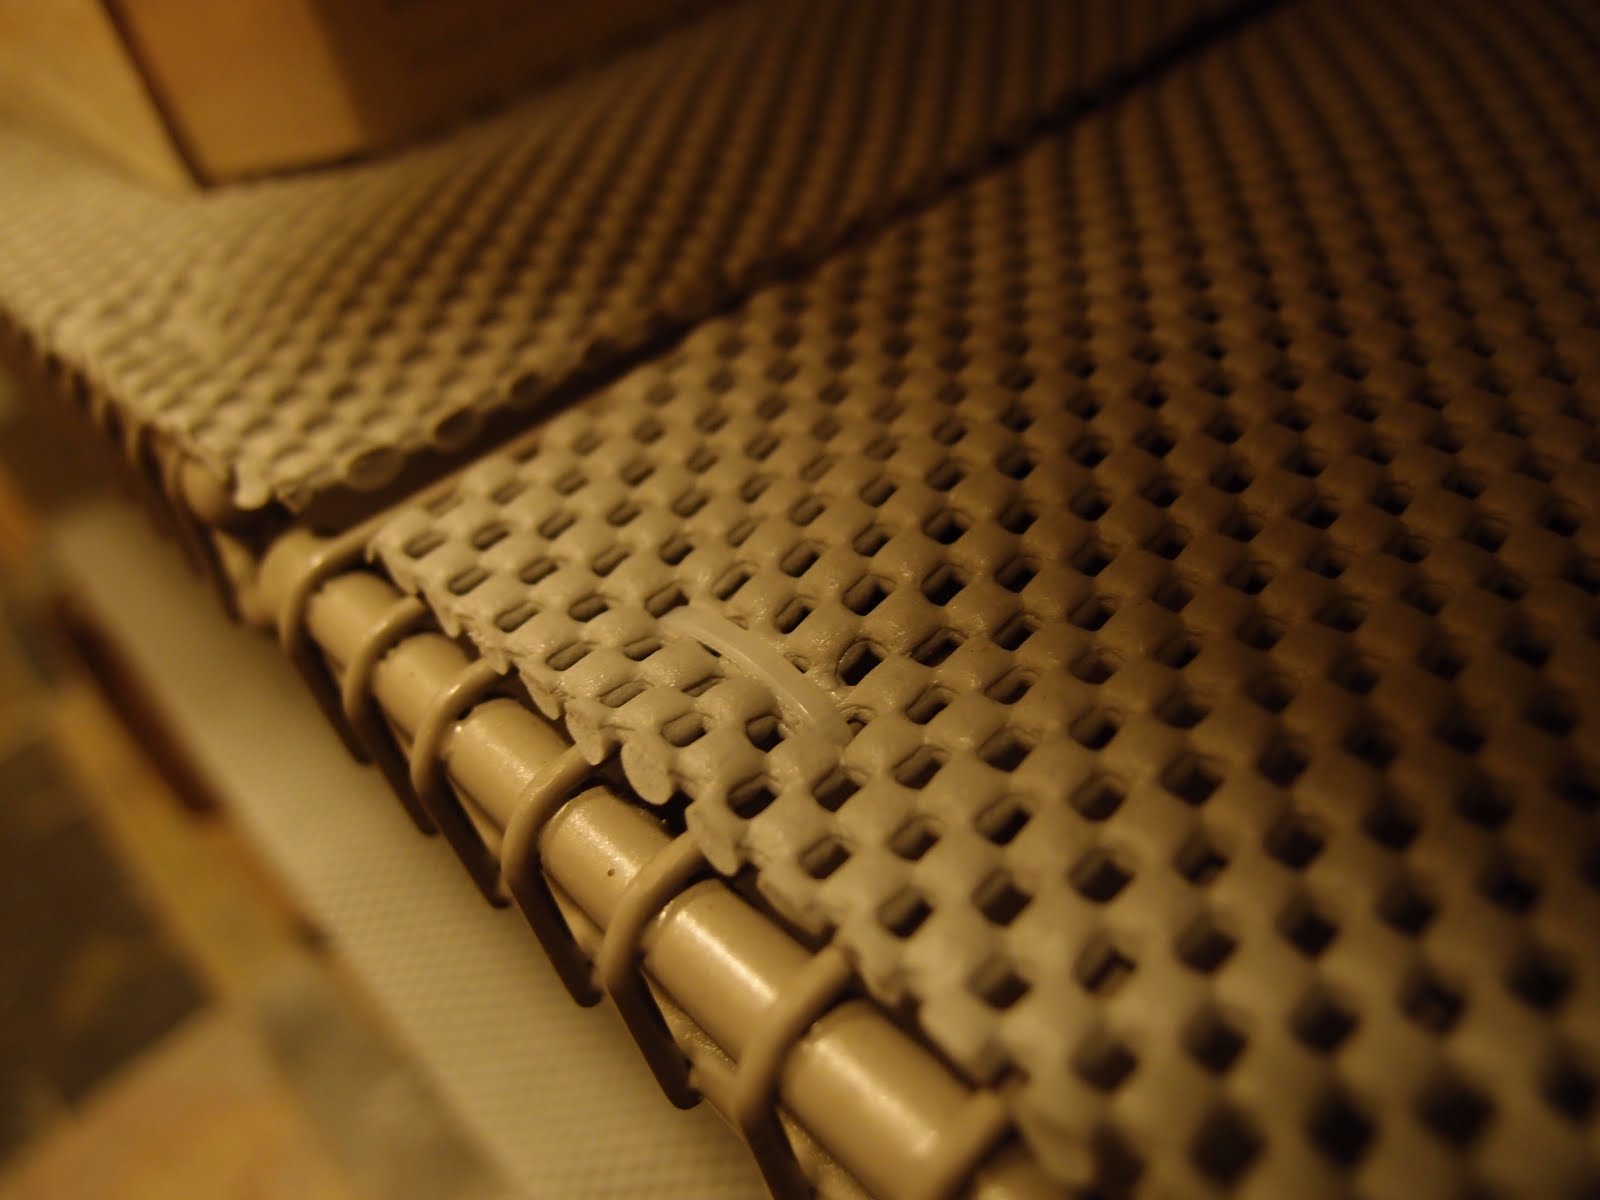
On a lark I cut up an unused section of area rug pad – you know those slightly sticky, bumpy rubber pads you put between a rug and a hardwood floor? I trimmed one to fit the shelves that were designated to hold my glass jars.
The slight tackiness of the pad seems to help hold the jars in place and I like the extra cushioning for the glass. I “sewed” the pad onto the wire shelving with small size zip-ties. This stops it from moving when Oliver tries to yank it, with the jars atop it, to the floor.
So far, so good. No cute touches were added: nothing was painted, decorated or even really cleaned beyond a good sweeping. But the room works now, and works hard.
This organization scheme seems to be easier to keep organized than previous, over-stuffed attempts. It really helped to donate or move to sub-prime real estate all the stuff that we really don’t use more than a few times a year, like holiday platters.
Because of the knock-on effect on the garage, mud room and kitchen, this “pantry” re-org was really a multi-room project that took the better part of a week to complete. And I’d still prefer you not look in the garage, okay?
Still, it was well worth the time to make the pantry functional again. And as to the cost: $0. Gotta love that.
0
First – it looks amazing. I need you to come do mine next please. 🙂
Second – I store my flour in the freezer. It's one of those "supposed to do" cuz it keeps out bugs, humidity and saves it from going rancid. Just thought I'd throw that out there since you wrote the date on it. The flour I leave out is usually gone within the month – might be the same in your case too.
Andrea – yup you're totally right. I should pop that stuff, or at least the whole wheat, in the freezer. I have a bag of brown rice in there now. Thanks for the great reminder.
Yep, far better to throw it in the freezer than throw it out when it smells nasty or, worse yet, moves when you tilt the jar. I'd forgotten about some sweet brown rice that I had in a regular cabinet. Although I saw no actual insects, the grains of rice moved after I tilted the jar a few times … moved after everything had settled from the tilting. Plus it stunk! Oh well, somebody's got to feed the compost pile.
Your new organization looks great and very functional. Enjoy!
Shoot. I'd like to go shopping in there.
Very impressive…brava!
oh I NEED a pantry! 🙁
My kitchen is getting new cupboards and such next summer…. and I can barely walk thru the garage at the moment…. but working on it.
I wish my pantry space was that big! Nice job and you are ready for anything!!
Impressive!
I have a laundry room, per se, off the kitchen that is just begging for shelves, but would need to go with cabinets rather than exposed stuff. Its a thoroughfare to the family room.
oh, and PS: I won't look in your garage if you don't look in mine! HA – my two-car barely holds one! Great work!
This time next year I hope to have a harvest abundant enough to send me back here stealing ideas. Fun post and I'm glad to see the line-o-wine getting its due premium shelving position!
This looks great. You did a lot with a $0 budget. I also live in the pnw, and can't help but ask what you do for earthquake proofing in food storage? I prefer glass to plastic in food storage, but I am concerned about losing everything if the earth starts moving. Any ideas/advice? My current strategy is to try to keep everything glass in a cupboard with a door… less than perfect in so many ways.
Hi Jess,
Thanks. Honestly, at the moment my earthquake strategy is: hope there isn't one. Not ideal, though I do think the carpet padding shelf liner would go some way to cushioning jars and keeping them upright in mild movement. I've seen great "prepper" pantries with lips built onto the front of the storage shelves. Most of these are DIY solutions that wouldn't be hard, if you could do wooden shelves. Metro shelving, the wire heavy duty kind you can get at costco and restaurant supply stores, has similar "lips" that brace in so things can't roll of the back of the shelves. If our currect system starts to pull out of the wall again, that's what we're going for. I've also considered maybe running a bungee cord along the front of critical shelves to act as a bit of a brace in the event of an earthquake. Not sure how much it would do, but it's an idea.
Check out pelenaka's "net" in front of her shelves. It'd be pretty easy to do something like that.
Hmm, the metro shelving I looked at didn't have a lip so I was planning on building wooden shelves to fit our "pantry" space (not a real pantry), but … well, that's more work. I'll check out some other metro shelving and see if I can find a more satisfactory model of shelves.
My strategy has also been "just hope there isn't one."
I have no idea if you’ll ever see this, since I’m writing it nearly a year after the post. I discovered your blog about a week ago and have been reading pretty much ever post you’ve ever written (while ignoring my children and the tomatoes rotting outside, so thanks for that ;-)). We live in a tiny, two-bedroom apartment, so all of my pantry items are stuffed in various cabinets in my kitchen. I do try to keep them as organized as possible, but I like organizing (it makes me feel in control of my life). Your writing is inspiring, interesting, and entertaining all at the same time. Thanks!
Oh, I have one mostly unrelated question, too: does your entire house smell like beer during the fermentation process? My husband wants to start brewing his own but is nervous about potential odors in our tiny living space.
Hi Sarah, Thanks for your kind words. 🙂 The house smells warm and sweet and beer-malty during the brew day, when the mashing and boil kettle and what not are going. It’s a different smell from beer itself, but it definitely pervades the entire house. The several weeks while the beer is actually fermenting in a carboy there is no distinct smell unless maybe you get your nose right up to the airlock and huff it. Once the beer is in stainless kegs or bottled there is, obviously, no more smell than store-bought beer in bottles…unless you misgauge your bottle conditioning and a few bottles explode. 😉
One quick question:
Where’s the Obligatory Stand-Mixer?