Last week the Washington State Fruit Commission sent me a box of peaches. At least, I thought they sent me a box of peaches. After doing a quick unboxing video for my Patreon supporters and asking for suggestions on how to preserve this entire box of peaches, I realized the lower half of the box was really nectarines.
Oops.
When it comes to canning, nectarines have one big advantage over peaches: you don’t have to peel them. Nectarine skin is tender and thin, and adds a nice rosy color to preserves. As I am both fairly lazy and fairly gluttonous, I settled on a plan: I would eat all the peaches, and use the nectarines for jam.
This is a straightforward no pectin added jam with a twist. By substituting brown sugar for some of the more traditional white sugar, you get a rich, caramelized flavor that’s lovely with the natural, assertive acidity of nectarines. Just a touch of ginger and cinnamon adds to the feeling that you’ve made delicious nectarine crisp in a jar.
Nectarine Brown Sugar Jam Step by Step
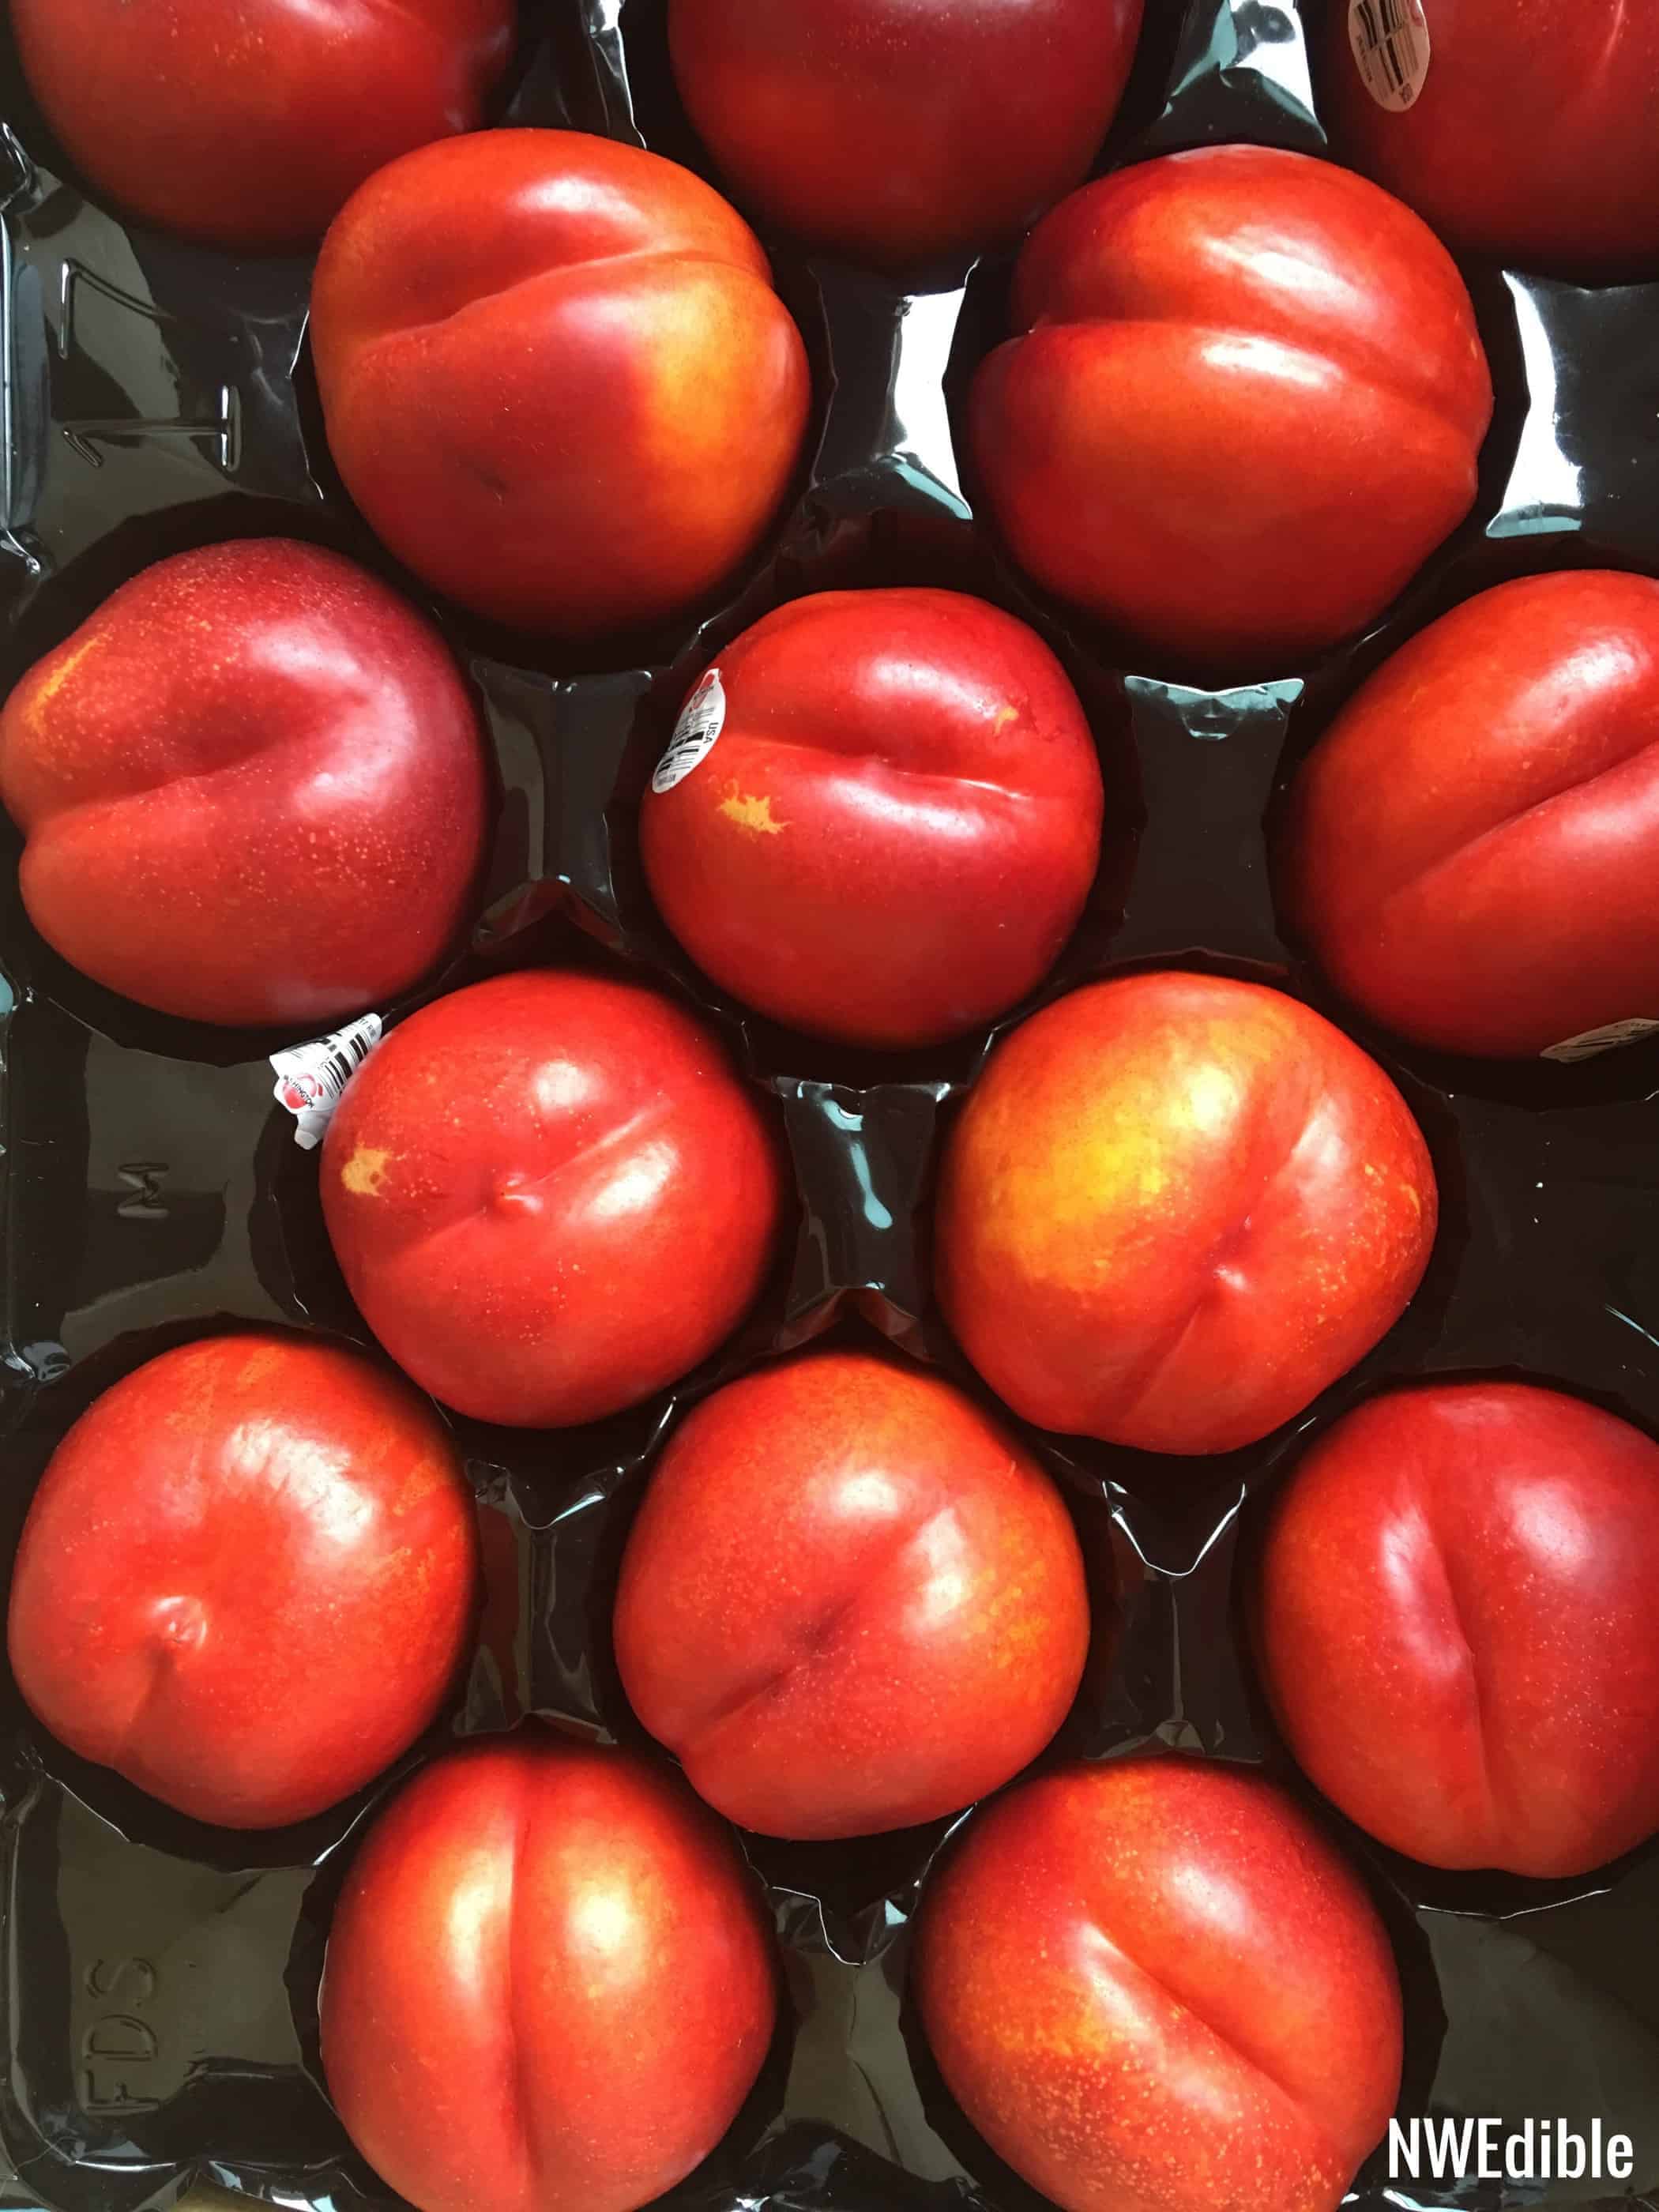
Nectarines that are firm-ripe work better for jam than very soft ones. The fruit holds up better to cooking and the gel is firmer when this jam is made with firm-ripe (not hard but not very soft, either) fruit.
The nectarines in my box were clingstone. This meant the nectarine flesh did not simply twist away from the pit as happens with a freestone nectarine or peach. Clingstone or freestone, whatever nectarines you have are fine. Jam does not demand perfectly tidy, uniform slices. Hacking the fruit off from around the nectarine pit before chopping it up a bit gets the job done and no one is any the wiser.
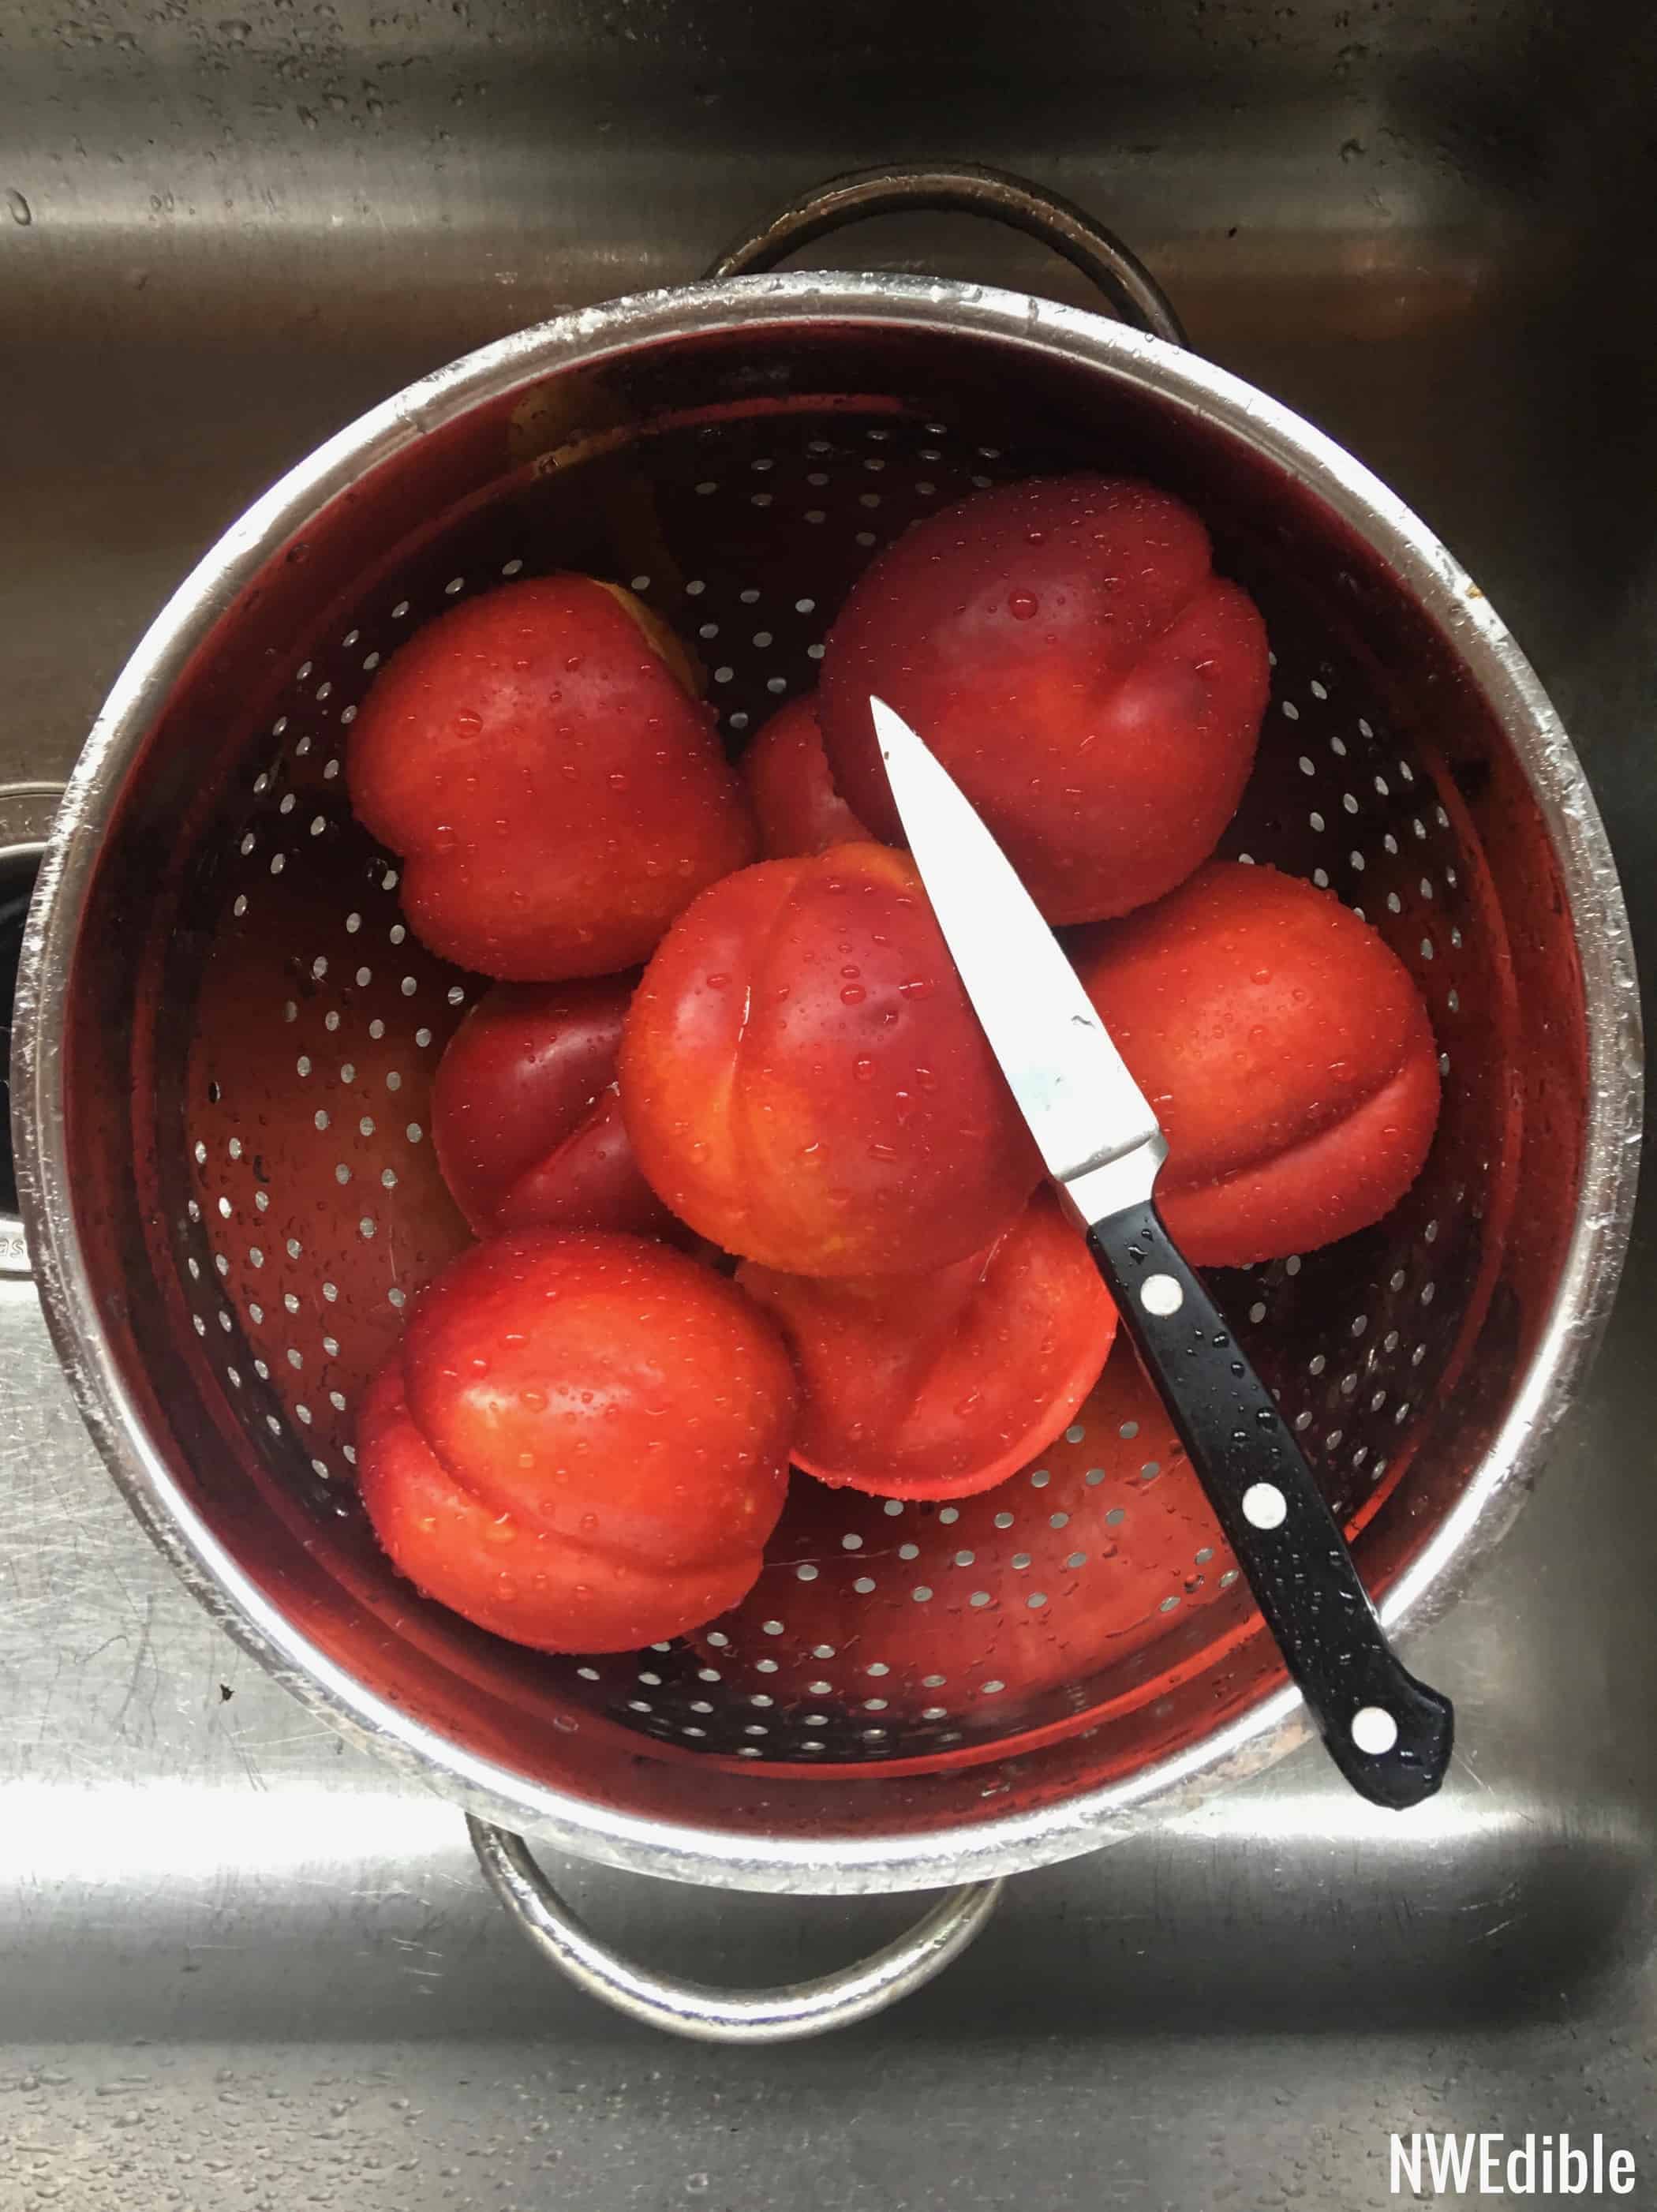
Wash your fruit but don’t peel – this is, after all, the beauty of nectarines! If your nectarines are clingstone, slice the flesh off the pit, then rough chop the nectarine flesh.
If your nectarines are freestone, cut around each nectarine top to bottom, following that cute little butt cleft line. Then cut top to bottom, 90-degrees off from around the first cut. Your nectarine should be quartered, but still hold intact because of the pit. Finally, slice your nectarine around the equator to make 8 equal wedges of nectarine. Now twist your nectarine and all those wedges should fall right off the pit fairly cleanly.
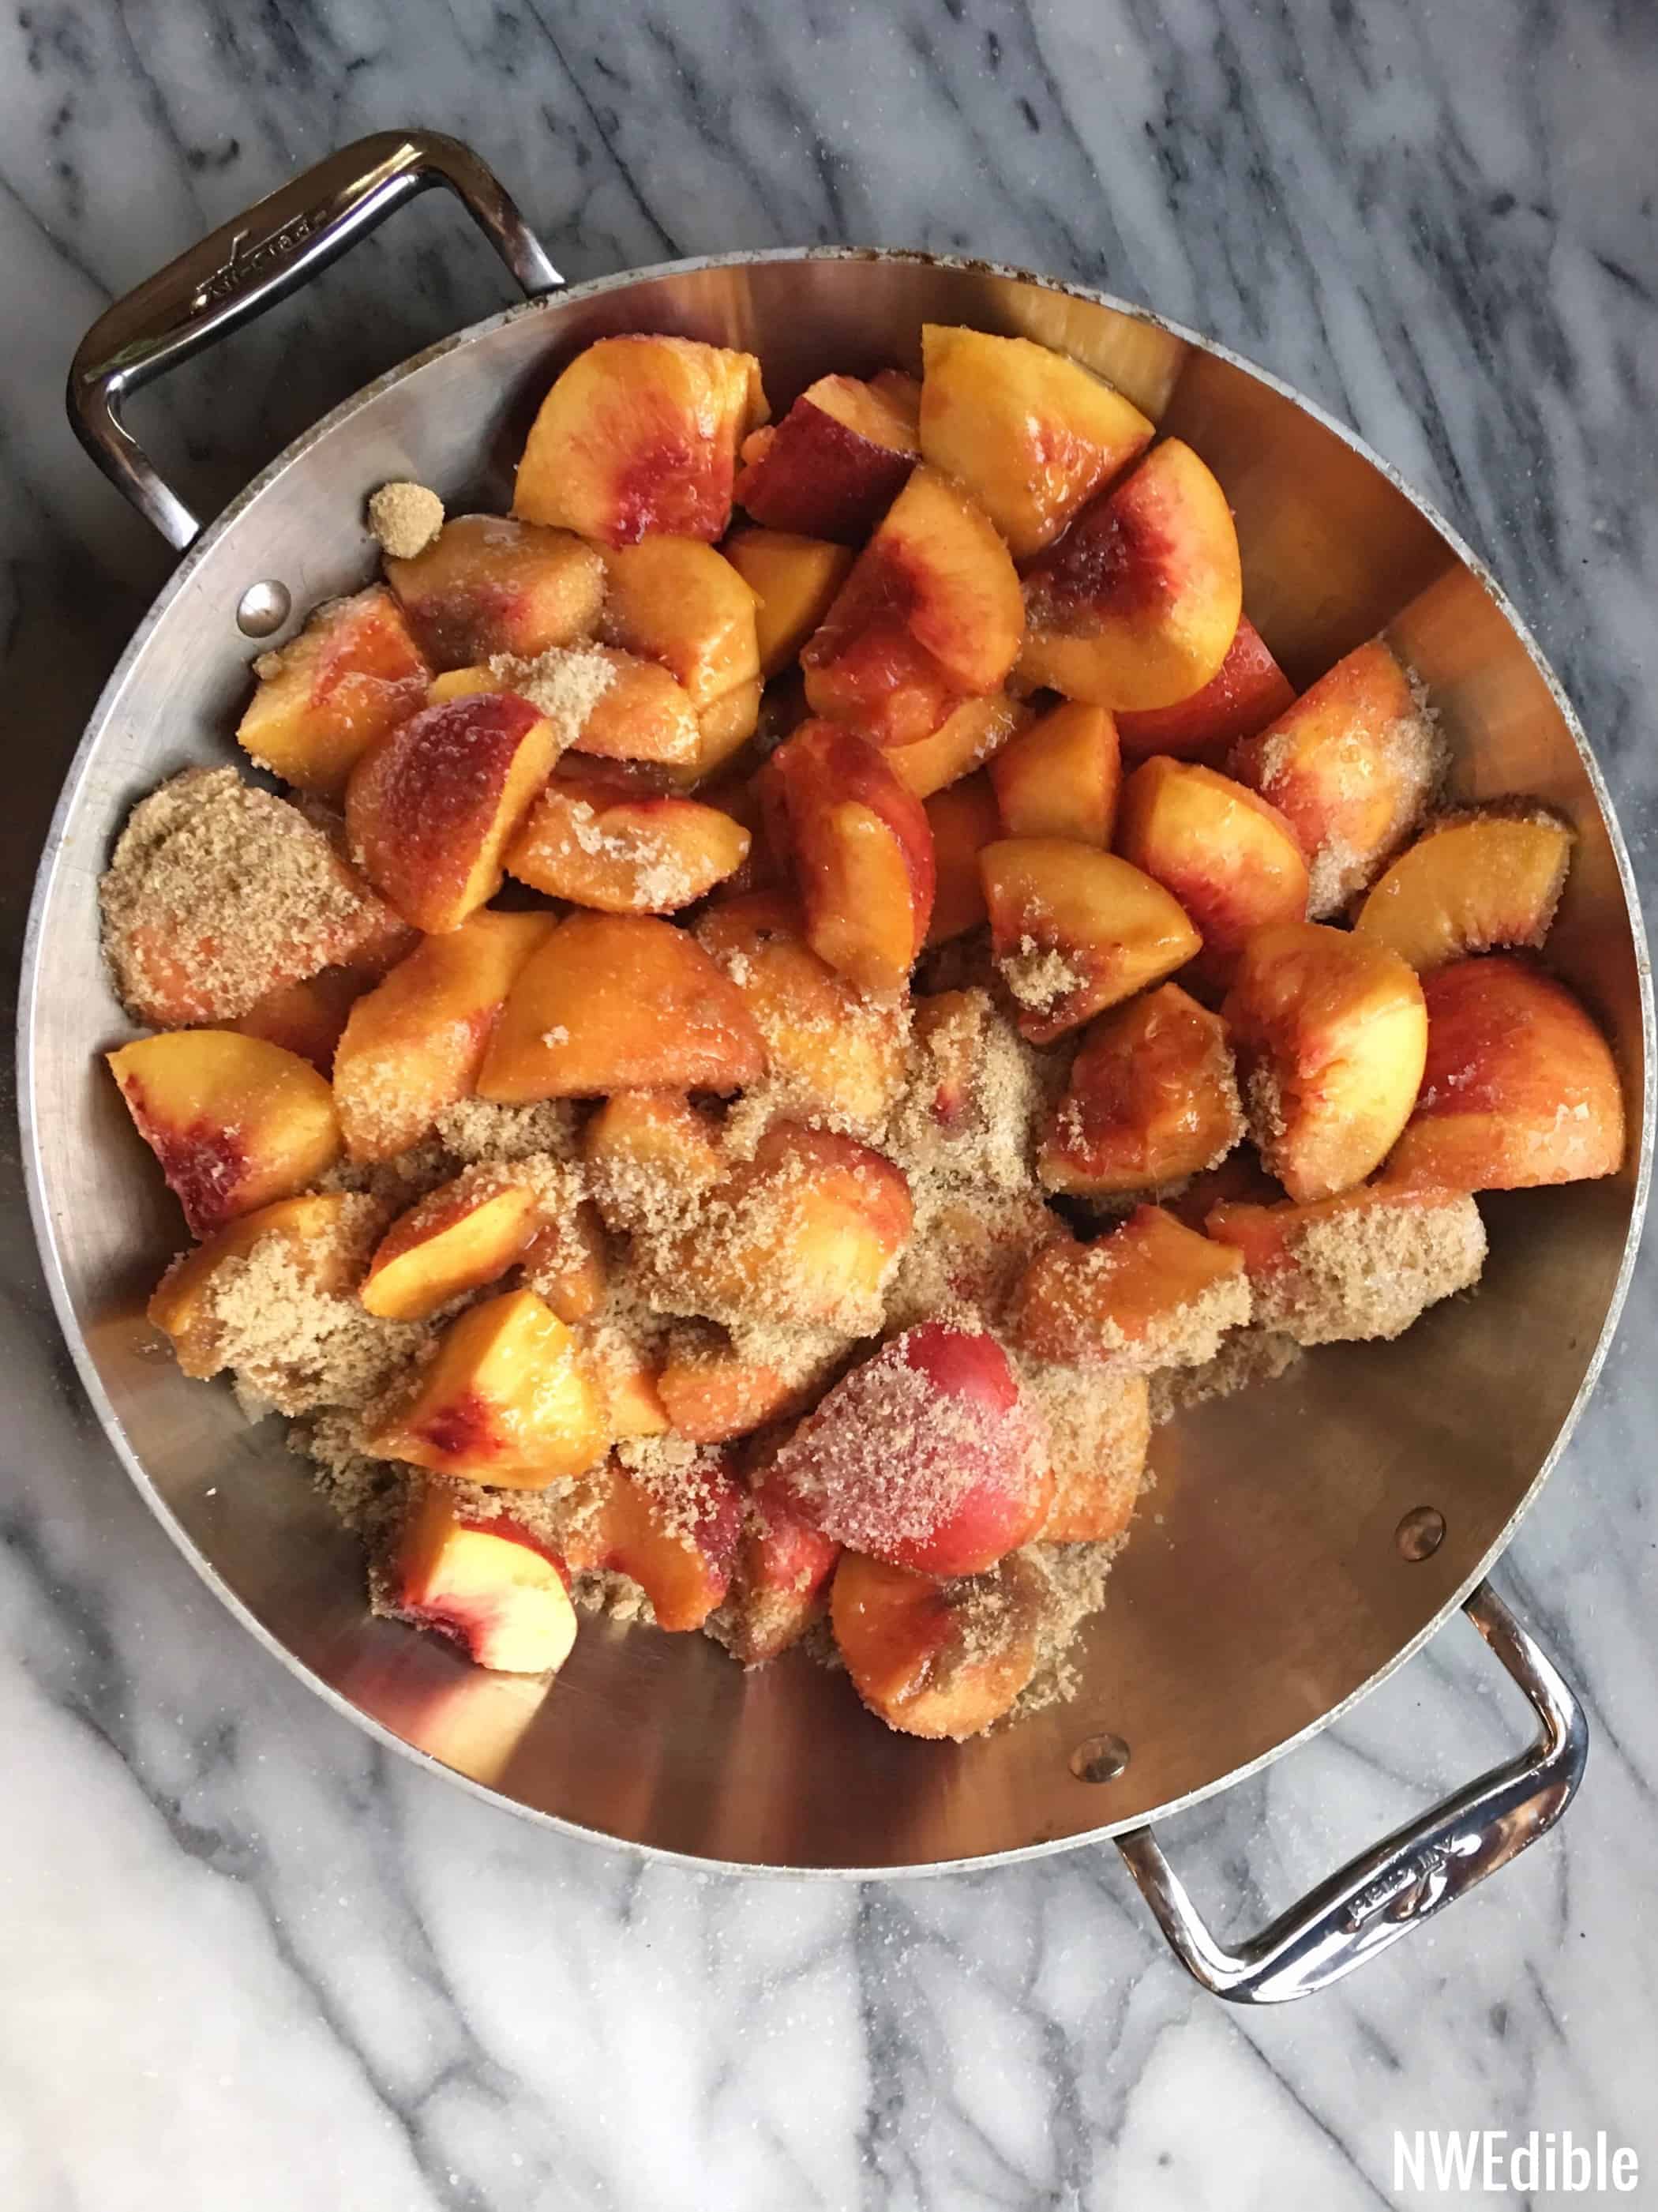
Put the nectarines and both the brown and granulated sugar in a nice, wide pan. For jam making, I like a wide sauteuse pan like this, with a volume of at least 4 quarts, so you get nice fast evaporation but with less chance of boil over.
Pop your jam on the heat and start bringing everything up to a boil.
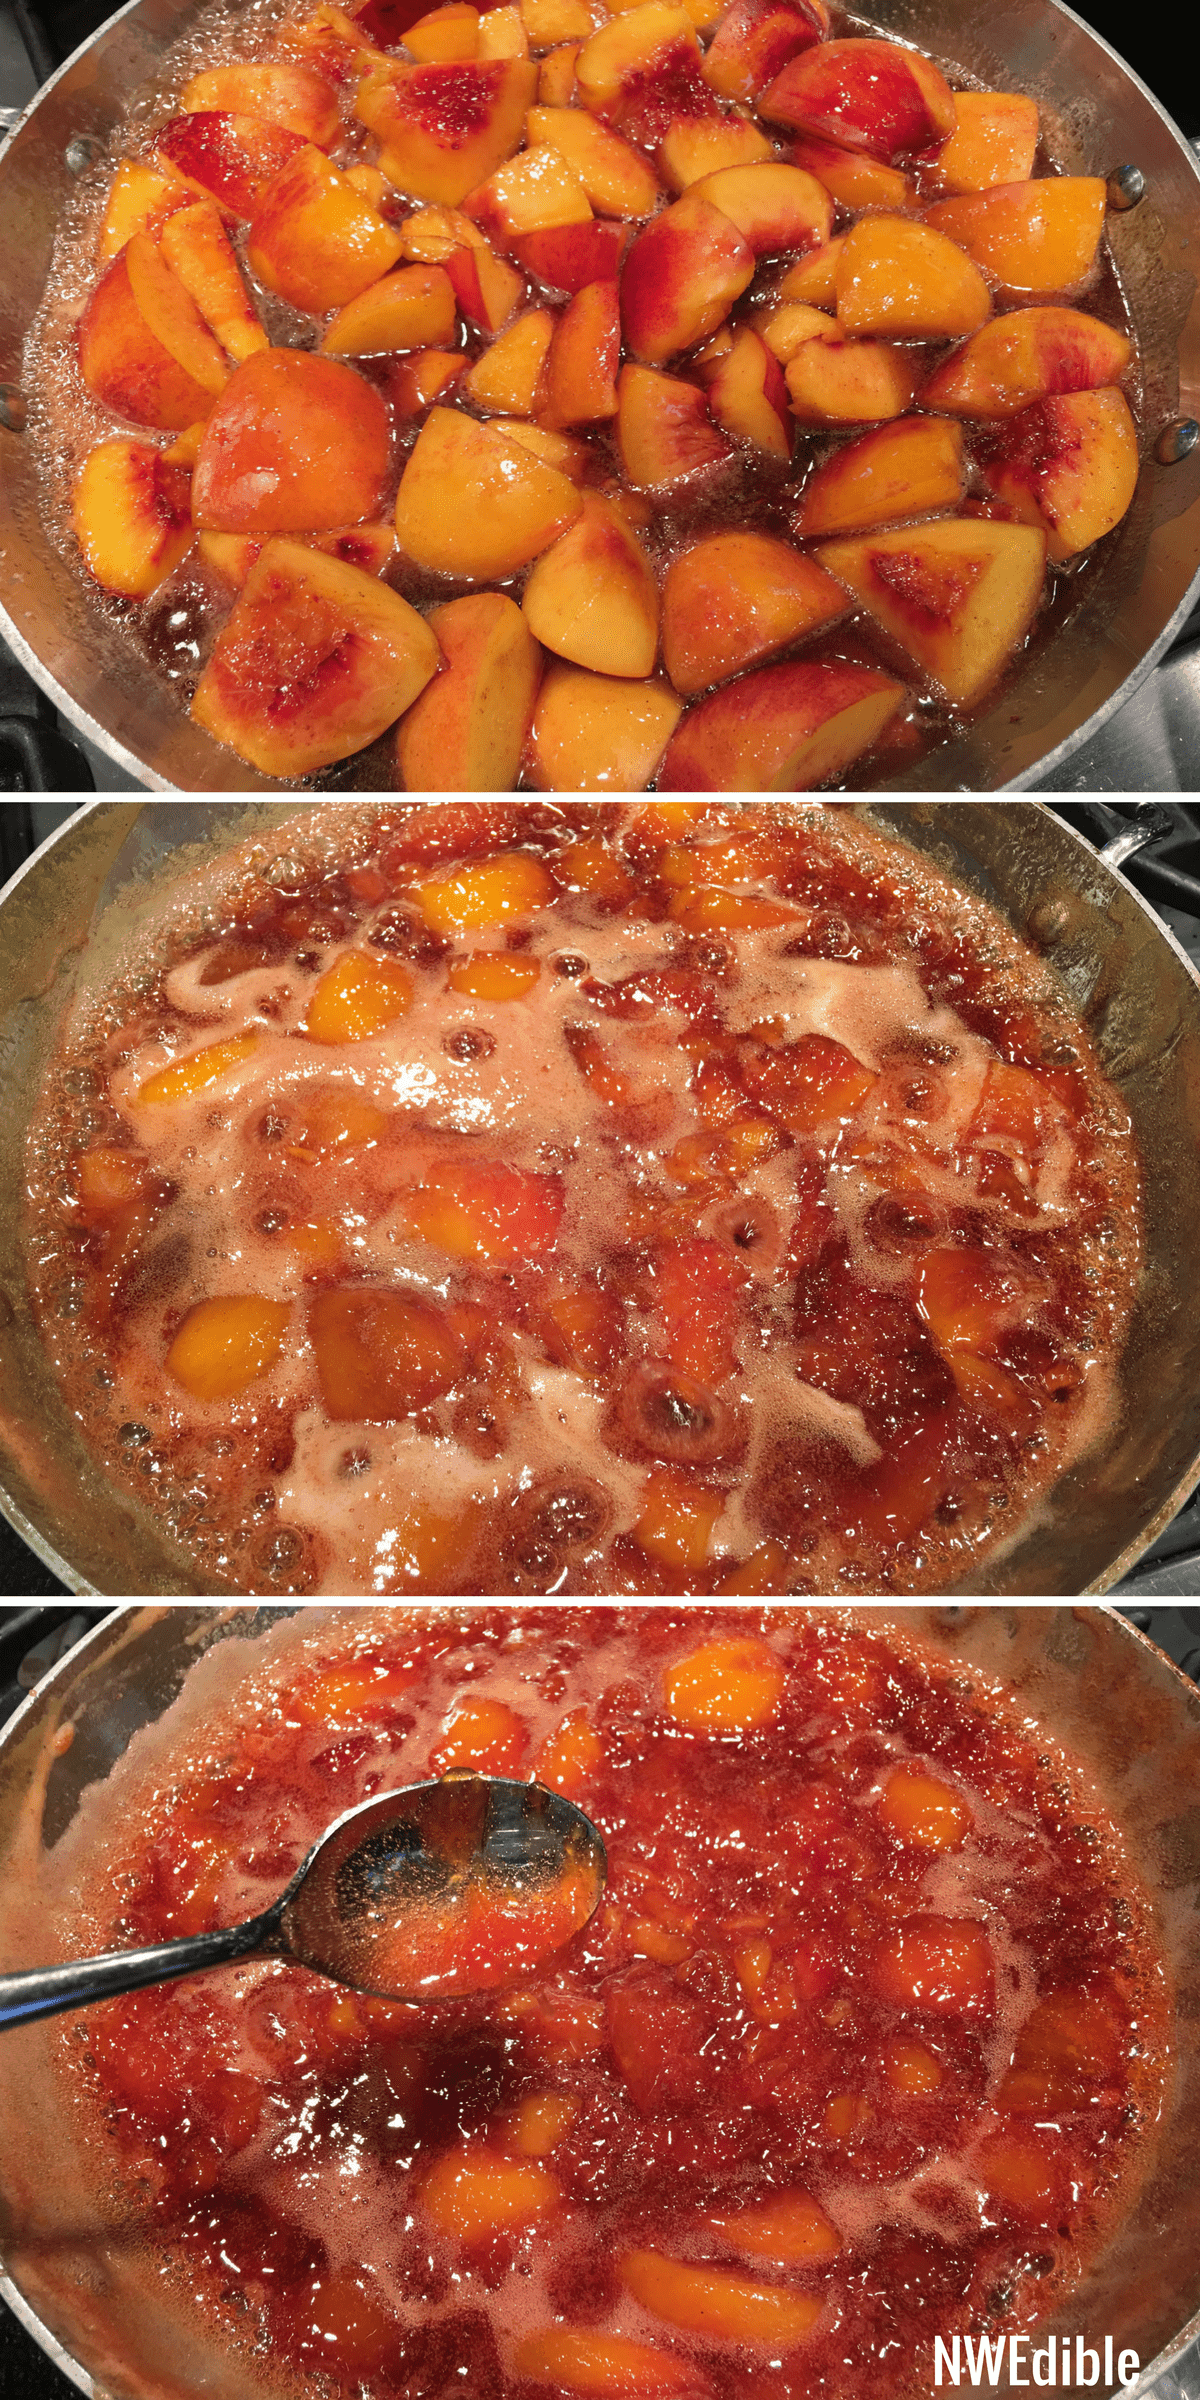
When the jam gets all lovely and syrupy and juicy and the nectarines are soft, mash your nectarines up a bit with a whisk or fork for more uniform texture, or leave the nectarine pieces as-is if you prefer big chunks of fruit in your jam. I’m a member of Team Big Chunks of Fruit.
Add the lemon juice and the spices and continue to cook your jam, stirring frequently so it doesn’t scorch. When it thickens considerably and passes a Turing Test jelling test, it’s ready to can!
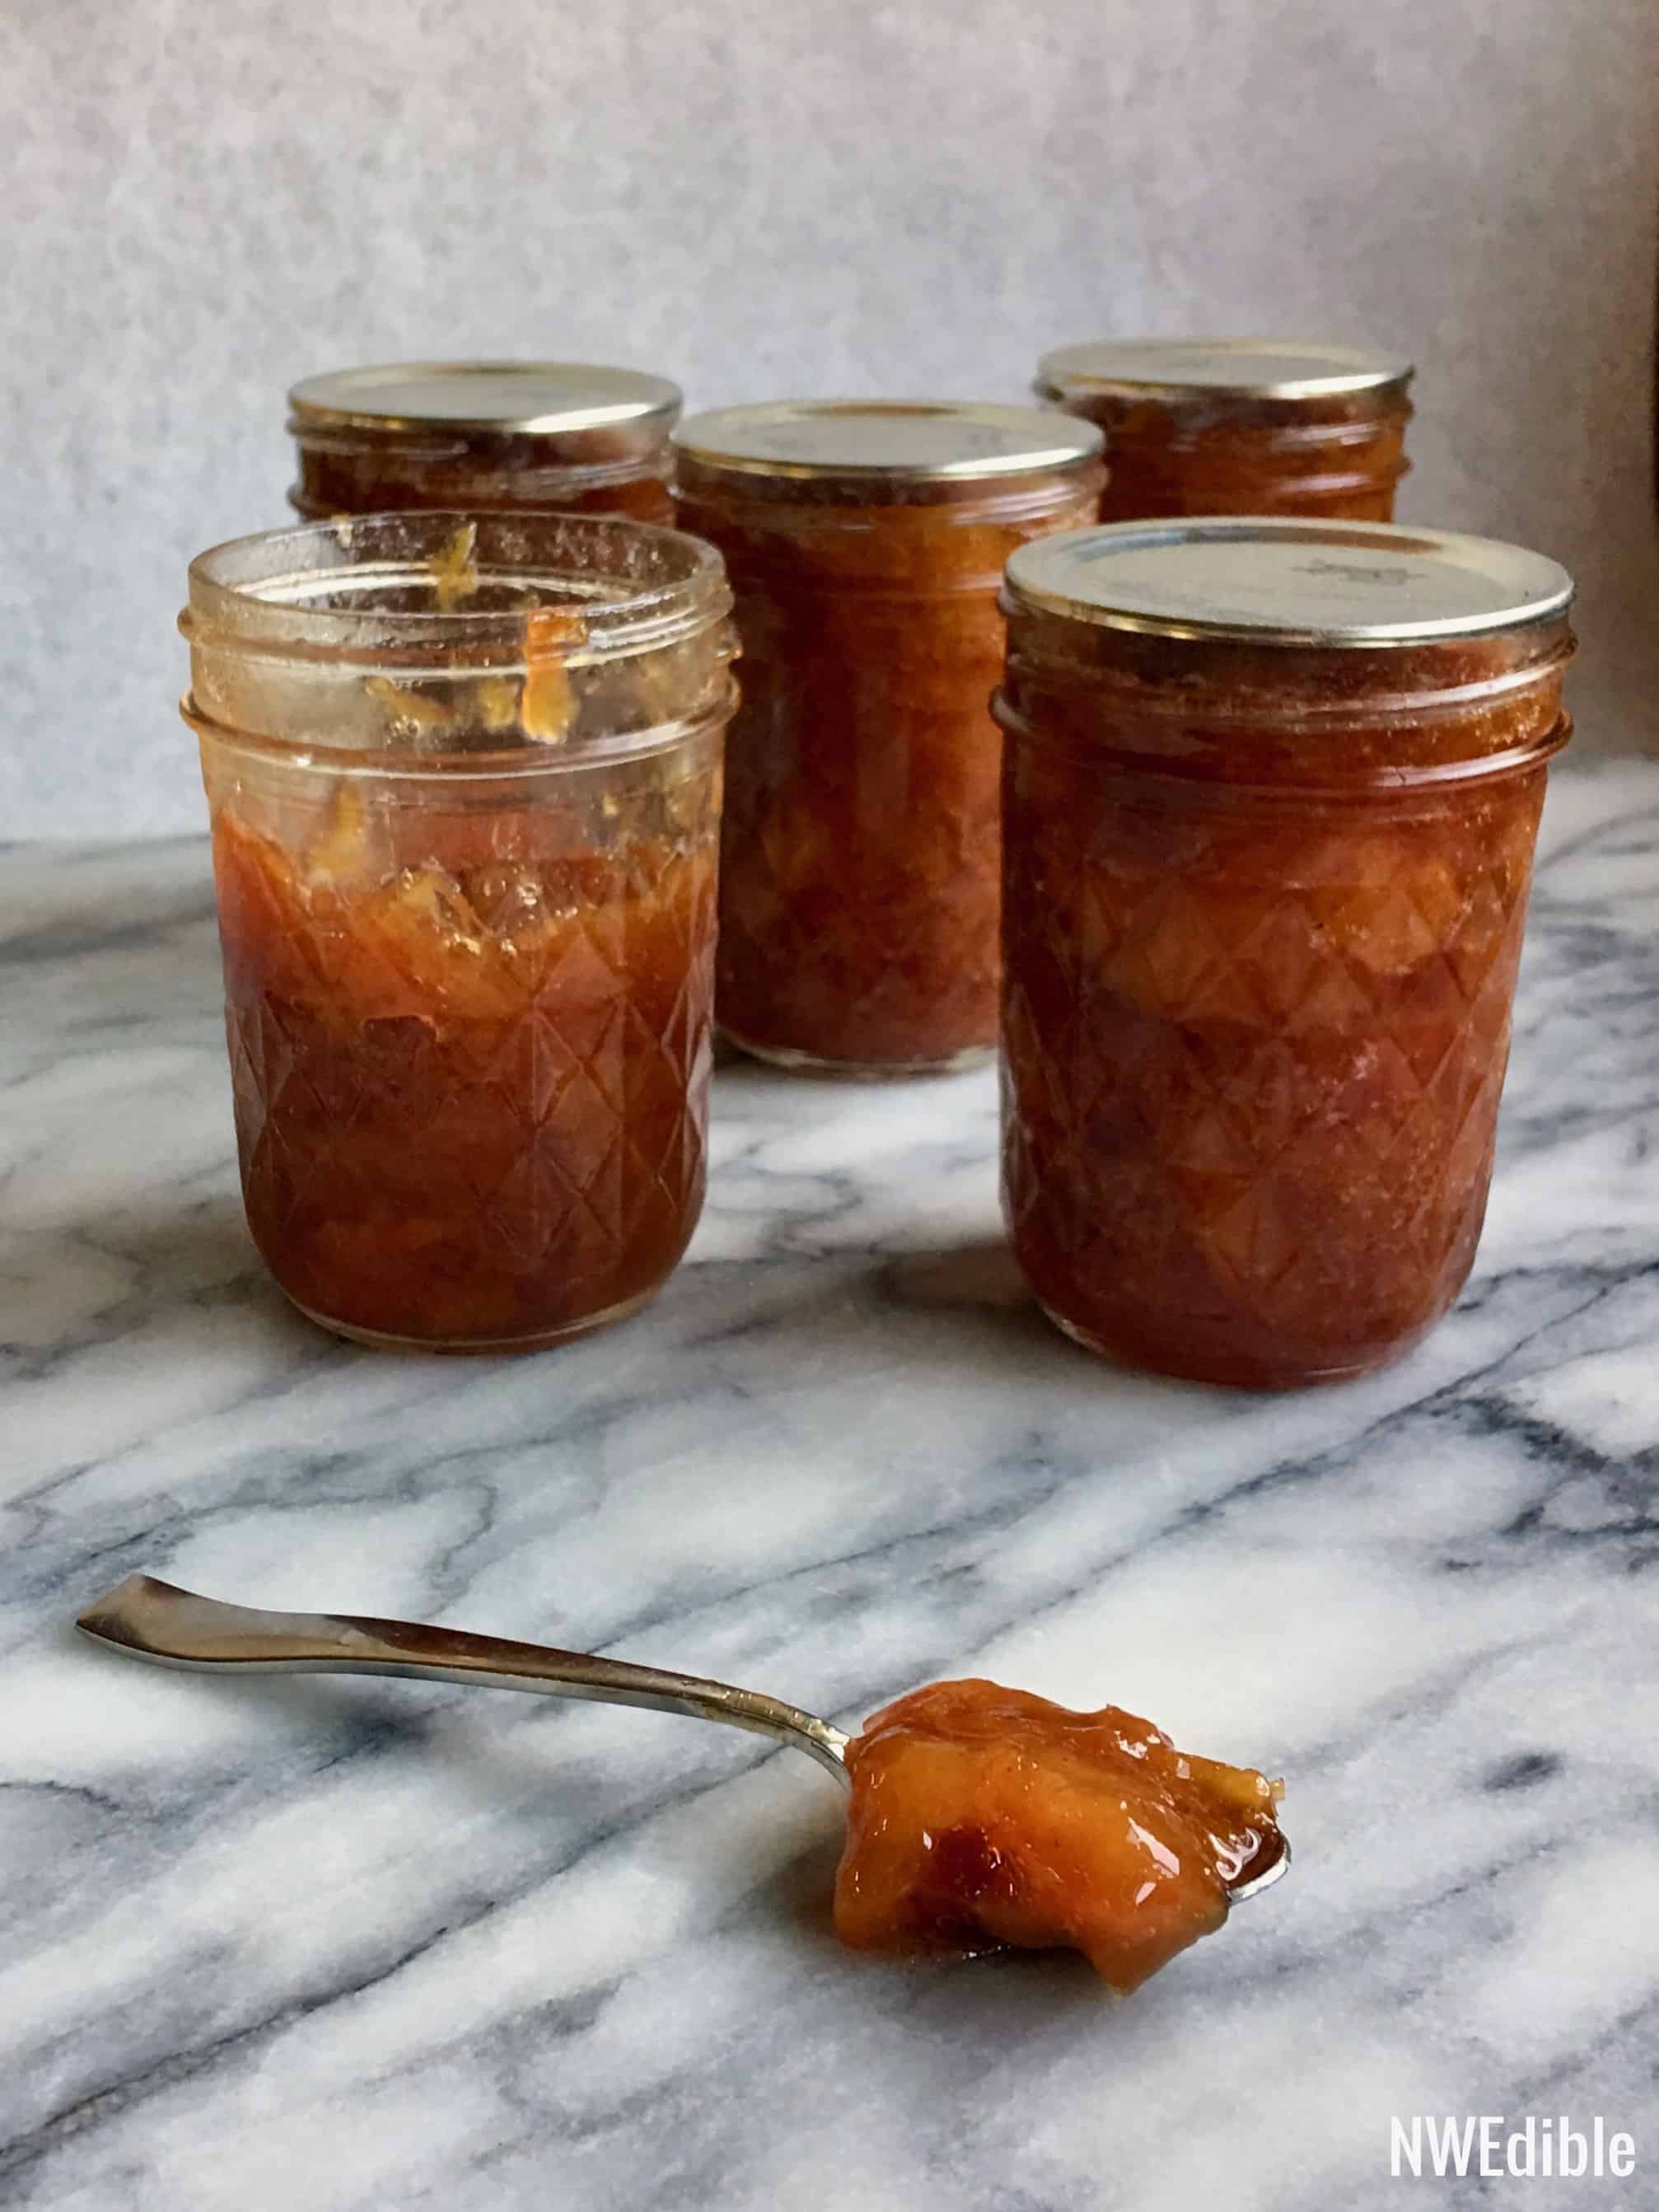
Follow standard water bath canning processes, fill prepared, hot jars to 1/4 inch headspace, and process for 10 minutes, adjusting for altitude. You should end up with 5, half-pint jars plus a little extra to eat right away.
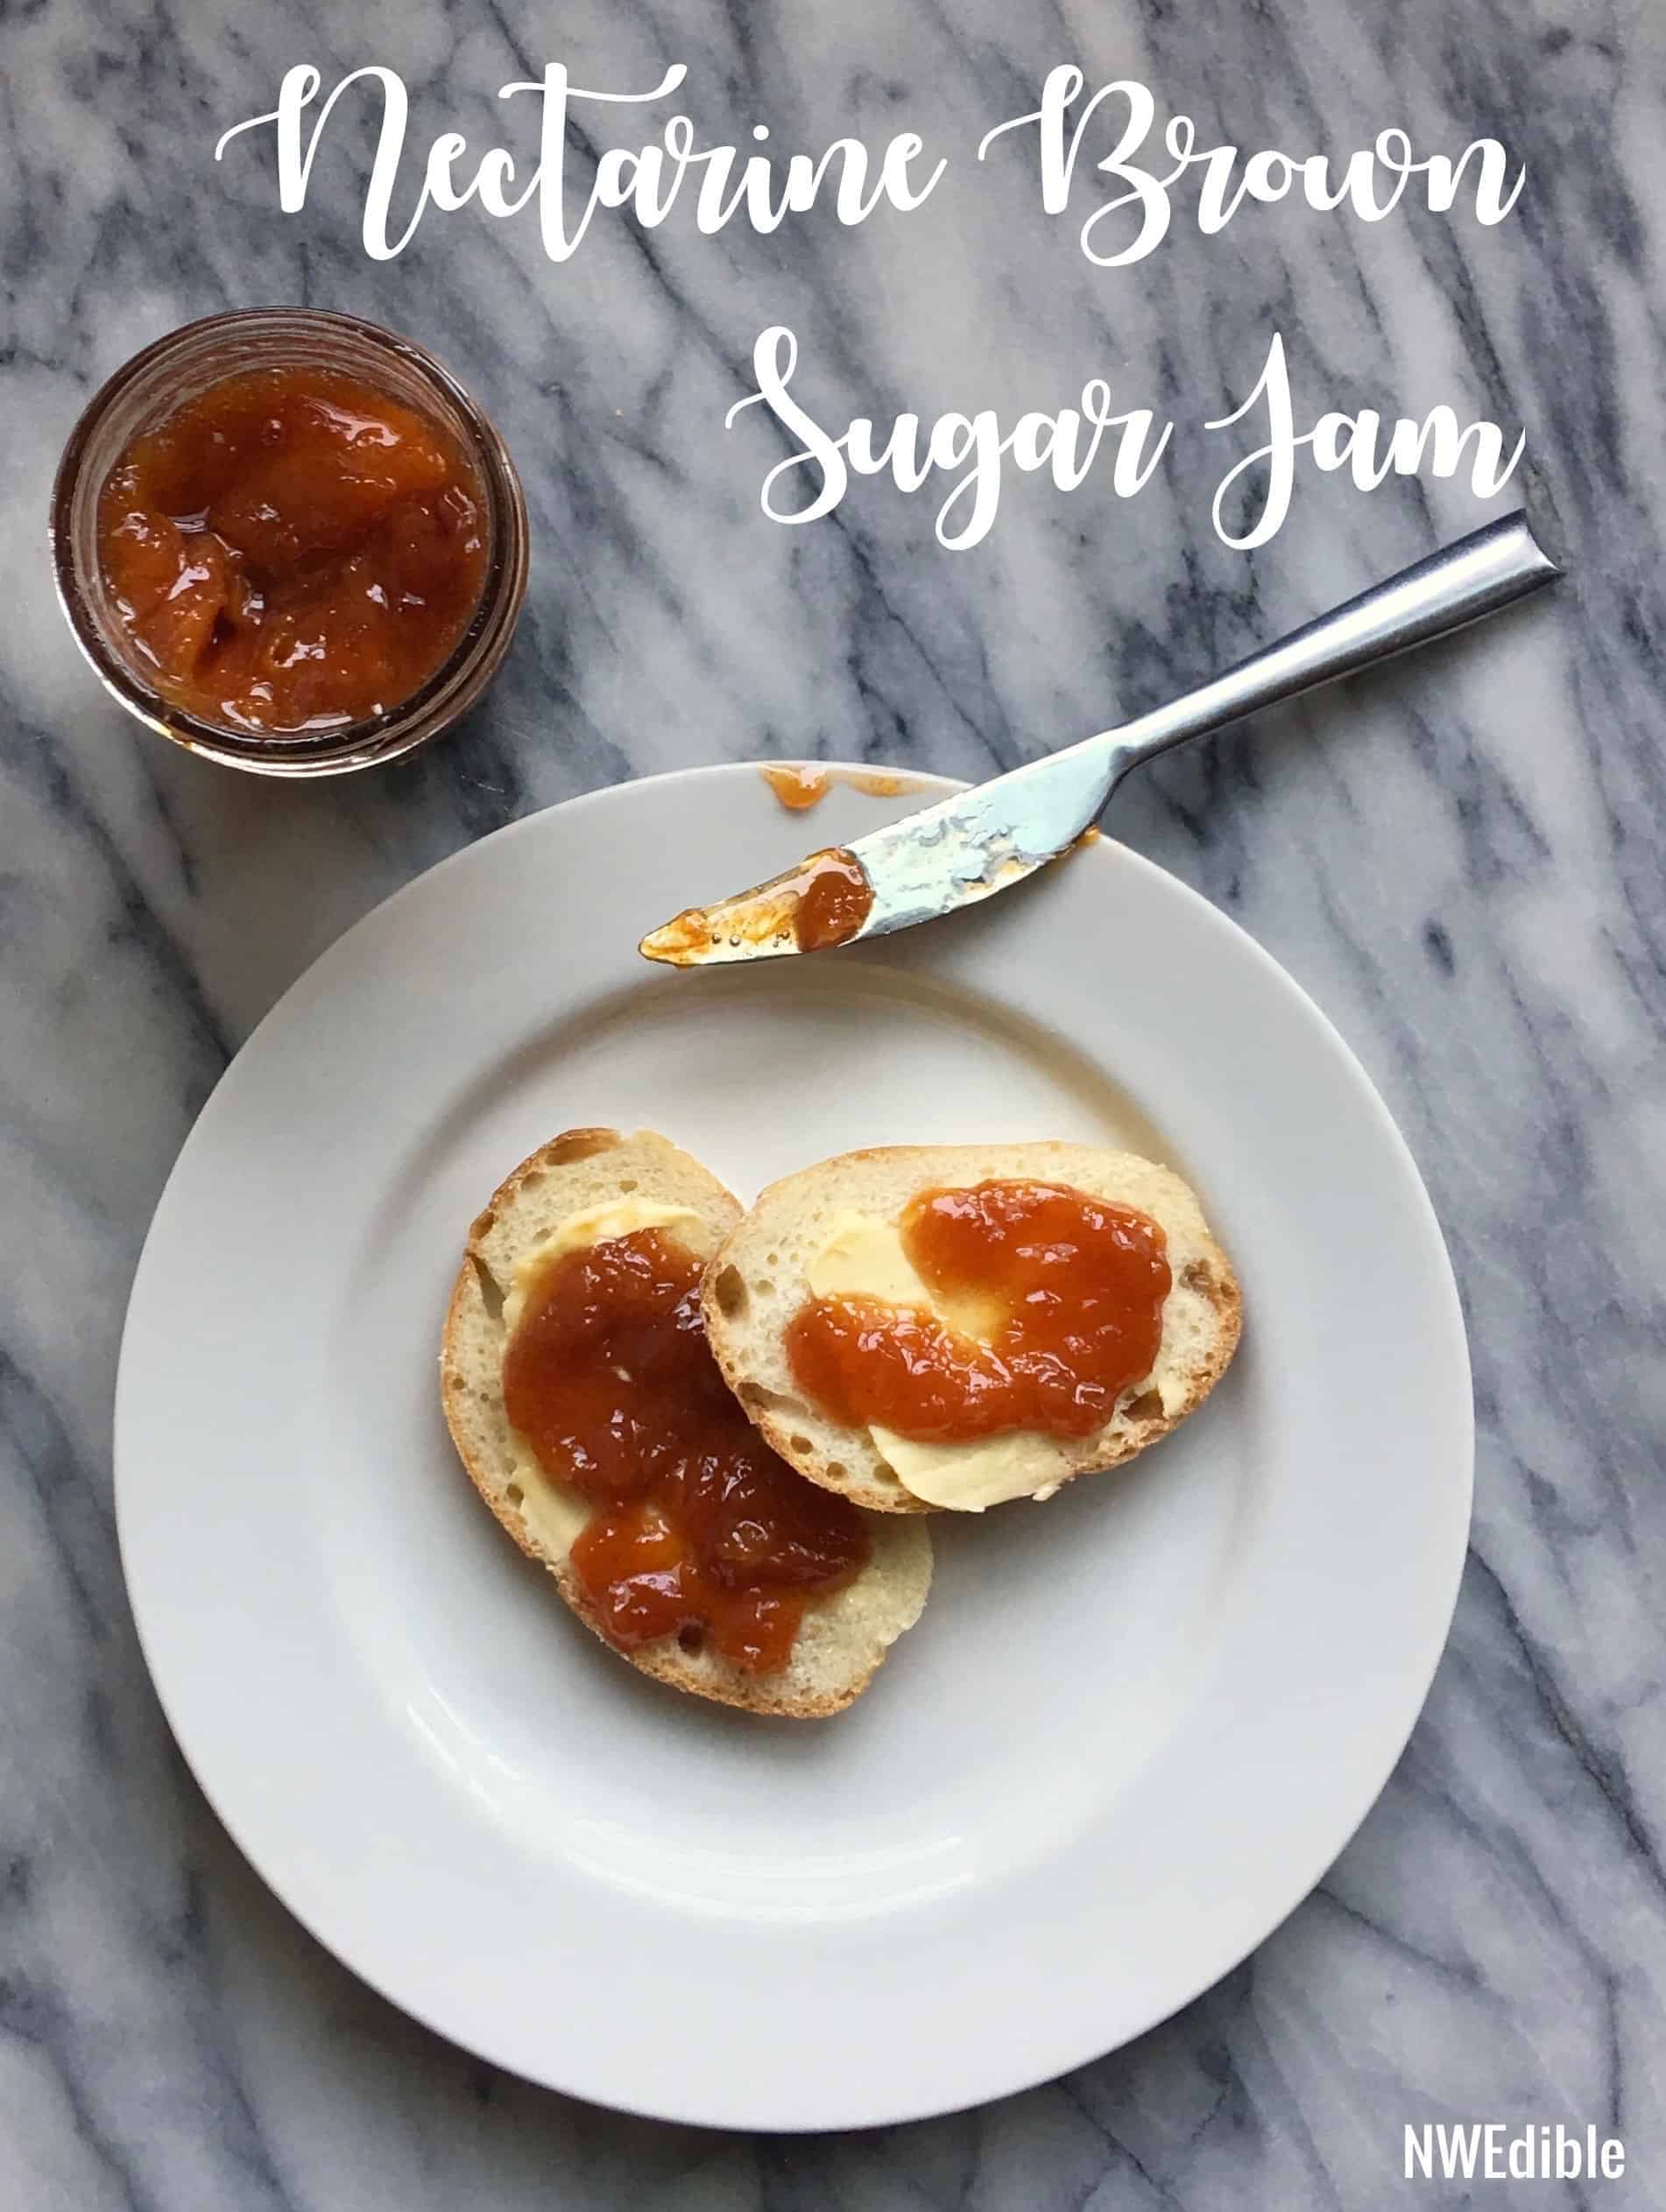
The flavor? Pure caramelized stone fruit with a beautiful sweet-acid balance and just a hit of peach pie filling from the warm spices. I really love how this jam turned out, and I hope you like it too.
Printable Nectarine Brown Sugar Jam Recipe
Nectarine Brown Sugar Jam
Prep
Cook
Total
Yield 5 , 1/2 pint jars
Ingredients
- 4 pounds nectarines as purchased (about 8 very large nectarines, to yield 3 1/2 pounds prepared fruit)
- 1 1/2 cups lightly packed light brown sugar
- 1 cup granulated sugar
- 4 tbsp freshly squeezed lemon juice
- 1/2 teaspoon cinnamon
- 1/4 teaspoon ground dry ginger
Instructions
- Prepare a water bath canner and 6, half-pint jars for water bath canning. (You'll probably only need 5 jars, but better safe than sorry.)
- Wash and stem nectarines, but don't peel. Remove the nectarine pit and rough chop the nectarine fruit. You should have 3 1/2 pounds of prepared nectarines after the fruit has been taken off the pit.
- Add the nectarines, brown sugar and granulated sugar to a large, wide, non-reactive pot. Bring to a simmer over medium-high heat, stirring often so the nectarines don't scorch.
- Cook the nectarines until they are soft and surrounded by a juicy sugar syrup, about 10 minutes. If you prefer a smoother textured jam, break up any large pieces of fruit with a potato masher, whisk, or fork at this point.
- Add the lemon juice, cinnamon and ginger to your jam. Continue to cook, stirring often, until the jam reaches the gel point.
- Turn heat under the jam to low, then quickly ladle the jam into clean, hot jars, leaving a 1/4 inch headspace. Remove air bubbles, adjust head-space and wipe jar rims carefully. Lid your jars according to manufacturer's directions, then transfer your jars to your canner.
- Process jam ten minutes at a full boil. While jars are processing, set a kitchen towel on the counter in a draft free place.
- After jars have processed, turn off the heat under your canner and allow the jars to sit in the canner for 5 minutes. Remove the jars and set on the kitchen towel. Jars should begin sealing almost immediately - you'll hear a sharp ping! as they seal. Leave jars alone for 8 to 12 hours to fully cool and set their seals, then check seals. Transfer any jar that hasn't sealed to the refrigerator and use it within 3 weeks. Store remaining jars at cool room temperature away from direct light. Jam is best used within a year.
Pin Me, Share Me, Save Me For Later
Yum yum yum, can’t wait to try this one! I’m Team Nectarine all the way! No peaches for me, thanks.
Well, I’M Team Freestone! And I’m going to the Farmer’s Market tomorrow in hopes of bagging some nectariney freestone goodness for this jam-o-rama.
I ordered a box, maybe two of nectarines from a local nursery. This comes right in time!
The siren song of jam making… I have way more jam that I need and yet I must make just.one.more.batch!
Blueberry brown sugar is also delicious but I think this would be an even better fruit for the addition of brown sugar.
I really like the pics that show the progress of the jam cooking down, a little confirmation that I’m on the right track while using the awesome pectin free method from your site.
You know it! The jam struggle is real! I can’t wait to do blueberry brown sugar. Your Patreon comment about mixing white and brown sugar was spot on.
Who knew that jam was the key to strong AI? This sounds lovely.
Thanks for reading geek. 😀 The tagline on your blog, “To be sane in a mad time is bad for the brain, worse for the heart.” by Wendell Berry is lovely and sorta heartbreaking, too.
Made this jam this afternoon. The only thing I did differently was to use an immersion blender to reduce the size and number of nectarine chunks—the potato masher was not working for me. I ended up with a perfect amount of chunks. I think this is going to replace my peach jam, since it requires no peeling of the skins! Thanks for posting it.
Can’t wait until you post the recipe for the curry zucchini slices that were pictured on (if I remember correctly) Instagram.
I’m glad you liked this jam recipe!
I put the main seasoning for those zucchini pickles on Instagram – if you have the New Ball Book of canning, just follow the Summer Squash Pickle recipe with the adjustments on Instagram. I have a full recipe up on Patreon, too, if you are over there.
This is the most amazing jam! Readers who haven’t tried it should drop everything and run right out and buy some nectarines. My one suggestion is that if you are not a “large chunks of fruit person” that you dice the nectarines smaller to begin with, as they don’t mush up in the sugar syrup to the extent that peaches do and using a potato masher on a wide shallow pan of hot jam is not without hazards.
Thank you so much for sharing this excellent recipe!!!
Your comment makes me super happy. I did three batches of testing to get this right. I’m glad you like it! Good tip about cutting the pieces smaller if you want a more uniform texture.