I like to think I know my way around a canning kettle. I’ve got both my water bath and my pressure canning processes pretty much down. But I’m always on the lookout for little tips and tricks to make my own canning simpler and more efficient – without sacrificing safety, of course.
Here’s a few of the best canning tricks I’ve learned over the years.
1. You don’t need to pre-sterilize jars that will process for 10 minutes or more.
In a recent post on jam foam I mentioned that I always increase 5 minute processing times for jam to 10 minutes so I don’t have to deal with pre-sterilizing my jam jars. This blew a few people’s minds, but it’s true, and very convenient.
The National Center For Home Food Preservation – my go to for reliable info on safe canning – says (emphasis mine):
All jams, jellies, and pickled products processed less than 10 minutes should be filled into sterile empty jars… Empty jars used for vegetables, meats, and fruits to be processed in a pressure canner need not be presterilized. It is also unnecessary to pre-sterilize jars for fruits, tomatoes, and pickled or fermented foods that will be processed 10 minutes or longer in a boiling-water canner.
So, yes my friends, you can skip pre-sterilization of your canning jars by processing at least ten minutes. The only thing that has a processing time of under 10 minutes is jam and jelly in small jars, and I have never noticed any difference between jam processed for 5 minutes or jam processed for 10 minutes.
There is a possibility that the additional processing time might affect the set on some super-fiddly, ultra-clear grape jelly or something, but I process all my jams 10 minutes and have never had a problem.
The jars do, of course, have to be scrupulously clean and hot when filled, and you do have to then process them for at least 10 minutes, but you don’t have to pre-boil your jars if processing time is 10 minutes or over.
For big batches of canning, I like to run my jars through the dishwasher and just leave them in there, all hot and steamy, until I need to fill them. For small batches, I’ll just give my jars a good rinse, put them right into my pot or canning kettle, and bring them up to temperature along with the water I’ll use for processing.
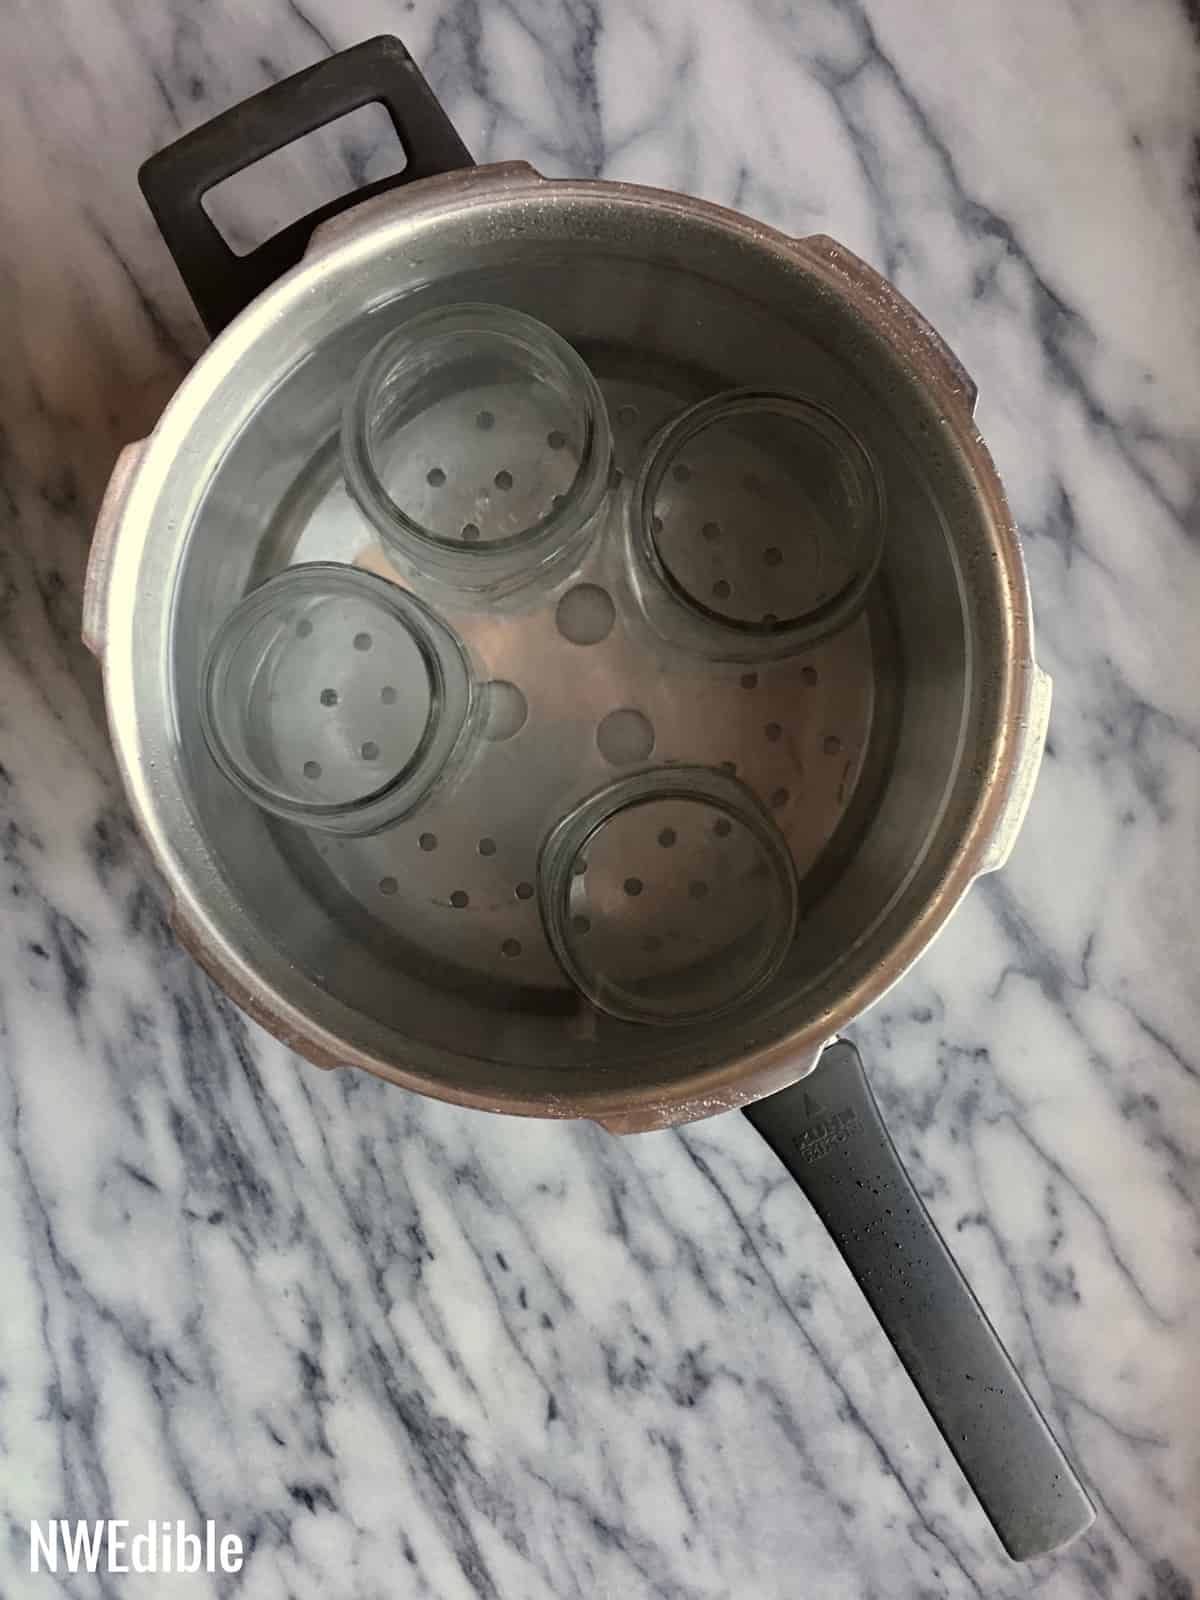
2. You don’t need to preheat your canning jar lids in simmering water
Here’s a pain-in-the-ass canning thing you can stop doing completely: pre-warming your lids.
You know how you have to find a spare burner for that little pot of water where you keep your lids simmering and hot but never boiling, and you do this so that the sealant is soft and gives a good seal, but then you need a special tool to get the hot lids out of the simmering water without burning your fingers?
Skip it. You do not need to pre-warm your canning jar lids.
Here’s the Ball Corporation, maker of the jars and lids you probably use in your canning, on ditching the lid warming step (emphasis mine):
Our Quality Assurance Team performed comprehensive testing to determine the need for pre-heating lids. Ultimately, we determined that it’s completely safe to skip pre-warming lids in the canning process.
Since our testing found that pre-heating isn’t necessary, we recommend prepping lids by washing with warm, soapy water and keeping them at room temperature until you’re ready to can.
Getting rid of that one step simplified my canning process far more than I would have thought possible, and I have seen absolutely no difference in sealing rates or failures in my canning since ditching pre-warmed lids.
Tip-o-the-hat to my friend Theresa Loe of Living Homegrown, from whom I originally learned this joyful thing.
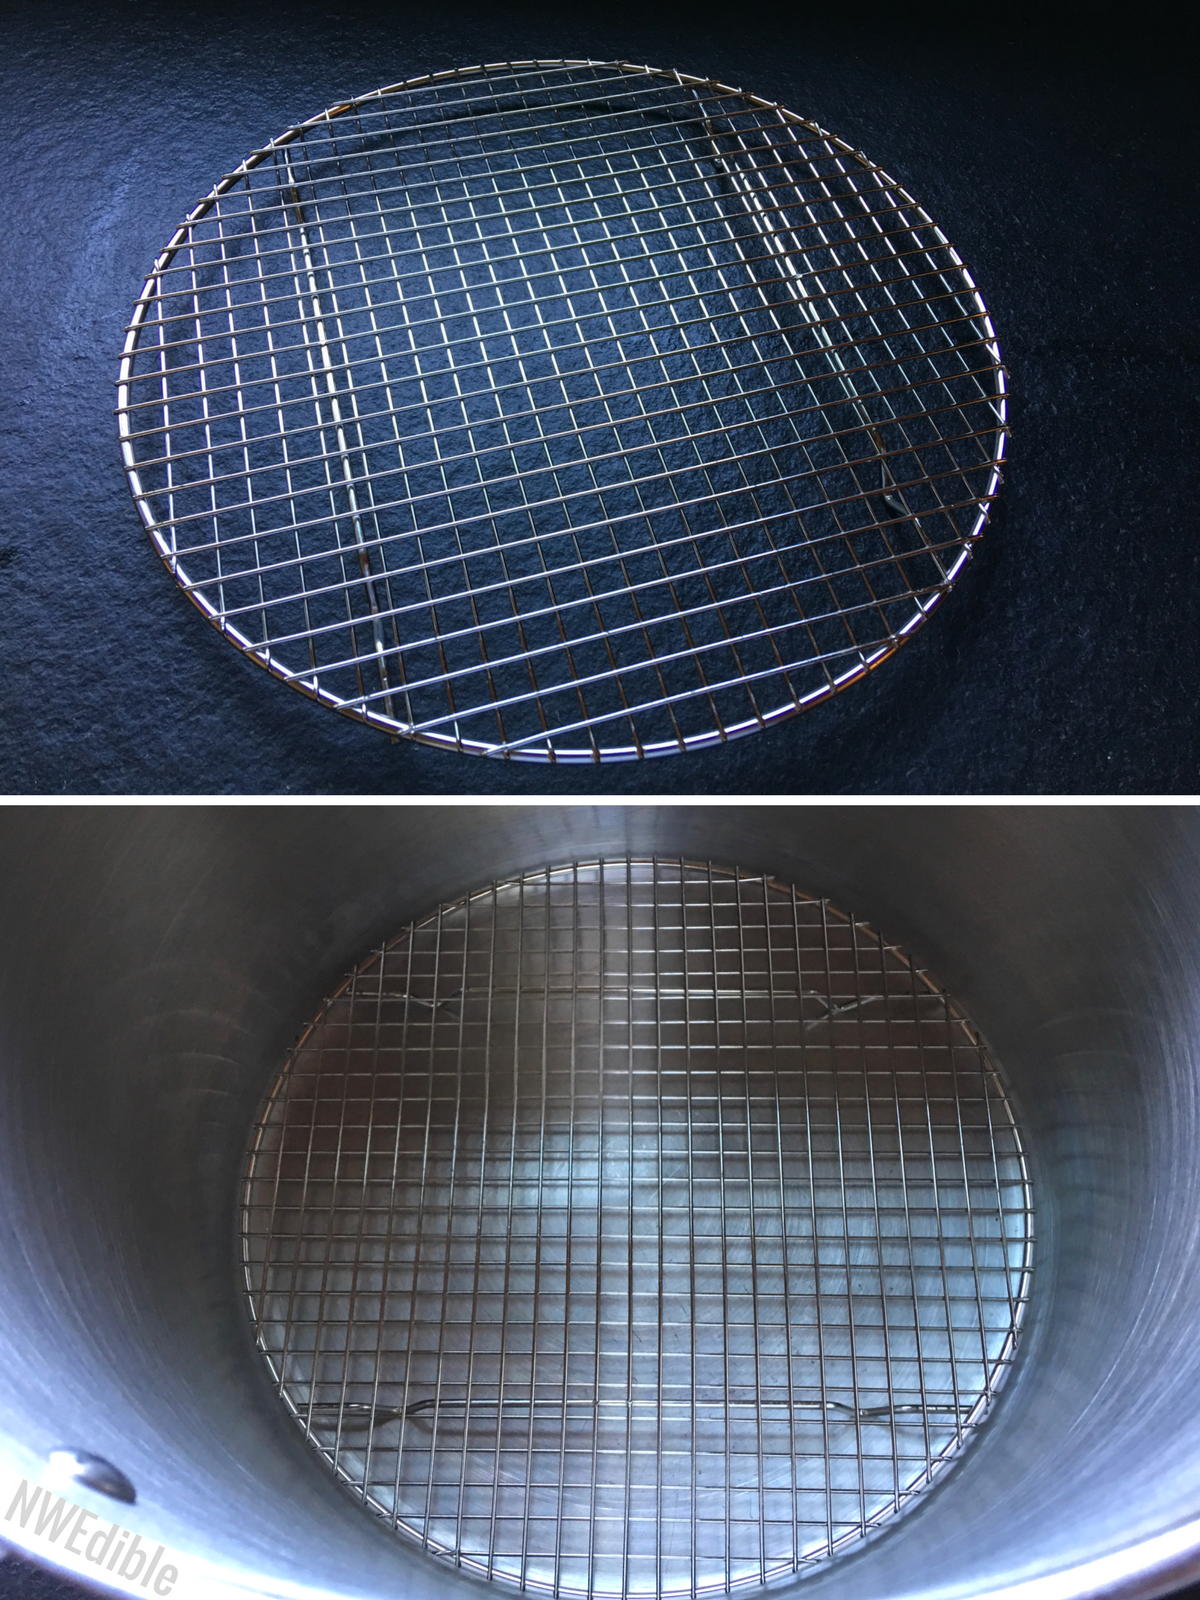
3. Round cake cooling racks make perfect canning racks
Duuuuuuuuuude. Here’s something I should have spent $15 on years ago. Round cake cooling and/or steamer racks work perfectly for canning in big pots you already own.
If you buy yourself a canning kettle like this (and you shouldn’t) it will come with the world’s most useless rack. The rack will have spaces for quart jars and will suggest to you that you can use it to lift and remove your jars a whole batch at a time from your canner. This is a lie. Those canning specific racks are flimsy, useless, frustrating, (dare I say dangerous?!) things that you should avoid at all costs.
In the past I have DIY’d better canning racks, and that’s a fine option. But if you have $10 to $15 to spare, do yourself a favor and buy a round cake cooling rack in an appropriate size for your favorite canning pot.
Just measure the diameter of the pot you use most often for canning, subtract an inch or two, and buy a round cooling rack in that size. Here’s a big 13″ option for $15 that should be just about right to fit in a standard, 14-inch diameter canning kettle. If you do small batches of 1/2-pint jars in smaller stockpots like me you might check out this 9.25-inch round rack for less than $6 (as an Amazon add-on item).
If “round cake cooling rack” doesn’t work, “round steamer rack” yields a slightly different set of options. I now own 3 racks similar to the one below, in different sizes that turn all my most useful-sized pots into canning kettles. Rarely has a purchase made me so happy. Highly recommended before we get too deep into canning season.
And when you aren’t busy canning, you can use these round racks to cool yer cakes, elevate cake rounds for easier glazing or frosting, keep hot pots off the counter, or even give your small indoor potted plants a lift. I just love a kitchen multi-tasker.
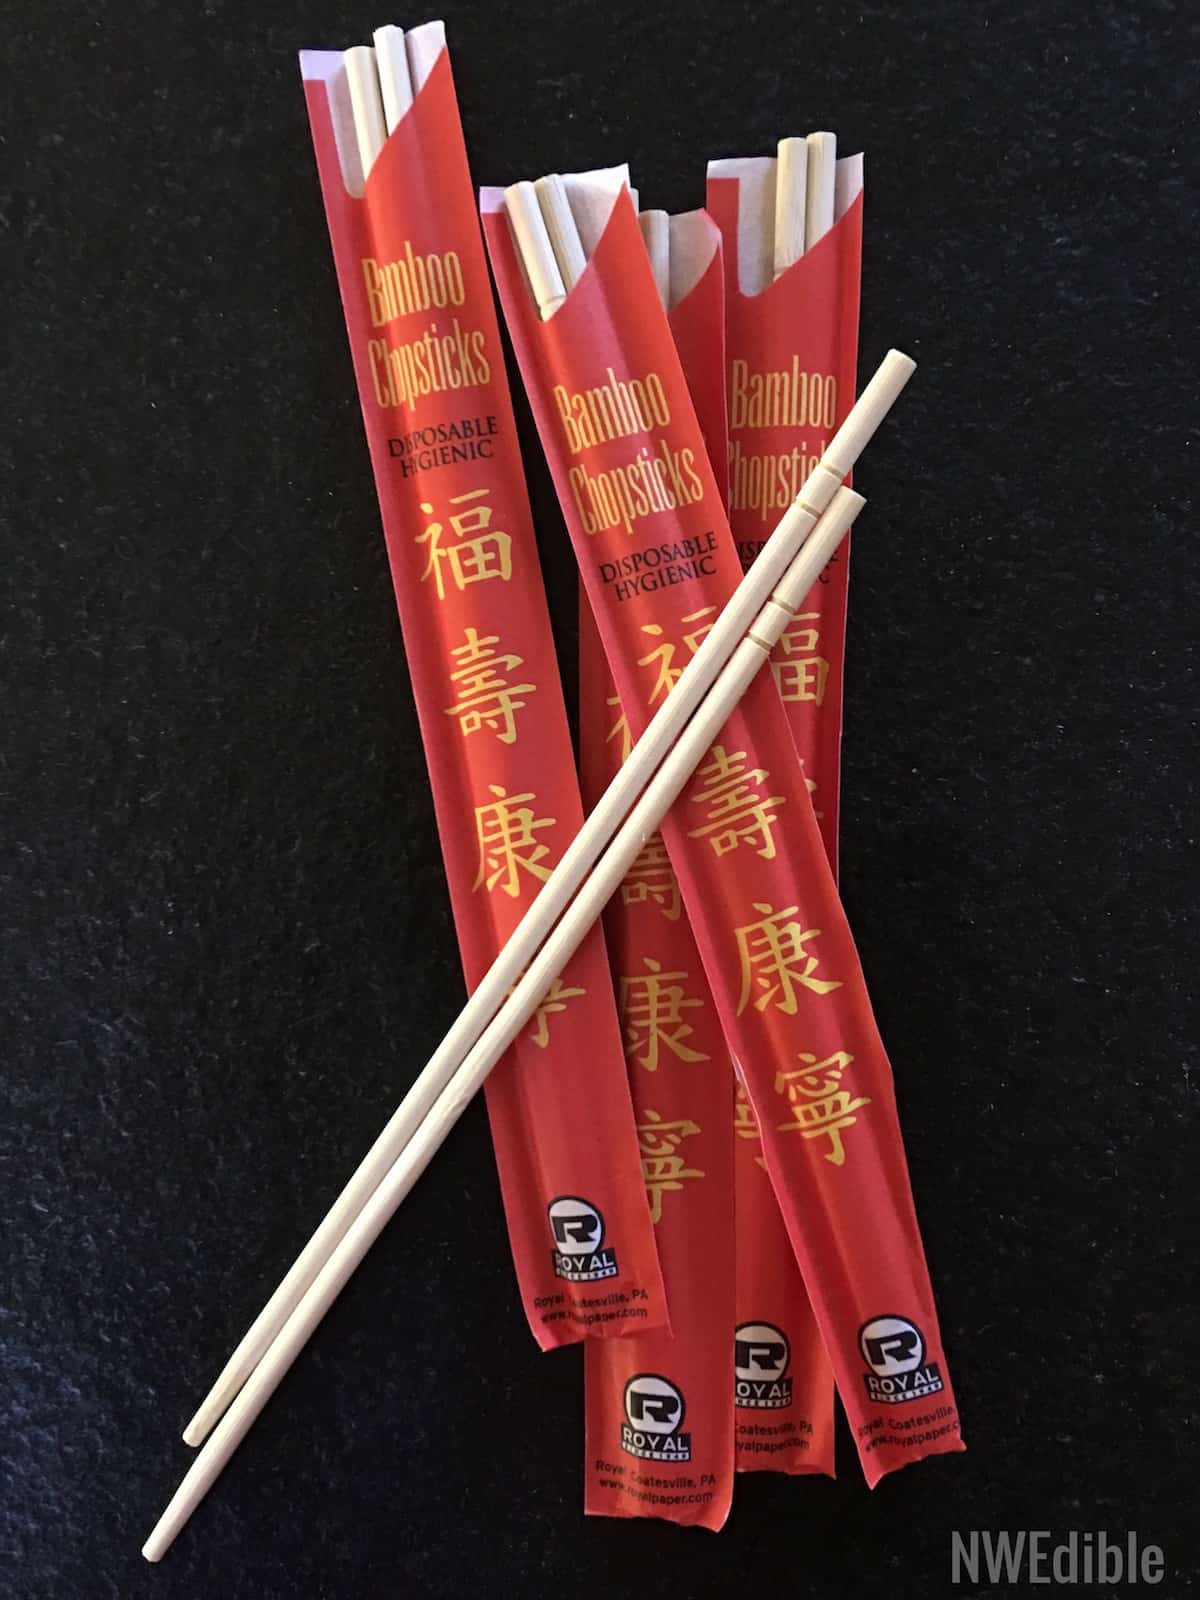
4. Wooden chopsticks are fantastic jar bubblers
It’s important to remove air bubbles from your jars before processing. A primary goal in canning is to drive all the air out of the jar and create a strong seal. In order for this to happen, the stuff to air ratio in your jars has to be correct. Excess air in the form of big, trapped bubbles or gobs of foam is, therefore, counterproductive to our canning goals.
Bubbling is the term for removing those trapped air bubbles after you fill your jars but before you lid and process them. You do this by gently poking down and creating a channel that lets the air bubble escape up and out.
If you eat out at, or get take-out from, an Asian restaurant that uses chopsticks, snag a few extra pairs of disposable wooden chopsticks and set them aside for canning. (Or, if you want to be set up like you are an Asian restaurant, you can buy more chopsticks than you will probably ever need for about $7.)
Chopsticks are long and thin, so they are perfect for working the bubbles out of jars without disturbing your product, and the wood won’t leave micro-scratches in your jars like metal utensils can. (Micro-scratches can lead to jars that are more prone to cracking in the canner.)
You can wash and sterilize your wooden chopsticks and keep using the same ones for years, or toss them in the compost when they get too beat up.
5. You can use frozen fruit for jam-making and no one will know
Fun fact: canning is a fantastic way to preserve food without a fridge or freezer. Even more fun fact: you almost certainly own a fridge and freezer, and it’s ok to use them as an adjunct to your canning.
If you ever feel like your garden produce is coming at you faster than you can manage, you can freeze nearly any fruit for later processing into jam or other long-cooked preserve. This includes tomatoes, by the way, if you plan to cook them down into sauce.
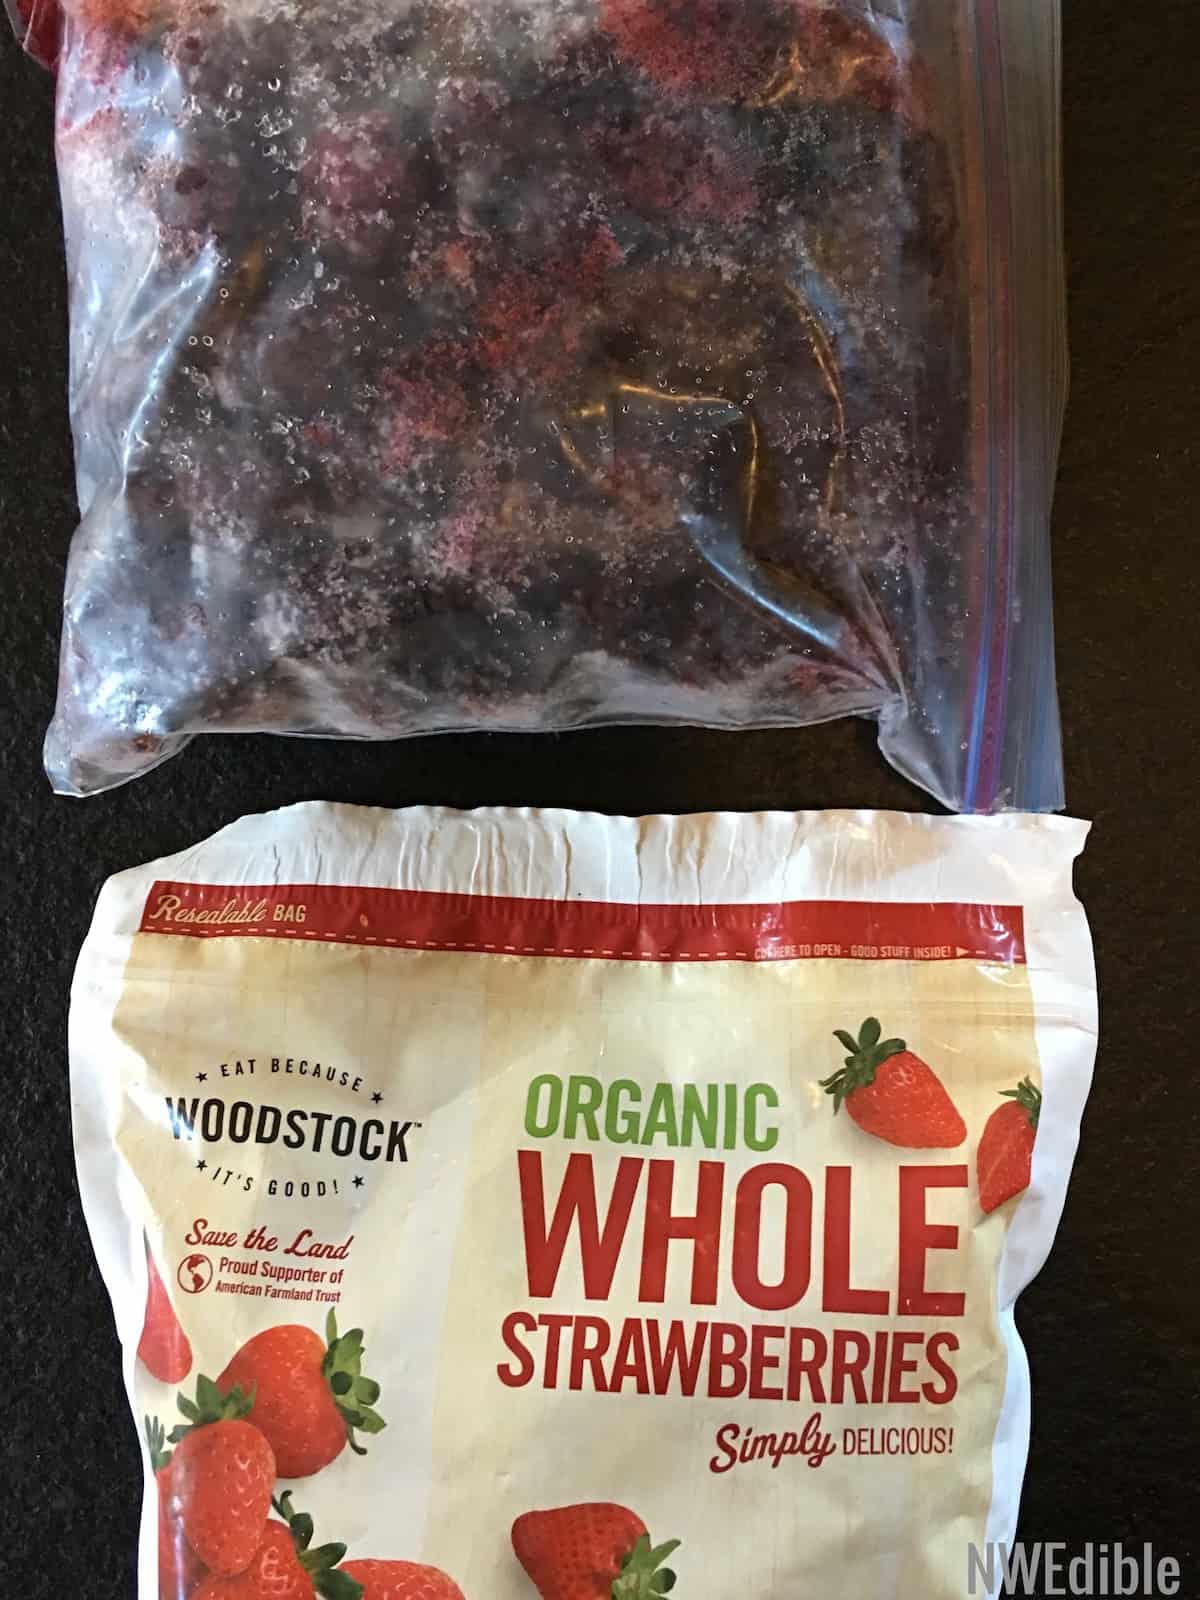
As long as what you are canning isn’t really texture-dependant, no one will know that you used frozen fruit. Freezing busts open the cell walls of fruit, which makes the texture of frozen fruit soft when thawed. A frozen strawberry just kind of mushes down as it thaws, for example. But cooking fruit down also busts open the cell walls, which is why no one chews jam.
Sometimes people think that preserving “in season” means that there is some sort of moral obligation to do everything right now! Well, I love a good can-o-rama session as much as the next girl, but if you are short on time and long on freezer space, just stash your blackberries in the freezer! Toss the blueberries, strawberries, tomatoes – even peaches – in there too! When life calms down and the kitchen cools down, take that fruit out and turn it into jam. No big deal.
Because of the publication schedule I was committed to, I recipe tested jam for my book in February and early March. You bet your sweet patootie I used frozen fruit. (Store bought, even!) Using frozen fruit didn’t make a bit of difference in the final outcome of the jam.
Just don’t try this with texture-dependant stuff like pickles. A previously frozen, limp cucumber is the saddest thing in the world.
6. 1 cup of diced onions or pepper weighs 5 ounces
This is for all you salsa makers out there. I prefer to weigh food for canning whenever possible, but most canning recipes are measured in volume.
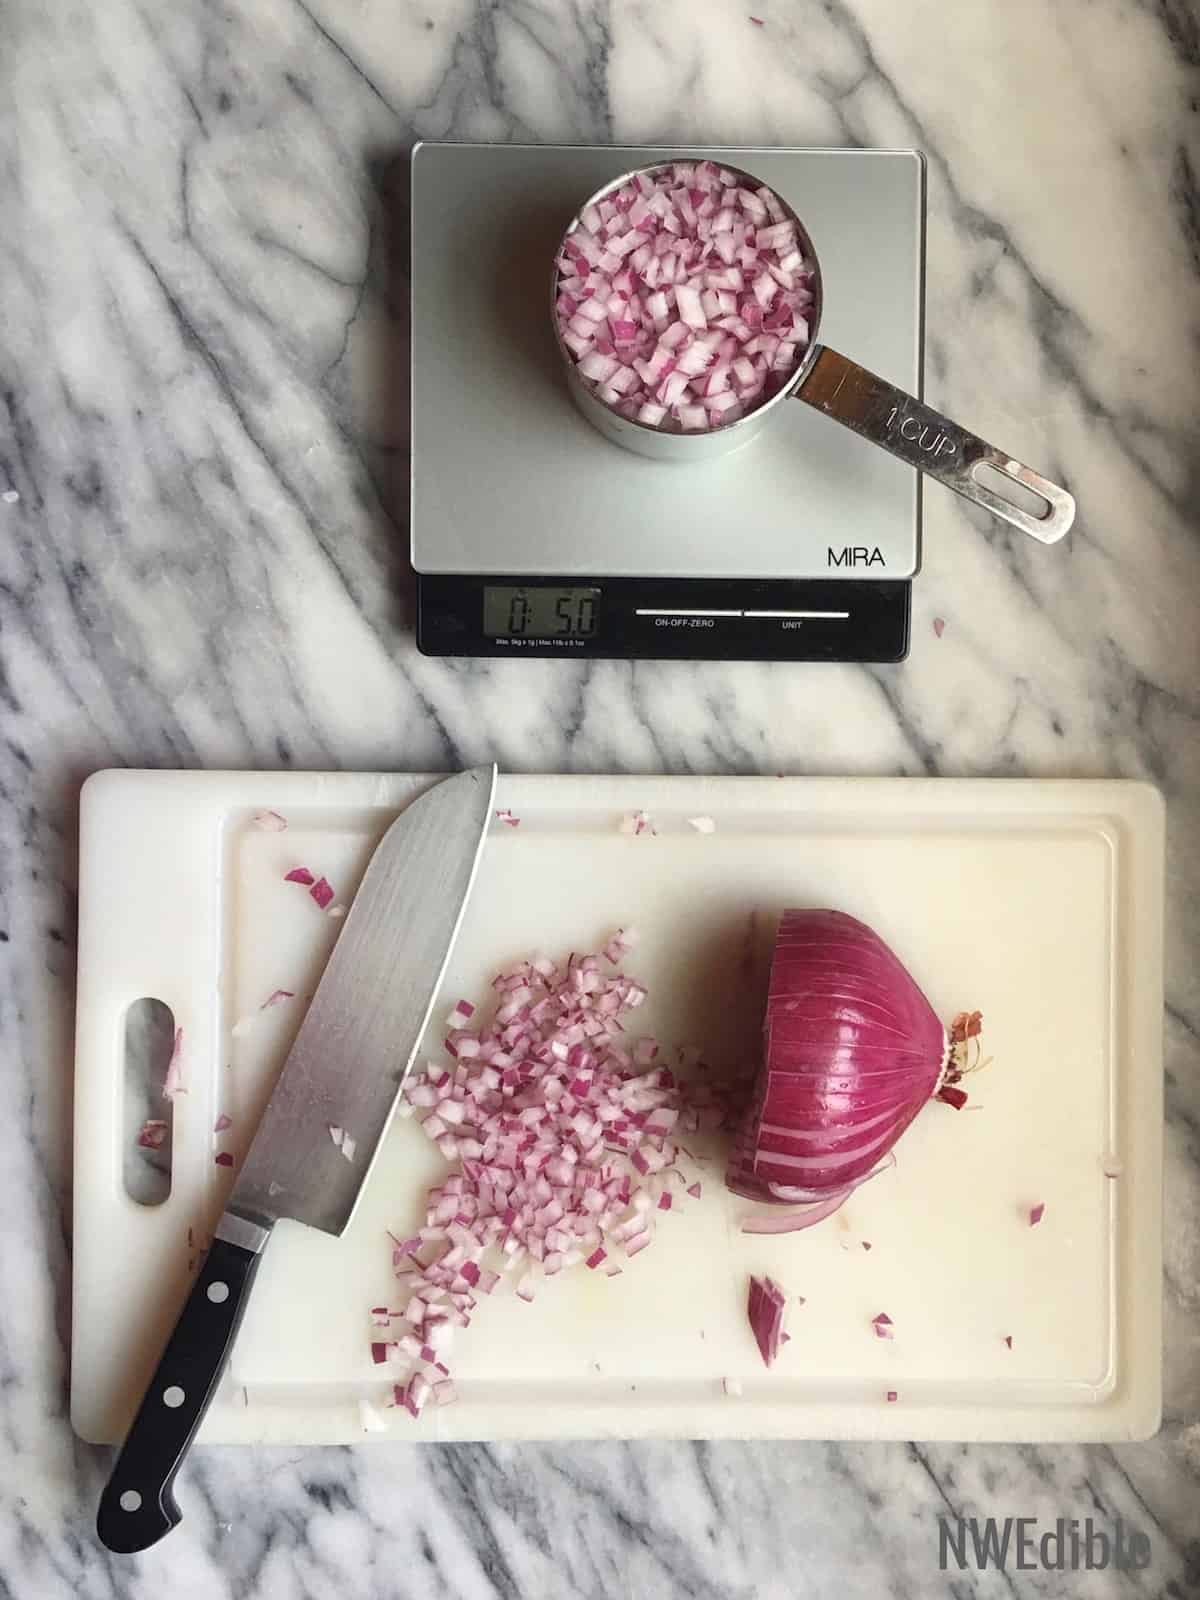
Well, last time I made salsa I took it upon myself to weigh the peppers and onions. Cut to 1/4-inch pieces as directed by standard approved recipes like this one, a cup of very lightly packed onions or peppers weighs exactly 5 ounces.
Something to be aware of: 1/4-inch dice is small. Smaller than you probably think. I literally spent 3 months of my life learning nothing but how to cut food into various shapes, and I estimated large. When I cut onion into pieces that I thought were about 1/4-inch dice, they were mostly 3/8-inch dice or even a bit larger and I had to go back and chop them up a bit.
Larger pieces will pack less densely into a volume measure and therefore weigh less. How much you press down on your pieces will make a difference, too. I probably could have crammed another ounce of onions into my cup measure if I had gone full mosh-pit on them. And all those caveats are why I prefer weight to volume when precision counts.
Duplicating as best I can what I believe is the intent of the recipe writers behind approved salsa recipes, 1 cup of small diced peppers or onions weigh 5 ounces.
• • •
What are your best tips to save time and effort while still canning safely?
Pin Me For Later
Mind. Blown. with some of these. Will put them to use when I pull my frozen cherries out to make preserves. ?
Awesome! Glad it helped!
Wow. Thank you. This is why I’m a patreon supporter (even those this is a public post). This is so worth a few dollars a month. Thank you!
Thanks Katie!! <3
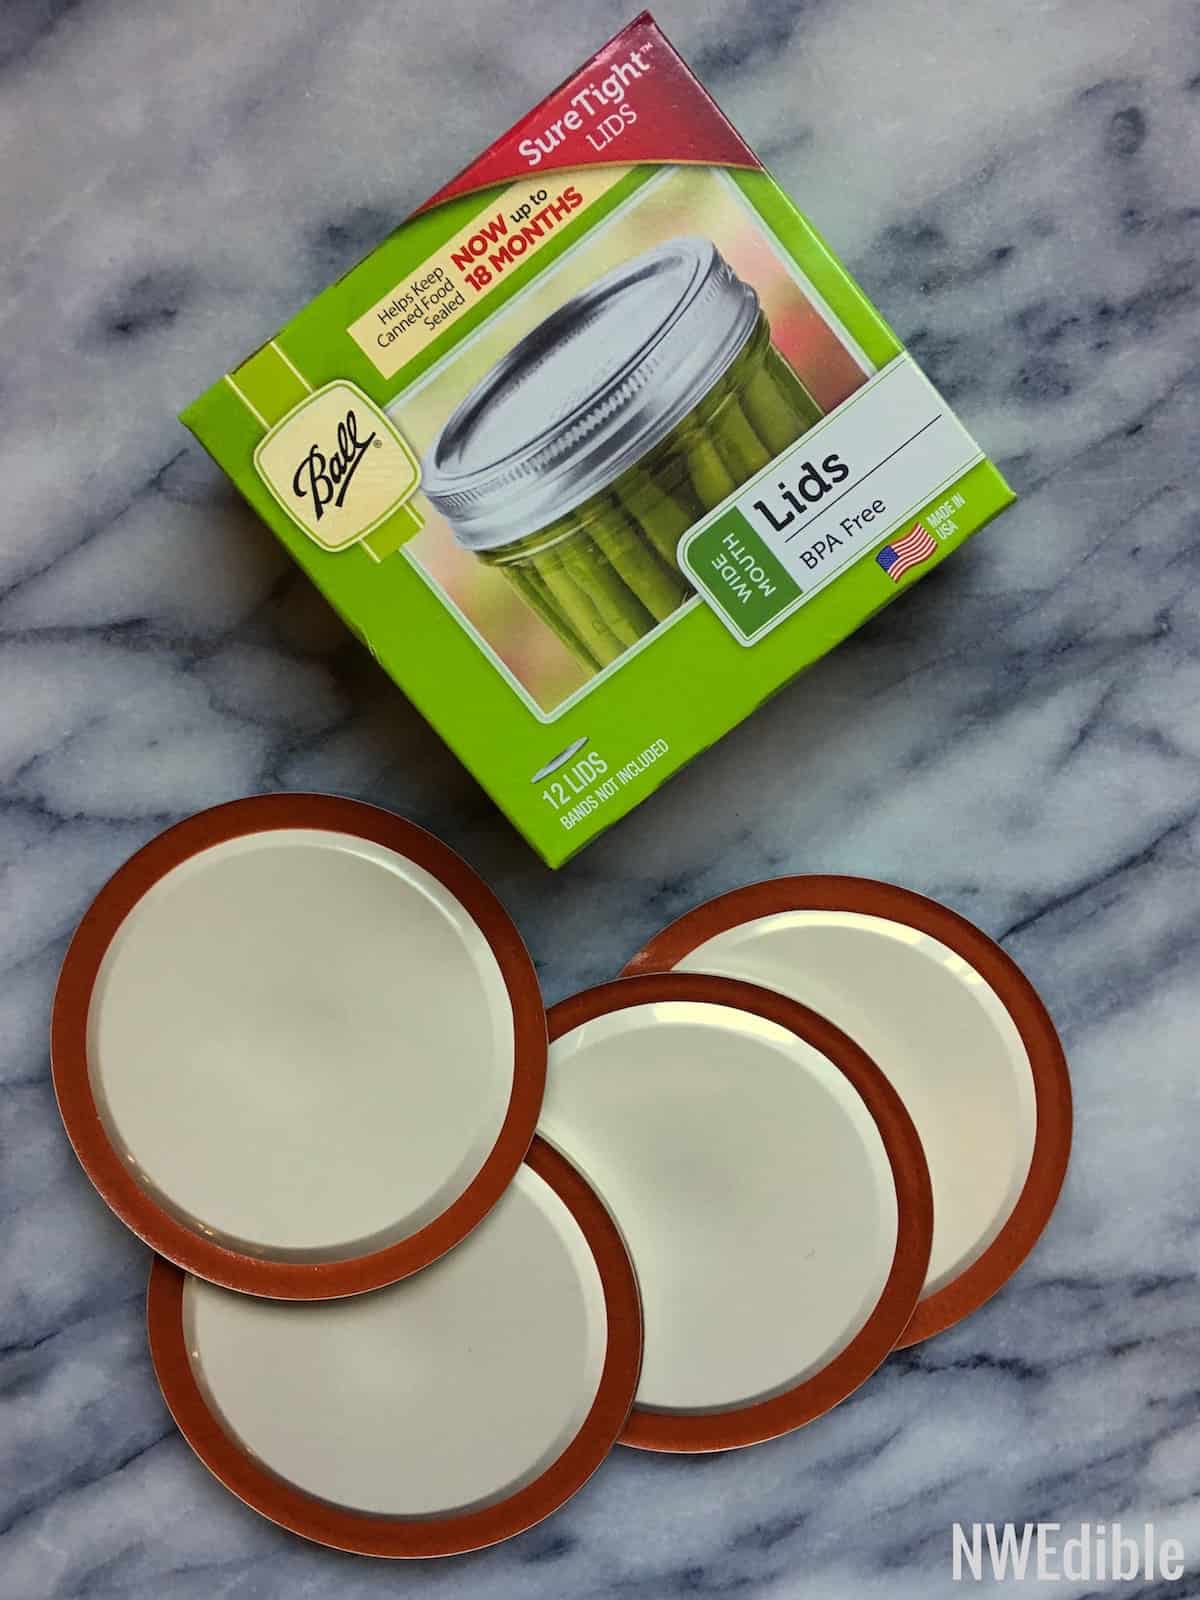
Any input on the lids shown in your picture, the box says “now good for up to 18 months”?
Yeah I don’t know what that means. To me it looks like marketing and not much else. I haven’t heard anything about them changing their sealant compound so my guess (just a guess) is they did some test that allows them to make an official marketing claim. I’ve never had a bunch of seal failures before 18 months anyway, and I routinely have jars in my pantry that are 2 to 4 years old. I’ll drop the Ball people a line and ask.
Perhaps the 18 months is a ‘use – best before’ date for actually using the lid. I always buy new and only buy what I need…and run to the store once more. 😉
Dealing with the lids is my least favorite part about canning! How has this not made it all the way across the food blog universe by now?!?!?!
Right? Losing that hassle was a the best canning advancement since 2 piece lids, if you ask me.
I’ve been making jam from frozen fruit for years. I’m usually pretty maxed out in the summer to jam when I have the fruit. Plus, I usually don’t have enough all at once to make a batch, so I’ll collect it over several weeks of harvesting. There’s nothing like a couple of gorgeous batches of jam on a crisp late fall afternoon. Why should all that glory only happen in the summer? Thanks for freeing me from warming the lids…I always used a fork to get them out, but what a pain in the rear!!!
I love the point about harvesting in batches – that’s another excellent advantage to freezing for us small-garden people who don’t get 50 pounds of raspberries or something in an afternoon.
Hahahaha….50 pounds of raspberries! I spend mornings doing what I call ‘Raspberry Yoga’ because my bitty garden patch is so crammed that it is only possible to squeeze in a foot at a time, precariously balanced and holding the harvest vessel carefully so as to not lose my balance or mash a rogue squash vine or juvenile bean bush. Each harvest season for raspberries I discover all kinds of new muscles I’d forgotten about the rest of the year. After all that, I normally get one pound out of a 30-minute session and my row of bushes is only about 10 feet long. With no children at home now to decimate the bushes, they go into the freezer after being weighed and cleaned each day. I think this will be the year I try out a batch of raspberry/rhubarb country wine. It would be awesome if my favourite blogger would do another country wine post. (#NotSoSubtleHint)
Yes! Garden yoga happens at my house! Maximize small spaces?
What a wealth of information; absolutely your best post yet, at least for me! I am still trying to gather up the courage to start canning and one of the major deterents for me was the water processing. I bought a canning set with one of those big racks inside that freaked me out because I just want to do small jars…..Anyway, I am so grateful for this post!
I’m glad it’s useful for you, Rose. 🙂 Start with jam – you’ll do great.
Why have I never thought to find disposable chopsticks on amazon?! Duh. I use them for bubbling, for stirring wax when I’m making candles, and for other assorted DIY projects.
I think I actually learned it from you a few years ago, but holding fruit on sugar for a few hours, or a few days in the fridge, is one of my favorite tricks and something I’ve pressed into service regularly. In fact, I frequently do it on purpose now, not just out of necessity, since I think it often creates a prettier final product.
I’ll second preserves from frozen fruit – we just don’t grow enough of the fruit we like for our favorite mixed berry preserve and buying them fresh around here is wildly expensive. So I use store-bought frozen organic fruit and it always turns out great.
Yup, soaking fruit in sugar firms up the cell walls. It’s my standard practice for most rustic style preserves. Totally agree, good addition.
You can find everything on Amazon! Which is good for people like me who don’t like shopping and
hardly leave the house. 😉
I am pretty annoyed with how they rolled out the information on the lid change. I kept hearing different things (and the box instructions are still out of date) until finally a Master Preserver clarified it for me. It is a handy change for sure, though I have had tons of failed lids in the last few years and I feel like they are putting barely enough sealant on the lids to make them work.
Regarding the canning rack I used a cake cooler until it rusted, and now switched to a silicone pot rest (recommended by Marissa at Food in Jars). It sometimes will float up while loading jars, but if I keep at least one empty in place until loading a full jar it seems to work fine.
My tip when looking for an alternate pan for canning is to measure the height of your canning jar and add the thickness of your rack plus a couple of inches. I **hate** when you have to fill a pan so full you are constantly about to boil over. The traditional canning kettles are SO skimpy on height this way! I found a tall stock pot that works better for me, and is more efficient for smaller batches as you don’t have to heat up such a large volume of water if you’re not actually canning 8 quarts at a time.
I totally agree about stockpots. I do all my canning in various size stockpots. I really don’t like the traditional canning kettles. The idea about the silicone pot rest is interesting! I hadn’t heard that idea before – Marissa is so smart.
I’m sorry to hear you’ve had more seal failures lately. I get cranky about the jars getting lighter weight, but I can’t say I’ve noticed an increase in problems. I’m going to email Ball about the new packaging that was mentioned in an earlier comment; I’ll ask if the quantity of sealant changed.
Here’s the one my MIL bought a few weeks ago, which we used yesterday and I am SOLD on. I’m going to pick one up myself the next time I’m in at Lee Valley. We didn’t have a single jar tip over, the pot was silent (no rattling!), and no need to replace it because the insert rusted in the shed over the winter!
http://www.leevalley.com/us/hardware/page.aspx?p=74580&cat=2,2120,33279&ap=1
I’ve been using a silicone “rack” too, SO MUCH easier!
And I’ve been making jelly with frozen fruit (including hot peppers) now for a couple years, also SO MUCH easier than hoping I have enough ripe at the right time!
Your “how to process tomatoes” blog post including setting up things efficiently and using rubber gloves to take off the skins has changed my canning. I use that trick for tomatoes, peaches, meat (off chicken carcasses), etc.
Reusable tattler lids are amazing and I haven’t had a problem with them sealing yet.
Agreed, the post on tomatoes changed my canning game so significantly I probably can twice as many tomatoes as I used to just because of this post.
I also love my tattler lids! Haven’t tried them in the pressure canner yet, but I’m still new to the game on that, do you have any experience with that?
Yes, they work just fine. I have almost stopped water bath canning things (we don’t use that many pickles or jelly) and almost exclusively can meats and broth now.
Thank you, just goes to show you that even someone that’s been canning for 40 years can learn something new (and easier) !
Lacking a rack for the bottom of your canning kettle, even a heavy washcloth will do! And the Salvation Army is a grand source of racks for about 99 cents each.
The idea of being able to put up jam when my house is cold and dry instead of in the middle of July is AMAZING. For my 30th birthday I bought myself a deep freezer large enough to hold an entire cow and then some. I’m going to start utlilizing it for my canning now!
Well praise the Lord and pass the biscuits! This changes everything!! I visit that National Center site regularly, and I never saw that. This sis going to save me soooo much time and aggravation! Thank you, thank you, thank
you!!
Hello
I’m new to your site and so far I really like it! I love to can and my family and friends tell everyone that if it can be eaten then I’ll End up canning it? I was if you liked the Tattler lids? I use them quite often.
Thanks! I turn my jam jars upside down after filling them and lidding them. That way, the hot jam ideally sterilizes the lid and top half of the jar.
Civilization won’t end if I don’t pre-boil my jars?????? And I don’t have to have another pot going for the lids???? You’ve made my day.
Question – the useless rack that come with my canner restricts me to 7 jars regardless of jar size, if I switch over to the cake rack can I put in as many jars that will fit?
That does it. I will have to become a (tiny token) patron. These tips actually make me want to haul out my canning equipment. I have not done much with it lately. I scored a pressure canner a few years ago and only used it once, on a batch of salsa. It did not kill us but did not taste great either, and it totally made me appreciate 4 dollar jars if store bought salsa, But I would love to can some winter squash, halfway the winter.
what is the deal with the new “sure tight” lids. I just noticed them in the store, and in your picture above. “lasts up to 18 months” seems a little silly………… the old ones last for 3 years or more.
I use Perforated pizza pans, turned upside down, as racks in my canners. They come in several sizes and, of course, I use them to make pizza as well. I especially like the pizza pan in the Victorio steam multi purpose canner. The pizza pan provides more space for small jars.
I think one of the best recent changes is the NCHFP approval of steam canning. It’s what I do now rather than heating a big pot of boiling water.
https://www.amazon.com/Browne-575352-Perforated-Aluminum-Pizza/dp/B009KT6VDC/ref=sr_1_13?s=kitchen&ie=UTF8&qid=1499783566&sr=1-13&refinements=p_n_feature_keywords_browse-bin%3A2837601011
http://www.victorio.info/stainless-steel-canner.html
My favourite way to prep jars for canning is to wash and rinse them, line them up on a baking sheet, and heat them in the oven at about 200 degrees F. When I’m ready to fill them, they’re hot, dry, and all on one tray, and I just make sure to process for 10 min. I really dislike filling jars that are wet on the inside, and I’ve lived in places with water that’s kind of hard (which then left spots on my jam jars), so this has been the perfect solution for me.
It is the position of the manufacturer of Ball, Kerr, and Bernadin canning jars that heating their jars in an oven is unsafe and not recommended. Read more about it here at link below. The author called and discussed the issue with representatives at Ball.
http://www.sbcanning.com/2013/09/is-oven-canning-safe.html
Mom just folded a clean, old dish towel and put it in the bottom of her pressure cooker….we were poor. All the food turned out well.
Mom just folded an old clean dish towel in the bottom of hrler pressure cooker. Food turned out good.
I live at a high altitude so most my canning is over 10 minutes and I can’t even believe that I don’t need to pre-sterilize. You’ve saved me so much time with just a five minute read. Thanks a bunch!
Pretty sure my mother-in-law wont eat my canned goods if she knew I skipped this step. Sometimes habit is hard to break for the seasoned canners.
I make your turmeric dill pickles every year. The low temperature pasteurization is the only way to go with pickles. Thanks for introducing me to that too and happy canning!
UGH!! I always process my jam for 10 minutes but have also been sterilizing in addition to running them through the dishwasher (basically turning my house into a sauna). Thanks for posting this info!
Instead of using a round stainless rack for canning, cooling, etc I use round silicone canning mats. Found them on sale once, picked up a couple and never looked back. They work great in my canners and while they might not cool things as quickly as an elevated rack they also don’t scratch the countertop. Lee Valley (Canada) is where I got mine. http://www.leevalley.com/en/garden/page.aspx?p=74580&cat=2,2120,33279
Thank you for sharing the wealth! Total game changer!
This is a great read for me. I’m just getting into my second year of canning, so everything I do is still a matter of researching, reading and re-reading instructions, and trying to have a good plan when I get down to work. I’m sure someday it will become a more automated process, as it is for the more experienced canners like you. Until then, I really appreciate all the help you’ve made available on your site.
I never went out and bought a canning kit, so I’ve been piecing it together. My boyfriend had the enamel pot (no idea why…). I’ve actually been using a $1 cake rack for it since I started. Scored jar lifters at the dollar store, found a stainless steel funnel…the only thing missing has been an airspace tool. I’ve used my silicone cake icer (which has never actually frosted a cake!) for big stuff like cukes, but it’s too cumbersome for the little jars. So I’ll be nabbing some chopsticks and my life will be complete! Thanks for that flash of brilliance!
That tip about not pre-warming lids? Changes everything. Brilliant. Thank you.
Is it true that once you have used the lids you cannot reuse them? I’m new at this.
Yes, it is true. Lids will only form a seal one time.